Most of my river time has been in a whitewater kayak, but packrafting keeps stealing my paddling friends and students — and once you’ve watched it happen, you get it. A boat the size of a rolled-up sleeping bag comes out of a backpack, inflates in under three minutes, and suddenly water that used to mean a shuttle, a roof rack, and a long drive is just… there, wherever your feet can carry you. Packrafts can do everything from flatwater lake paddles to remote expeditions, and that’s what it’s really all about – a versatile craft that’s easy to transport and incredibly fun to paddle, while also being very approachable for anyone new to paddling.
A huge amount of what makes a paddler good on a packraft is the same as what makes a paddler good on any whitewater craft: reading water, boat control, knowing what to do the moment you’re out of the boat. This guide leans on that shared foundation to walk you through getting started packrafting — what it actually is, what you need to get started, the skills to build first, and where in the US to go try it, including a few real courses focused on packrafting for beginners and guided trips worth booking.


What Is Packrafting?
A packraft is a raft built to be carried, not just paddled. Most weigh somewhere between 5 and 9 pounds and pack down small enough to strap to a backpack. It’s a boat designed to get you to water that isn’t accessible by road. And, while most of us aren’t regularly hiking 12 miles into remote rivers, those features are also what make it so versatile. You can throw it in a car trunk for a lazy afternoon on a lake or take it on any local river, without taking up much space in your garage or apartment.
Not everyone who picks up a packraft is doing the same thing with it, though, and it helps to know which flavor of the sport you’re actually after:
Flatwater & Lake Touring
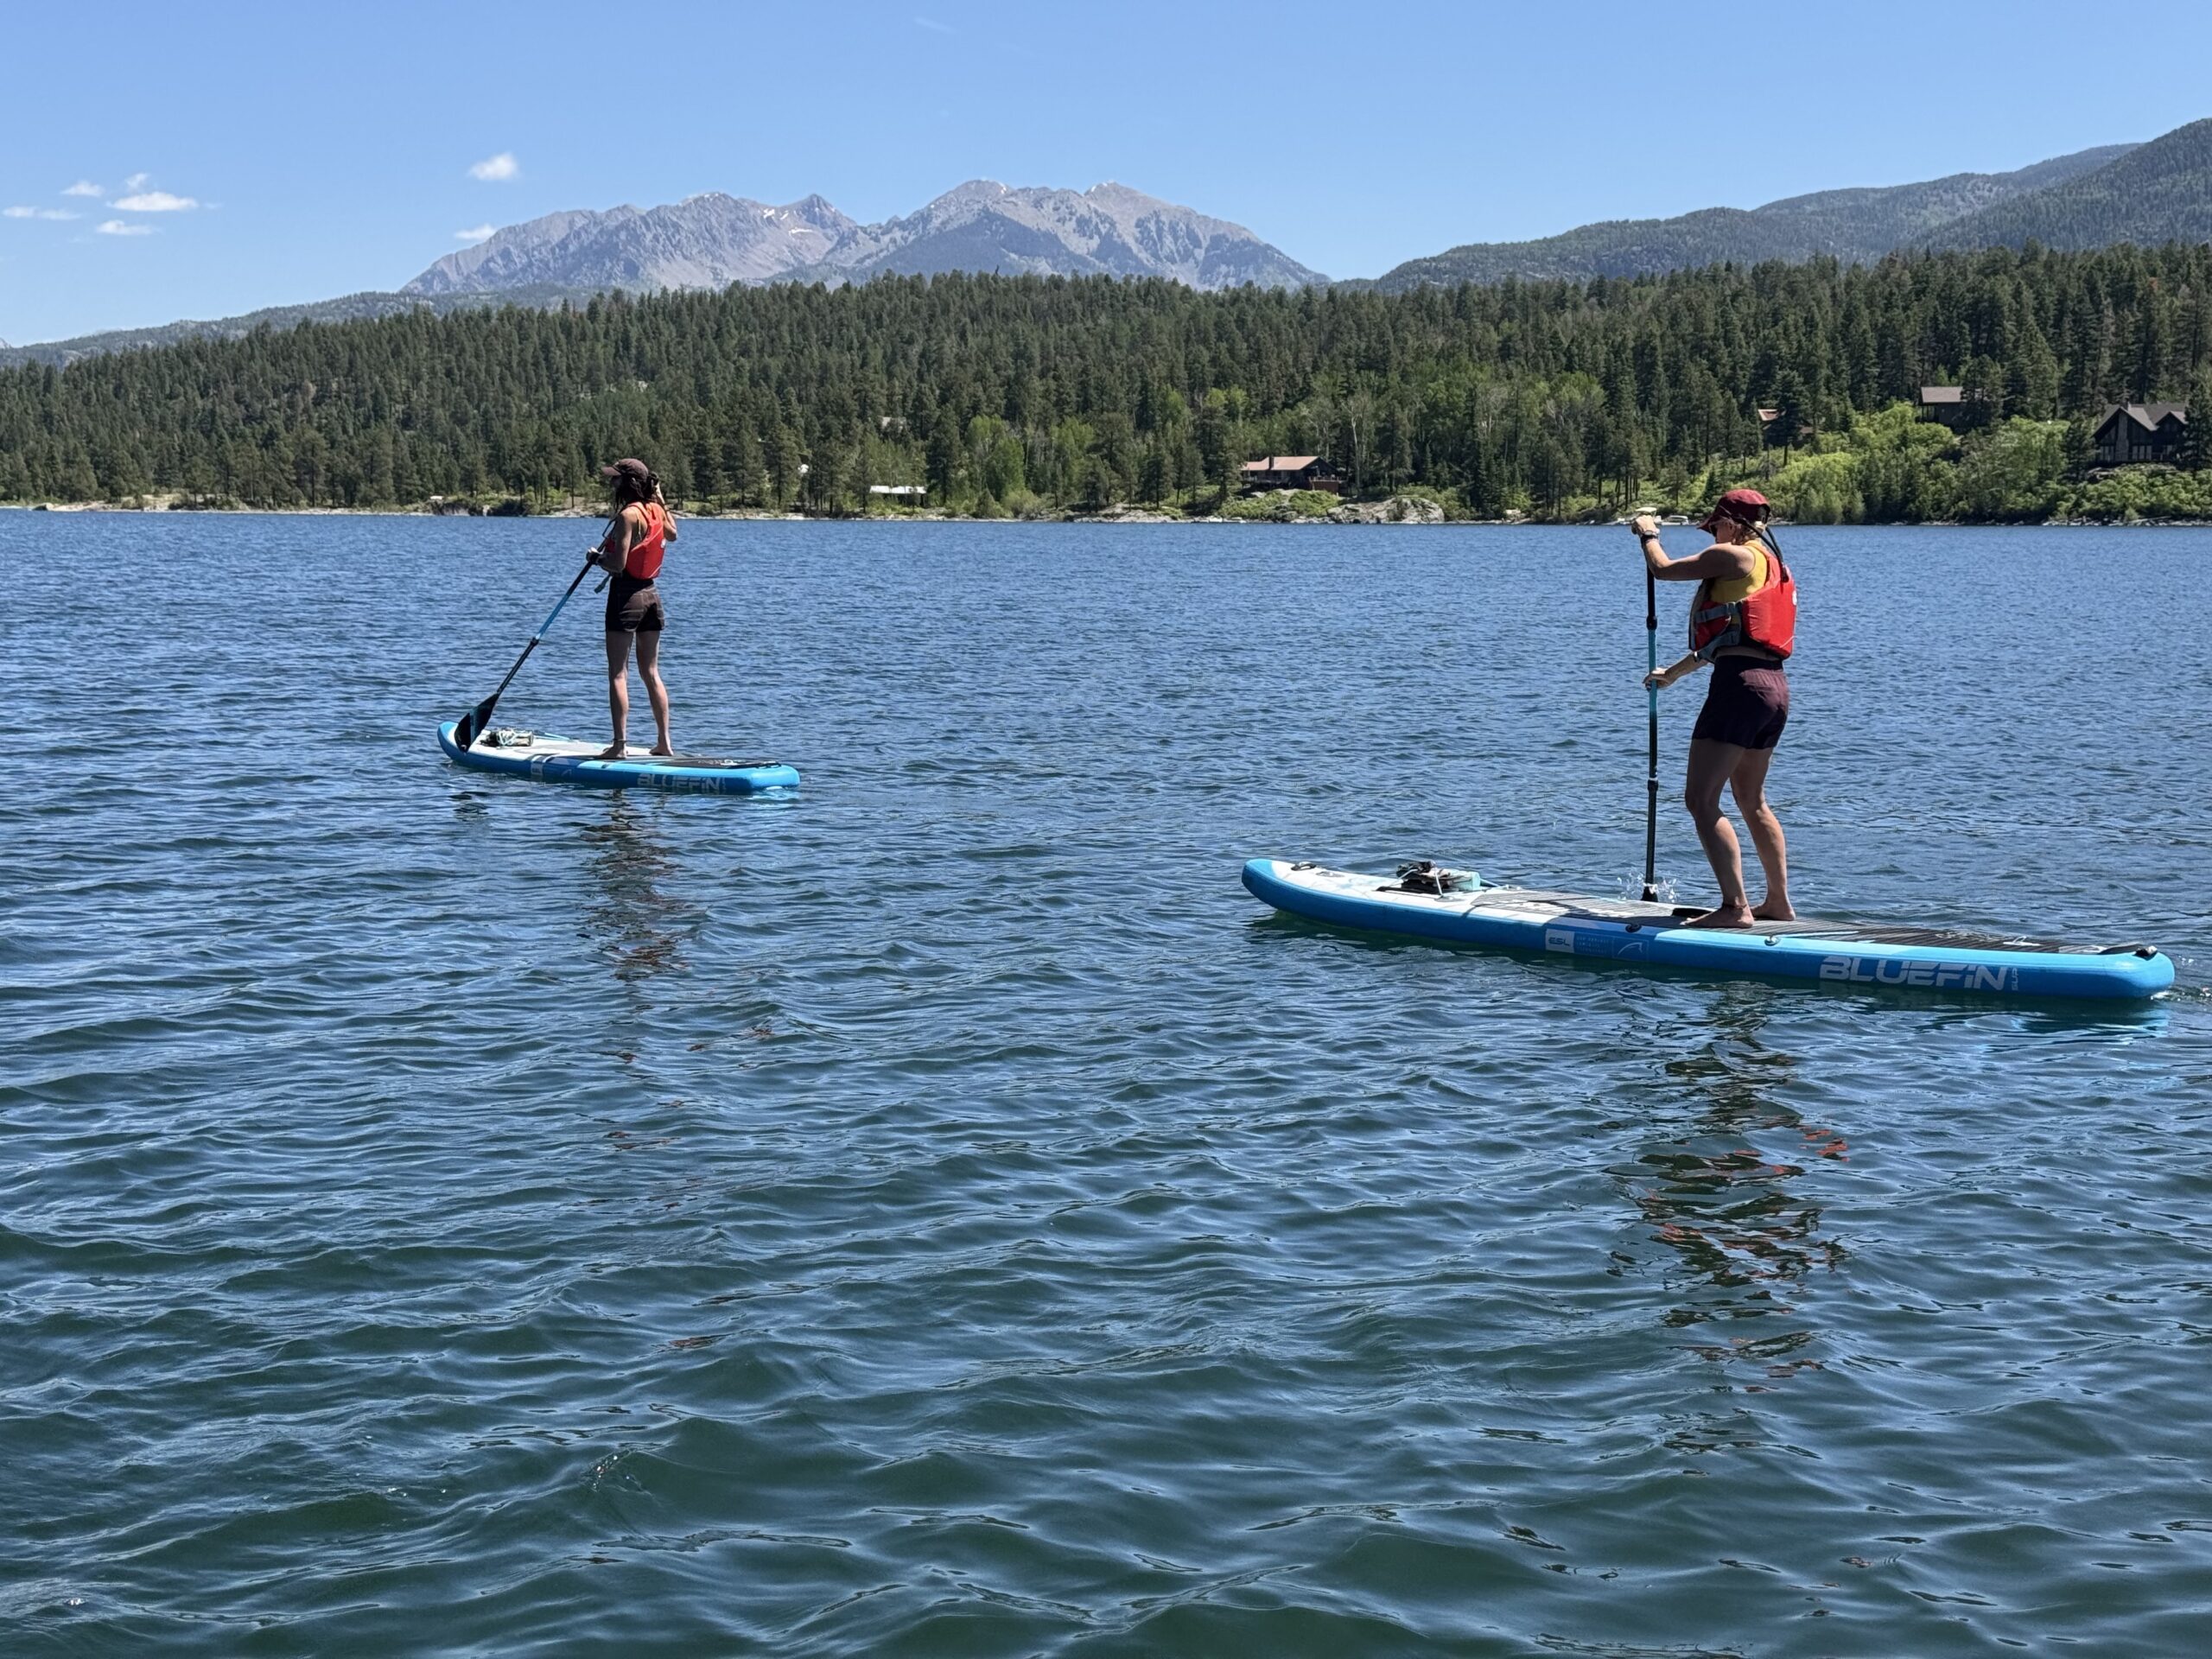
The easiest entry point into packrafting for beginners. Calm water, no current to read, low consequence if you flip (though it’s unlikely on a lake unless you’re practicing flips intentionally). This is where you build boat feel and practice the fundamentals. Plenty of paddlers stay here by choice for years and have a great time doing it. This guide also advances to whitewater, bikerafting, and expeditions because a lot of paddlers aspire to them, but none of that is required to enjoy this sport. If a quiet alpine lake or a slow-moving river is all you’re after, you don’t need to “graduate” to anything else.


Whitewater Packrafting
Packrafts have come a long way, and modern whitewater-specific models can handle real rapids. This is packrafting on rivers with actual current — reading water, catching eddies, punching through waves, and knowing how to wet-exit and self-rescue the moment you flip, because eventually you will. It calls for different gear than flatwater touring: a whitewater-specific packraft, often a self-bailing floor and sometimes a spraydeck, plus a helmet and a repair kit within reach. This is also where the sport starts to feel closest to whitewater kayaking, and where a river rescue course stops being optional and starts being essential. It’s genuinely rewarding once you’ve built the fundamentals, but the consequences of a mistake go up considerably the moment current and river hazards enter the picture, which is its own skill set layered on top of the basics.


Bikerafting
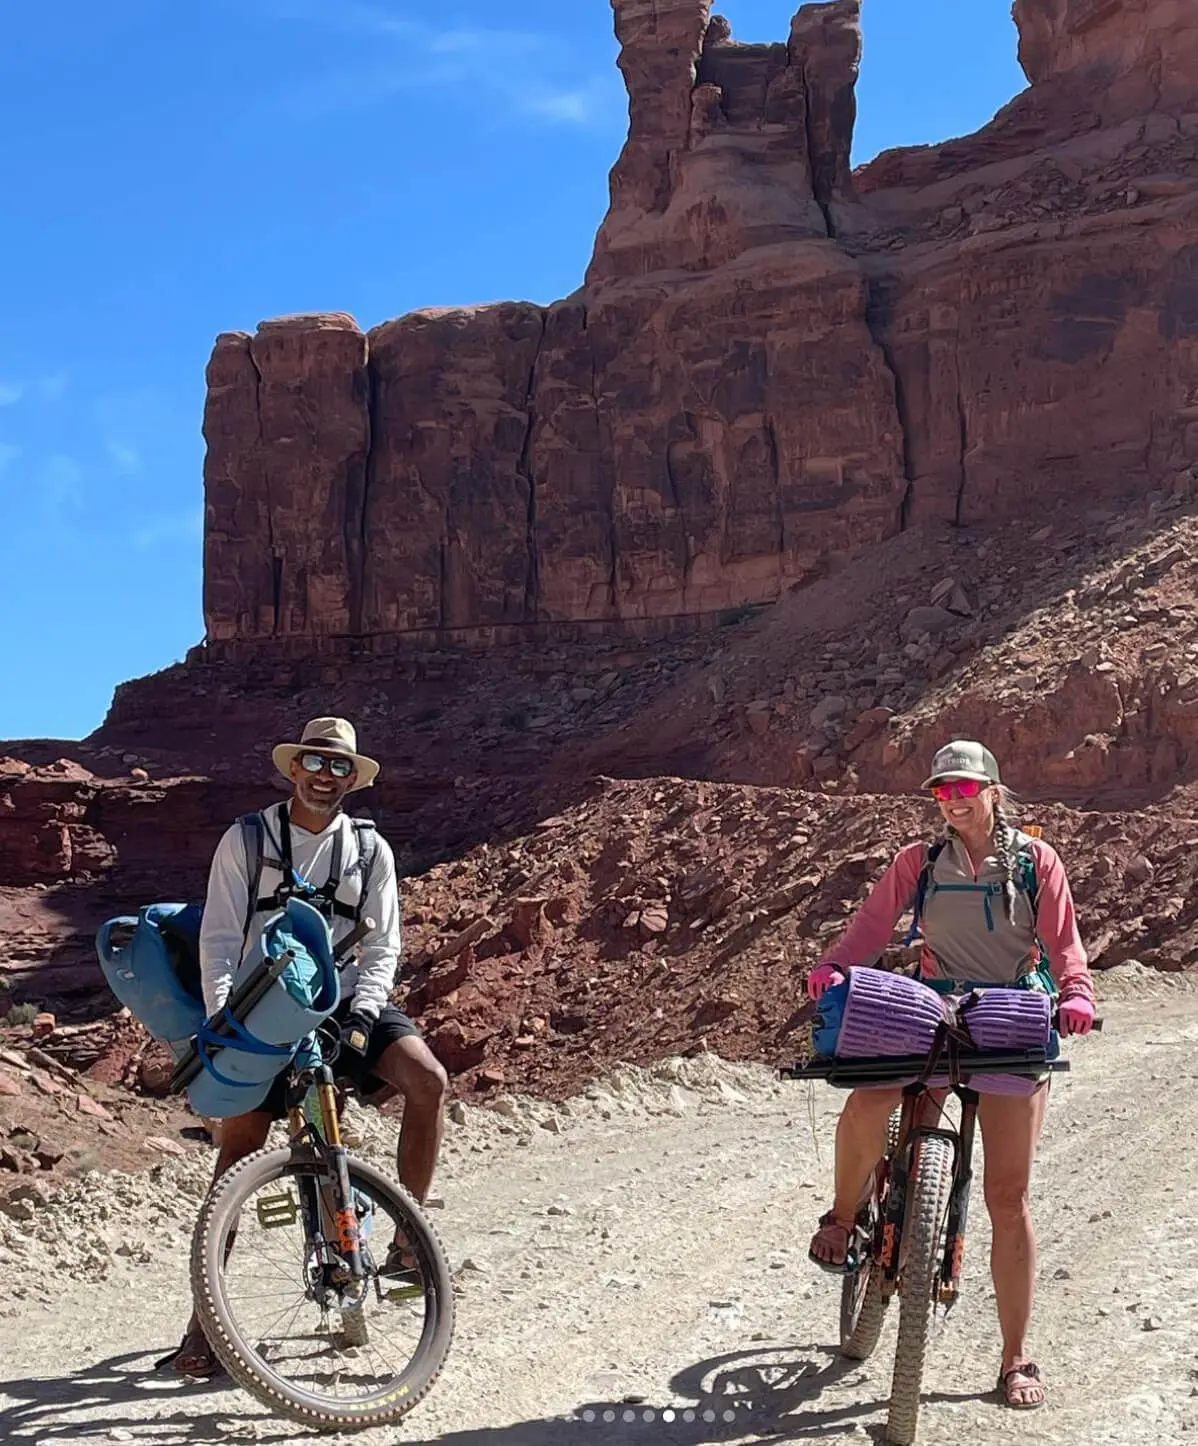
Strap a bike to the bow, ride to the put-in, paddle out, ride home — or string together any combination of biking and paddling legs into a single point-to-point trip. In practice, that means learning to rig a bike securely to a boat that’s already carrying you and your gear, managing the shift in weight and balance that comes with it, and planning routes where the transitions between bike and boat actually make sense logistically. Done well, it opens up routes that would be impossible on foot or water alone — a loop that starts on singletrack and finishes floating out a canyon, for instance. It’s one of the more addictive combinations in the outdoor world once you’ve got both the biking and paddling fundamentals down, and it’s a natural “what’s next” for paddlers who’ve been at this a season or two once you feel solid in the boat.


Expedition & Multi-Day Wilderness Travel
This is what the sport was built for. Packrafting was developed for Alaska wilderness travel, where hiking and paddling routes weave together across terrain with no roads and no trails — you might hike in over a pass, paddle a lake or river stretch, portage around water you can’t safely run, and hike out the other side, with one lightweight boat on your back the entire way. It demands real self-sufficiency: navigation, backcountry camping skills, careful gear and food planning, and enough paddling competence to handle whatever water the river throws at you, since there’s often no way to bail out partway through once you’ve committed. But expeditions are the deep end, not the entry point, and they’re built entirely on the flatwater, whitewater, and skills foundation covered later in this guide.


Packraft vs. Inflatable Kayak: What’s the Difference?
This is a very common question. There are whitewater-capable packrafts and inflatable kayaks, so choosing your craft really depends on your goals and how you plan to use it.


| Category | Packraft | Inflatable Kayak |
|---|---|---|
| Packability | Rolls into a backpack; built for hiking access | Bulkier; usually car-camping, multi-day raft trip accompaniment, or drive-up access |
| Weight | ~5–9 lbs | 15–40+ lbs depending on model |
| Durability | High — built for abrasion, rocks, multi-day use | Extremely high — constructed like rafts and hold up to serious abuse |
| Price | ~$250–$2,500+ — reflects materials and purpose-built construction, lower price points are fine for calm water but heavier and less durable | ~$300–$2,700+ for reputable models — a premium whitewater IK (like AIRE’s Outfitter or Force line) can cost as much as or more than a top-tier packraft |
| Best use | Backcountry access, self-supported multi-day trips, bikerafting | Trips with road/car access, raft-supported multi-day trips |
So, which craft do you choose? If any part of your plan involves hiking or biking to the water, a packraft is the right tool from day one — nothing else replicates that portability. The one real exception is if you know for certain you’ll always be launching from the car, with no backcountry access involved at all. If you know you’ll rarely be loading gear into the boat, that’s worth factoring into which you choose. For example, taking it on raft-supported multi-day trips with no need to carry gear might not warrant a packraft. In these cases, a solid inflatable kayak covers it well — I’ve personally paddled the AIRE Outfitter Inflatable Kayak through Hells Canyon and on the Main Salmon, and it’s a stable, capable boat that holds up to real whitewater.
Convenience is another factor to consider. If you live in an apartment, have a small economy car, or are otherwise limited on space, packrafts are much easier to transport and store. And inflatable kayaks can be quite heavy, so if you’d prefer something that you can easily carry on your own, packrafts are perfect. Packrafts also inflate more quickly, and the pump and accessories also come smaller than what’s standard for inflatable kayaks.
Either way, we’d never recommend a bargain-bin IK or packraft for anything beyond flat, calm lakes. When it comes to whitewater-capable inflatables, stick to reputable brands — AIRE, RMR, and Tomcat for IK’s, or Kokopelli and Alpacka for packrafts. And the good news – if you feel like an IK is a better fit, you’re still in the right place — nearly everything in this guide about packrafting for beginners also applies to starting out in an inflatable kayak.


How Does Packrafting Work?
You hike, bike, or drive to your put-in, pull the raft out of your pack, and inflate it — almost always with an inflation bag or airbag, not by mouth, since lung-inflating a boat that size would take forever and you’d never get it firm enough. You assemble your paddle (most packraft paddles break down into four pieces for packing), lash your gear to the bow or stern so it’s balanced and low, and you’re on the water. When you’re done, you deflate, roll, and repeat — which is exactly what makes multi-day, human-powered routes possible in the first place.
Packrafts are genuinely forgiving boats for beginners. They’re wide and stable, and the buoyancy makes them hard to accidentally flip on calm water. The tradeoff is that they’re slow compared to a hardshell kayak and get pushed around by wind more than paddlers expect — something worth knowing before your first big-lake crossing.


How to Choose Your First Packraft
There are a few factors to consider when buying your first packraft, from deck style to sizing to how it’ll actually perform on the water you plan to paddle. Skip the spec-sheet rabbit hole — the four decisions below are the ones that actually shape how the boat feels once you’re on the water.
Open Deck vs. Spraydeck vs. Self-Bailing
A spraydeck, also known as a spray skirt, is a fabric cover that snaps over the top of the boat, sealing you in from the waist down so waves and splash can’t fill the tub while you’re paddling. They have a grab loop in the front that’s used to remove the skirt in the event of a swim. An open deck is exactly what it sounds like — no cover at all, just an open tub you sit in, which means any water that comes over the side stays in the boat until you bail it out. Self-bailing is a third option: small drain holes or scupper valves in the floor let water that comes in drain back out on its own instead of pooling around you.
Most beginners don’t need a spraydeck, even though it looks like the more “serious” option. Spraydecks are ideal once you’re paddling more challenging whitewater, but they add a real hazard for anyone who hasn’t learned to wet exit properly — getting stuck under a spraydeck in moving water is a genuinely dangerous situation if you haven’t practiced getting out of it. Start with an open deck, or take a whitewater packraft course right away to learn to use the spray deck properly. Self-bailing floors are recommended if you know whitewater is in your near future, since they shed water instead of pooling it in the boat.


Internal Cargo Storage (TiZip)
A TiZip is a waterproof zipper that lets you store gear inside the tubes rather than lashing it to the outside. It’s essential for multi-day and expedition use. You might not need it on your first boat, but if you know that multi-day trips are in your future, it might be worth investing in from the beginning.
If you don’t plan on utilizing your packraft for backcountry travel, it’s not something you need to pay extra for. Additionally, boats with internal storage handle differently than boats without — they’re designed to have a bit of weight in them, so if you paddle one empty, it can actually feel less stable and behave differently than intended. The tube weighting is calibrated assuming some gear load, which means an empty internal-storage boat can ride higher, get pushed around by wind more, and feel tippier than a boat built for a bare, unloaded paddler. If you’re mostly paddling light and empty, that’s worth factoring in before you pay extra for a feature that’s optimized for a loaded boat.

Sizing and Weight
Packraft sizing generally follows paddler height and typical load (solo vs. loaded with gear or a passenger). Most manufacturers publish sizing charts — use them rather than guessing, since an undersized boat will feel tippy and an oversized one will feel sluggish.
Whitewater-Capable vs. Flatwater Cruiser
This decision should follow from the goals question: are you picturing yourself on alpine lakes and slow rivers, or do you want a boat that can grow with you into Class III–IV water? This will determine which boat is right for you — and it’s fine if the answer changes over time. Most paddlers’ goals do.
On brand: Alpacka and Kokopelli are our go-to recommendations and the brands with the strongest reputation in the packrafting world right now. They’re the top choice for beginners who want a boat that will carry you through as you progress.
| Tier | Price (USD) | What You Get | Good For | Recommended Boats |
|---|---|---|---|---|
| Budget entry | ~$250–600 | Heavier, less durable, often no cargo zip | Calm lakes, testing the waters | Kokopelli Hornet-Lite, NRS Aster |
| Mid / do-it-all | ~$900–1,500 | Lighter, durable, spraydeck option, whitewater-capable | Most beginners’ best buy | Kokopelli Rogue-Lite, Kokopelli Recon, Alpacka Caribou |
| Expedition / Whitewater | ~$1,600–2,500+ | Lightest, cargo zip, whitewater-optimized | Multi-day & moving water | Alpacka Expedition, Alpacka Gnarwhal, Alpacka Mage |
Not sure where to start? Check out the Packraft Comparison Guide from our partners at Alpacka Raft.
My honest advice: rent, demo, or take a course before you buy. A few hundred dollars spent on a lesson or a rental weekend will teach you more about what you actually want in a boat than any spec sheet will — and it’s a much cheaper than buying the wrong $1,500 packraft. If you’re not ready to commit to a packraft-specific course yet, a guided inflatable kayak trip is a genuinely great low-stakes way to see if this style of paddling is for you before you spend real money — more on that in the courses section below.
Buying a Used Packraft – What to Look For
Used gear is a great way into this sport if you’re careful — at TripOutside we’re firm believers in the circular economy. But, inspect thoroughly before you buy. Check for abrasions and patches; a patch isn’t automatically a dealbreaker, since some river rash and repair is a natural part of owning an inflatable boat. A well-done patch will have clean, fully-adhered edges with no lifting or bubbling, and it should be nearly invisible to the touch. If you see fraying edges, discoloration spreading out from the patch, or more than a couple of patches clustered in one high-stress area (like the floor or a tube seam), walk away or negotiate hard.
I’ll tell you exactly why I check so carefully now: I once went to look at a used raft that seemed like a great deal, and it wasn’t until I’d actually unrolled and inflated it that I found a six-inch gash down the side the owner had genuinely forgotten about. It happens more than people expect — gear that’s been sitting folded in a garage or shed for a season can also attract rodents, and a chewed valve or a nest in the tubes isn’t something you’ll catch from a photo listing. Always unroll and fully inflate a used boat before you hand over any money, no exceptions.
For finding used gear, local Facebook groups are a solid resource, and gear swaps are common in mountain towns with a strong river community, usually in spring. One line I won’t budge on: never buy used safety gear. Helmets, PFDs, and throw ropes are all things you can’t verify the history of, and you’re trusting your life to them — it’s not worth the savings. The one exception is a throw bag itself, since NRS sells replacement spectra line, so an old bag with worn rope can sometimes be salvaged cheaply if you already have it. It’s just not common to find them used in the first place.
Packrafting Gear Checklist: What You Need
Here’s everything broken down to what actually matters, grouped so it’s easy to shop from.
The Essentials
This is the core gear that gets you on the water in the first place — the items that if you forget them at home, you won’t be getting on the water. Everything else in this checklist builds around it.
- Packraft (and inflation tool) — the boat itself, plus a way to inflate it (almost always an inflation bag)
- Paddle — sized and shaped for the boat you’re paddling; see the tiers below
- Helmet — non-negotiable near rocks or moving water
- PFD — whitewater-specific, properly fitted, snug, and won’t ride up
The Boat Kit
This is the core gear for a packrafting setup — the pieces that make the boat itself function, beyond the four essentials above.
- The packraft itself — see the buying guide above for how to choose one, but at minimum know your intended use (flatwater vs. whitewater) before you shop
- A paddle — most packraft paddles break down into four pieces for packing.
- Paddle Types: They come in roughly three tiers: aluminum-shaft paddles are the budget, entry-level option; fiberglass splits the difference on weight and price; and carbon fiber is the lightest and most expensive. Although carbon fiber is lighter, it’s stiffer, which can be tough on the joints, so it’s worth thinking through.
- Sizing is based mostly on your height and the width of your boat — taller paddlers and wider boats generally call for a longer paddle — so check the manufacturer’s sizing chart rather than guessing.
- An inflation bag or pump — this is how you actually inflate the boat; nearly everyone uses an inflation bag (a large nylon sack that funnels air into the valve) rather than a hand or foot pump, since it gets a packraft to full pressure in a couple of minutes instead of many, and it packs down to almost nothing
- A backband or seat — most packrafts come with a minimal seat included, but an upgraded backband is worth considering if you’re spending long days in the boat, since comfort affects how long you can paddle well before fatigue sets in
- A repair kit — covered in the safety gear list below, but worth mentioning here too since it’s part of the core kit you should never paddle without
What to Wear
Dress for the water temperature, not the air temperature — this is the single most important gear principle in the sport, and it’s regional. If you’re paddling in Colorado or the Southeast, warmer rivers mean you can often get away with less. My local river, the White Salmon, runs around 40 degrees year-round, and on it we’re in drysuits and dry tops as a baseline.
| Water Temp | Recommended | Notes |
|---|---|---|
| Warm (>65°F) | Synthetics / quick-dry, sandals | Splash jacket optional |
| Cool (55–65°F) | Wetsuit or splash layers | Bring a dry layer for after |
| Cold (<55°F) | Drysuit or dry top | Non-negotiable in cold moving water |
A quick rule I give every student: if air temperature plus water temperature is under 120°F combined, dress like you’re going swimming — because on a river, eventually you will. For a detailed overview, check out our blog on What to Wear Kayaking in Every Season.


Here’s the what-to-wear checklist to build your packing list:
- A properly fitted PFD — not just any PFD, one that’s snug and won’t ride up. If paddling on whitewater, a whitewater-specific PFD is essential: they’re built to float you differently (and more safely) in whitewater than a flatwater PFD.
- A helmet: essential the moment you’re near rocks or moving water, optional on lakes
- Base layer suited to water temperature (synthetic/quick-dry, wetsuit, or drysuit — see the table above)
- Outerwear
- Splash top or paddle jacket, for wind and spray even on warmer days. Can be worn over a wetsuit or t-shirt.
- Dry top or drysuit top, for cold or extended whitewater days.
- Footwear: River shoes or river sandals with a secured heel strap — never bare feet or flip-flops. Neoprene booties are an option, but not ideal, since their softer soles aren’t built for walking on rocks.
- A note on footwear: If you’re paddling on rivers, good river shoes truly are essential. Shoes designed for water with grippy soles, that you’ll feel comfortable scrambling over rocks. Astrals are a personal favorite, and NRS and Palm make great river shoes as well.
- Neoprene or wool socks – these can be worn under river shoes, and over drysuit feet if you’re wearing one. They increase warmth, prevent chafing, and protect your gear.
- Gloves or pogies, for cold-weather paddling. My personal recommendation: Pogies keep you warmer and allow you to feel your hands on your paddle.
Packrafting Safety Gear
- A paddling-specific knife, easily accessible.
- A throw bag and the knowledge of how to use it. Ropes are one of the most dangerous tools on whitewater, so if you don’t know how to use it, don’t carry it.
- A whistle
- A repair kit — duct tape is not a repair kit on its own; bring actual patch material and adhesive rated for your boat’s fabric
- A locator beacon or Garmin inReach for true backcountry trips or any day trips where you’re out of service
Personal Items
- Sunglasses with a retaining strap — even a cheap pair, as long as they’re secured. Part of Leave No Trace is making sure your sunglasses never end up in the river. Ombraz is a brand worth checking out— their sunglasses come with an integrated cord strap, and the armless design fits seamlessly under a helmet.
- Sunscreen
- Snacks and water — use locking carabiners if you’re tethering a bottle to the boat
- Dry bags for anything that needs to stay dry
- A basic first aid kit, sized to the length and remoteness of the trip
Looking at all of this at once, I know it can feel like a lot. It’s worth remembering that most of it — clothing, paddles, even boats — can be found secondhand, and I’d point you back to the used-gear advice earlier in this guide (just steer clear of used safety equipment specifically). You also don’t need to own all of this on day one. Most paddlers build their kit gradually, upgrading a piece at a time as they figure out what they actually need for the kind of paddling they end up doing. It genuinely takes a season or two to land on a setup that feels dialed in, and that’s normal — not a sign you did something wrong at the start.
Beginner Packrafting Skills & Technique
This is the part most beginner guides skip past to get to safety warnings, but skill is what actually keeps you safe. Here’s the quick-reference version — no blog replaces a real instructor, but this is what to focus on first:
- Getting in and out without flipping — practice on calm water first: low center of gravity, hands on both sides of the boat, commit to the motion rather than hesitating halfway through.
- Basic paddle strokes — forward (power), sweep (turning), back (slow or reverse), and brace (stability) cover almost everything as a beginner. Spend real time on the brace before you need it in a rapid.
- Reading water — learn to spot current V’s (the clearest path through), eddies (calm pockets for resting or scouting), and strainers (downed trees/debris — genuinely dangerous, avoid entirely as a beginner). It clicks faster than you’d expect.
- The wet exit & self-rescue — you’ll flip eventually. Stay with your boat if it’s safe, get into the feet-up float position, and work toward re-entry or shore. A river rescue course is what actually builds confidence here — I felt the difference the first time I swam Class III on the Middle White Salmon after taking mine.
- Lashing a load (and a bike) — keep weight low and centered, trim bow to stern, use straps over knots. For bikerafting, the frame lashes to the bow with wheels tucked tight — best learned from someone who’s done it.
All of this is best learned progressively from a pro rather than picked up piecemeal — a packrafting course compresses months of trial and error into a weekend.


Understanding River Classes (I–V) for Packrafters
| Class | Description | Beginner-Friendly? |
|---|---|---|
| I | Moving water with small waves, few obstacles | Yes |
| II | Straightforward rapids, clear channels, some maneuvering | Yes, ideally with a guide at first |
| III | Moderate, irregular waves; may require precise maneuvering | With training and experience only |
| IV | Intense, powerful rapids requiring precise boat handling | No — advanced only |
| V | Extremely long, obstructed, or violent rapids | No — expert only |


One distinction worth understanding before you get on anything above Class II: the difference between pool-drop and continuous whitewater. Pool-drop rapids are separated by calm stretches where you can recover, regroup, or catch your breath. Continuous whitewater doesn’t give you that — rapid after rapid with no real break — which makes it significantly harder to recover from a swim. Beginners should generally avoid continuous sections, even ones rated at a class they’d otherwise be ready for. Season and water level matter here too: many rivers run at their highest and pushiest in spring during snowmelt, which can bump the effective difficulty of a run well beyond its typical rating. This is exactly the kind of judgment a course with an instructor teaches you to make for yourself.
Another thing to note is that the class system is very nuanced, and a single number rarely tells the whole story. Some Class III sections have back-to-back Class III rapids with no real break between them — which, per the pool-drop distinction above, is a meaningfully harder run than the number alone suggests. Others are mostly Class II water with one or two harder rapids mixed in, which means a nervous beginner could potentially portage those couple of rapids and comfortably paddle the rest. The rating on a map or app is usually an average, or sometimes just the hardest single rapid on the run, not a description of the whole section — so two “Class III” runs can feel completely different in practice. Ratings also aren’t fixed: they shift with water level, so a run that’s a mellow Class II at low summer flows can become a pushy Class III at spring snowmelt levels, and vice versa. Don’t take a single class number at face value. Read up on guidebooks and a resource like American Whitewater before selecting a section, and look specifically for details on rapid spacing, current flow levels, and recent trip reports rather than just the headline rating.

Packrafting Safety: Staying Alive and Having Fun
- Take a swiftwater rescue course — not optional in my book if you’re getting into whitewater. See the courses section below for where to start.
- Never paddle alone — even experienced paddlers stick to this. A second person is often the entire difference between a bad swim and a real emergency. Part of paddling is being a reliable paddling partner, supporting your crew, and working as a team.
- Cold water & hypothermia — cold shock (the gasp-and-panic response in the first minute) and slow-onset hypothermia are different dangers. Use the 1-10-1 principle: roughly 1 minute to control your breathing, 10 minutes of useful movement, 1 hour before hypothermia turns critical. Dress for the swim, not just the paddle.
- Entrapment & moving-water hazards — know how to spot and avoid strainers, foot entrapment, and low-head dams or weirs before you’re relying on instinct in the moment.
- Leave No Trace on the water — pack in, pack out, manage human waste on multi-day trips, give wildlife space, and clean your boat between watersheds (drain, clean, dry) to avoid spreading invasive species.
Your First Few Packrafting Outings: Finding Your Path
There are really two ways into whitewater packrafting, and it’s worth being honest about which one you’re on rather than following a rigid checklist. If you’re happiest on calm lakes, that’s a complete path on its own — you don’t need to go any further than that.
Path one: instruction from the start. Most beginner packrafting courses open with a flatwater day to get you comfortable in the boat, then move straight into Class I–II moving water with an instructor coaching you through it in real time. That’s the fastest, safest way to get real moving-water experience early, because you’re building the skill and the judgment at the same time, with someone there to catch mistakes before they become a problem.
Path two: self-taught first, instruction later. If you’re not ready to commit to a course yet, taking your packraft out on a calm lake or pond on your own is a completely reasonable place to start — get comfortable in the boat, practice a wet exit on purpose so the first real one isn’t a surprise, and get a feel for how wind and open water move the boat around. But before you head into any moving water, even Class I–II, I’d strongly encourage getting instruction rather than teaching yourself on the river. Reading water, catching eddies, and self-rescue are skills that are much safer learned from a pro than through trial and error.
Either path leads to the same place: once you’re on moving water, you repeat Class I–II — a lot. Pick a local section and run it again and again as you build comfort — that’s genuinely what surprises most beginners, since you’ll spend far more time on the same stretch of river than you’d expect while you’re learning. I always tell people you’re ready to step it up a grade when you can catch every eddy, hit a clean line through every rapid, and actually read the river — not just float down it. I’ve watched too many beginners get into trouble because they mistook floating down a rapid for actually running it, and moved up a class before they’d built the technique to back it up.
Bigger trips — an overnight, a bikeraft micro-trip, a real expedition — typically come later, once you’re comfortable with your skills. Guided multi-day trips are a great way to expedite this, but there’s no rush. It’s a lifelong sport.
Packrafting Courses & Guided Trips: Fast-Track Your Skills
A course is, in my opinion, the smartest first move almost anyone can make in this sport. It compresses the learning curve, teaches rescue in a controlled setting instead of a real emergency, lets you try different boats before you buy one, and puts you in a room with other people who’ll become your paddling partners. And courses aren’t just for total beginners — plenty of paddlers take a few lessons to start, go build experience with friends for a season, and come back to a course later with a new goal, like learning to bikeraft. That’s a natural progression, not a sign you’re starting over.
One more thing before the list: not every option below is about whitewater or multi-day expeditions. I’ve split these out by what they’re actually for, so if a calm afternoon on a glacial lake sounds like more your speed than a Class III rescue drill, skip straight to the calm-water section — that’s a completely legitimate way to spend your time in this sport.
Best Beginner Packrafting Courses
- Learn to Packraft for Beginners: 2–3 Day Courses — Durango, Colorado. Built for true beginners with zero assumed experience, this one covers boat handling, basic strokes, and an introduction to reading water from the ground up. It’s the course I’d point most first-timers toward before they own any gear at all.
- Denali Packrafting Classes — Healy, Alaska. Offered from beginner through advanced, so you can pick the track that actually matches your goals rather than being lumped in with more experienced paddlers. Learning in the literal birthplace of the sport is a genuinely special way to start.
- Packrafting on the Kenai River — Seward, Alaska (about 9 hours). This one combines a full guided day with hands-on instruction and wildlife viewing built in, so your very first packraft experience doubles as an Alaska bucket-list day rather than just a technical lesson.
One caveat: packrafting-specific instruction is still a growing niche, so not every paddling school offers a dedicated packrafting course yet, especially outside of a handful of hub regions. If there isn’t one near you, don’t rule out an intro to whitewater kayaking course from your local paddling school — it’s a genuinely great starting point too. The skills cross over almost entirely: reading water, boat control, self-rescue, basic strokes, wet exits — all of it transfers straight into a packraft, even though the boat itself is different.
Bikerafting Courses
- Learn to Bikeraft: Multi-Day Beginner Courses — Durango, Colorado (2 days). Covers the rigging technique for strapping a bike to your bow, the transitions between biking and paddling legs, and basic route planning for combined trips. The clearest on-ramp into this style of travel once your paddling fundamentals are solid.


Bucket-List Guided Expeditions
- Expedition Packrafting: Multi-Day Packrafting Courses — Durango, Colorado (4 days). The natural next step once your fundamentals are solid — this one moves into overnight logistics, gear lashing and load balancing, and camp setup on the river, which is exactly the skill set multi-day wilderness travel requires.
- Nahanni Canyons from Virginia Falls — Nahanni River, Canada. Available as a 7-day or full 12-day expedition through Canyon Kingdom, covering remote canyon country and multi-day wilderness travel. This is the kind of trip worth building toward over a season or two, not starting with — but it’s worth knowing it’s out there as a long-term goal.
- Any multi-day raft trip – most rafting outfitters permit packrafts, and some even offer kayak-specific multi-day whitewater trips. From rivers like the Main Salmon in Idaho, to the Rio Chama in New Mexico, to the Grand Canyon, guided river trips a great way to get on highly permitted rivers and bring your packraft along.


River Rescue Courses
If I could point every beginner toward one piece of instruction beyond basic boat handling, it would be this. A river rescue course (often called a swiftwater rescue course) teaches you what to actually do when something goes wrong on the water — for yourself and for the people you’re paddling with. That typically covers self-rescue, swim techniques in whitewater, throw-bag and rope-based rescue technique, how to read and avoid entrapment hazards like strainers and foot entrapment, basic wading and river-crossing technique, and how to organize a rescue response as a group instead of everyone reacting on their own. I still think back to the confidence difference I felt the first time I actually had to swim real whitewater after taking my own course — it’s the kind of thing that changes how you paddle, not just what you know.
Here’s the good news for packrafters specifically: you don’t need to find a packraft-specific version of this course, because it mostly doesn’t exist yet as its own category. River rescue courses are built for whitewater recreationists broadly — rafters, whitewater kayakers, and packrafters all train side by side, since the water hazards and rescue fundamentals are the same regardless of what craft you’re in. A good instructor will tailor examples and scenarios to what you’re actually paddling, so a room full of rafters, kayakers, and packrafters isn’t a mismatch — it’s normal and models what a group might look like out on the river.
Check with your local paddling shop, whitewater club, or outfitter even if they don’t run packraft-specific trips, since most regions with any real whitewater scene have a rescue course running through the season. A couple of certifying organizations worth knowing so you can find a course backed by a recognized curriculum: Sierra Rescue and the American Canoe Association (ACA) are two of the most widely recognized names in swiftwater and river rescue instruction in the US, and courses certified through either are a safe bet regardless of which craft you paddle.


Calm-Water & Family-Friendly Options
If rapids and multi-day logistics aren’t the point for you — and for a lot of readers, they genuinely aren’t — these are built around scenery and an easy pace instead:
- Norris Adventure: Hike & Packrafting — Juneau, Alaska (5 hours). Combines a glacier-ice hike with a packraft segment — a memorable, still-beginner-accessible way to add a bucket-list Alaska day to a trip without committing to a full expedition.
- Kennicott Glacier Lake Packrafting — McCarthy, Alaska (4 hours). Kid-friendly and free cancellation, this is a guided paddle among icebergs on a glacial lake with no whitewater involved at all — Alaska’s dramatic scenery without any of the technical demands.
- Colorado River Packrafting — Half Day Private Trip — Moab, Utah (5 hours). Kid-friendly and privately guided, this is calm, scenic water well suited to families or anyone who wants the packraft experience without any whitewater component.
- Entrajo Canyon and Medieval Chamber — Private Canyoneering & Packrafting Combos — Moab, Utah (8 hours each). These pair a short, mellow packraft segment with canyoneering and rappelling — a good pick if you want variety and a full day of adventure over paddling intensity.
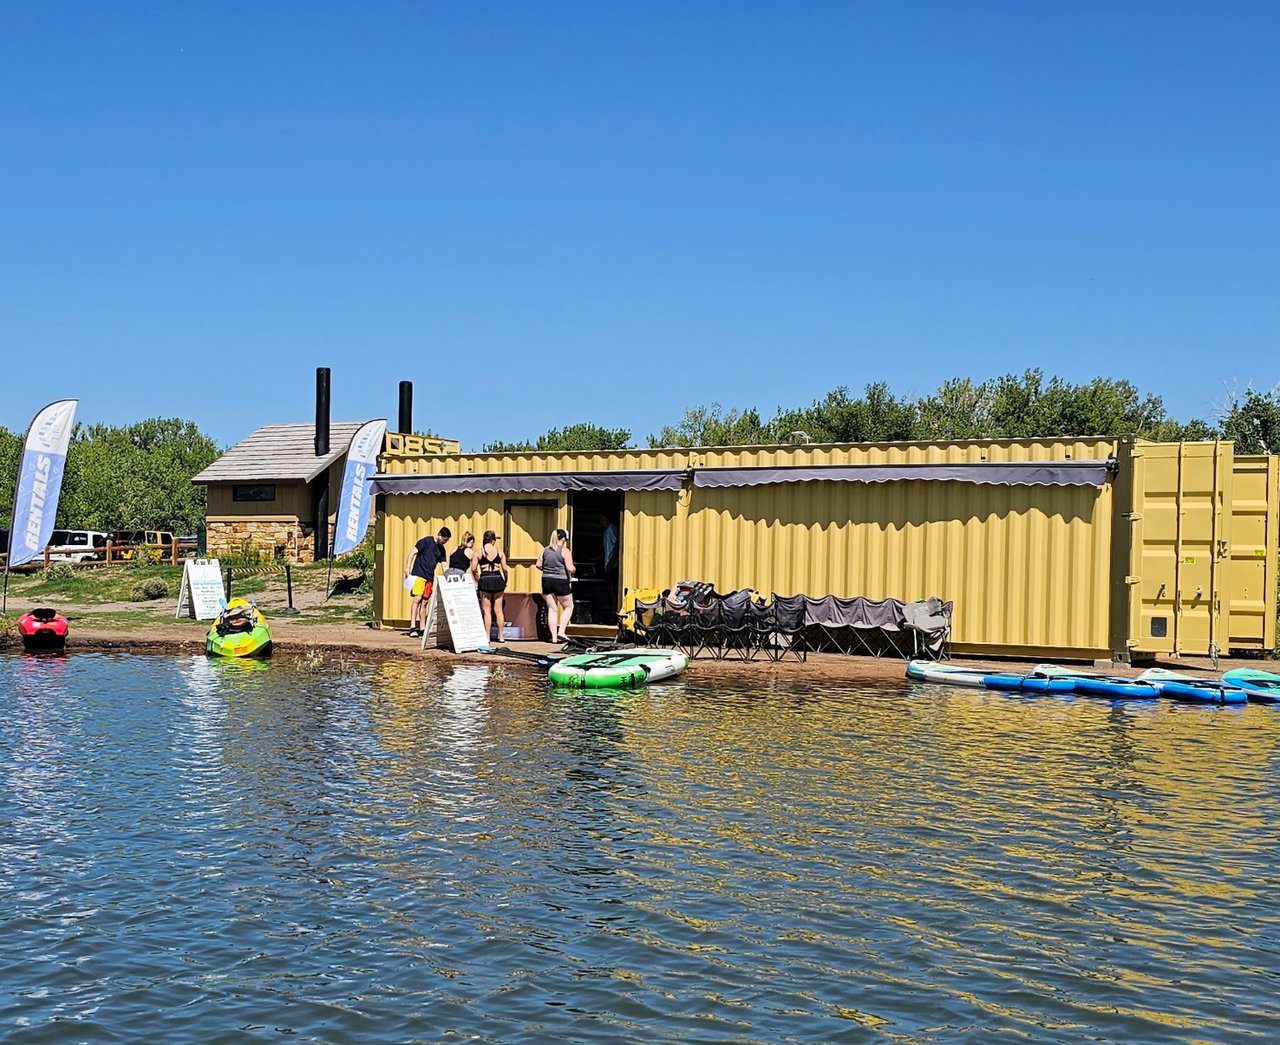
- Tempe Packraft Rentals – Tempe, AZ (full day, multi-day). Rent a Kokopelli Rogue-Lite packraft for your next hike-and-paddle adventure across Central Arizona—strap this 6-pound, packable boat to your back, hike into remote put-ins, and glide through calm, mellow stretches of the Salt River and desert lakes most paddlers never reach. Everything you need comes with it (pump, paddles, and PFD), so you can travel light and explore the Sonoran Desert’s quiet waters in a single trip.
Build Water Confidence First: Try an Inflatable Kayak Trip
If you’re not ready to commit to a packrafting-specific course yet, or you just want to see whether this style of paddling is for you before spending real money, I’d recommend booking a commercially guided inflatable kayak trip first. It’s a fun, low-stakes way to get a feel for reading water and paddling technique with a guide doing the safety planning for you. On TripOutside, find vetted inflatable kayak trips across the U.S., from the Rogue River in Southern Oregon to the Watauga River in Elizabethton, Tennessee.
And if you’d rather test gear on your own schedule before booking a guided trip, rentals are an easy way to just get out and paddle. Check out our vetted inflatable kayak rentals.
Where to Go Packrafting in the US (and Beyond)
Packrafting tends to get associated with Alaska and the Rockies, but approachable moving water exists in nearly every region of the country — the Southwest’s desert canyons, Pacific Northwest rainforest rivers, Southeast whitewater classics, Northeast dam-released runs, and Midwest paddling communities all have incredible whitewater communities. Here’s a regional rundown, including a well-known Class II section in each worth knowing about as you start looking for water near you.
Southwest / Four Corners
Since TripOutside is based in Durango, we may be a bit biased here, but this is genuinely one of the best regions in the country to learn: the San Juans, the Animas, and the broader Durango area offer everything from flatwater to guided Class II–III, plus some of the best beginner and bikerafting courses anywhere, all within a short drive of each other. The Animas River through Durango itself has an iconic local Class II run — a steady, well-known stretch that doubles as the training ground for a lot of the area’s guides and instructors. The Moab Daily section is another great beginner option in nearby Moab (~3 hours drive). And best of all, the water is warm!
Pacific Northwest
Big volume, big scenery, and a strong guiding culture. Sections of the Clackamas River near Portland, Oregon have great, approachable runs in the region. Closer to my own home water, the lower stretch of the Lower White Salmon River offers a more continuous Class II section even though. In Southern Oregon, the rec section of the Rogue River has warm water, friendly for learning, and the Wenatchee River up in Washington is also a great learning river.
Southeast
Warmer water and a long paddling season make this a comfortable place to learn. The Nantahala River in North Carolina is about as iconic as approachable whitewater gets in the Southeast — a steady, well-defined Class II run through the Nantahala Gorge that’s introduced more paddlers to moving water than almost any other river in the country, with a deep bench of outfitters and instruction built up around it.
Northeast
Dam-released rivers give this region something a lot of natural-flow rivers can’t: predictable scheduling. The Deerfield River‘s Fife Brook section in Massachusetts is a well-loved Class II run through New England hardwood forest, and because it’s dam-released, you can plan a trip around it with more certainty than you’d get chasing a natural snowmelt window.
Midwest
Proof you don’t need mountains to find real moving water. The Wolf River in Wisconsin is the region’s best-known whitewater destination, with stretches of steady Class II water running through Northwoods forest — just double-check which section you’re on, since a few stretches step up into pushier water mixed in with the easier stuff.
Alaska
The birthplace of the sport, and still the place I’d send anyone chasing the full wilderness-travel version of packrafting — hike-in, paddle-out routes across terrain that simply doesn’t exist in the lower 48 in the same way. Plus, it’s a great way to see Alaska’s glaciers. It’s also more approachable as a starting point than its reputation suggests, since a lot of the guided options here are built for beginners rather than assuming expedition experience. Healy, near Denali, is home to the Nenana River go-to destination. In Seward, the Kenai River is a great place to start. McCarthy, out toward Kennicott, is about as gentle an introduction as Alaska gets — a guided paddle among icebergs on a glacial lake with no whitewater involved. And Juneau offers a guided hike-and-packraft combo at Norris Glacier that pairs glacier travel with your first time in the boat. Any of these is a genuinely good way to get an Alaska packrafting day without needing to plan your own expedition.
Dream Expeditions
Once you’ve built real skills, a whole world of whitewater opens up. Closer to home, the American West has bucket-list big water. Some outfitters may welcome a packraft riding along on a guided multi-day trip, but there alre also many packraft- or kayak-specific trips, which will always be a better choice as they’re tailored to paddlers. The Grand Canyon is the obvious bucket-lister — trips run anywhere from about a week to two weeks through some of the most dramatic whitewater and canyon scenery on the planet. Cataract Canyon on the Colorado River in Utah packs serious rapids and remote desert canyon into a shorter multi-day window, and the Main Salmon in Idaho is one of the classic wilderness river trips left in the Lower 48 — a true float through the Frank Church Wilderness with essentially no road access the entire way.
Further afield, the Nahanni River in Canada’s Northwest Territories is about as bucket-list as packrafting gets — remote canyons, multi-day wilderness travel, and a trip worth training toward for a season or two rather than booking on a whim. In that same tier, the Tatshenshini-Alsek, which runs from the Yukon through British Columbia and into Alaska, is an 11-day wilderness expedition through some of the most remote glacier and mountain country on the continent — genuinely one of the great multi-day river trips in North America, and available as a guided trip if you’d rather bring a packraft along than organize the logistics yourself.
Beyond North America, a handful of places have earned real reputations as paddling meccas: Chile’s Futaleufú River in Patagonia is one of the most famous whitewater rivers on earth, with striking turquoise glacial water and rapids serious enough to draw paddlers from every continent – alough there are also many beginner-friendly options in Chile! New Zealand’s South Island packs an unusually dense concentration of world-class, accessible whitewater into a small area. Norway pairs fjord and glacier scenery with committing multi-day packraft routes that feel a lot like Alaska with a different accent. And Nepal, fed by Himalayan snowmelt, offers some of the most iconic multi-day rafting and packrafting expeditions anywhere, though the logistics and permitting involved are a completely different undertaking than anything on this list so far.
Keep permits and seasonality in mind wherever you’re headed — snowmelt timing, water levels, and permit windows vary a lot by region and can make or break a trip. But, dream big – keep progressing your skills and these dream expeditions might not be as far off as they seem.
Frequently Asked Questions
Is packrafting safe for beginners?
Yes, when you start on appropriate water — flatwater and lakes — with the right gear and, ideally, some instruction. Risk goes up quickly on moving water without training.
How much does a packraft cost?
Entry-level boats start around $150–$500, with most beginners’ best buy landing in the $900–$1,500 mid-range. Expedition and whitewater-ready packrafts run $1,600–$2,500 or more.
How heavy is a packraft?
Most packrafts weigh between 5 and 9 pounds, which is what makes them practical to carry on a hike or strap to a bike.
Can you packraft alone?
You can on lakes, but it’s not recommended on moving water. Paddling with a partner is one of the simplest ways to reduce risk, and it’s more fun!
Do you need a course to start packrafting?
Not strictly, but we strongly recommend one. A course compresses months of trial-and-error into a shorter time frame and teaches rescue skills before you actually need them. It makes learning a lot less frustrating, and you’ll benefit from immediate feedback from a live instructor as you hone your skills.
Packraft vs. inflatable kayak — which should a beginner buy?
If you’ll be hiking or biking to reach water, get a packraft. If you mostly want car-accessible trips and won’t need to carry gear, an inflatable kayak is a perfectly reasonable place to start. Either way, stick to reputable, whitewater-capable brands.
What should I wear packrafting?
Dress for water temperature, not air temperature. Use the 120° rule: if air temp plus water temp is under 120°F combined, dress like you’re going swimming. For a detailed overview, check out our guide for What to Wear Paddling in Every Season.
How hard is packrafting?
The basics are approachable for most beginners on flatwater within a day. Whitewater packrafting does have a learning curve with a is skill set that’s best learned progressively with instruction.
Ready to Get on the Water?
Here’s what keeps us coming back for more: packrafting turns water you used to just scroll past on a map into places you can actually reach. But the boat is only half of it—the skills are what keep it fun and keep you safe, especially once there’s current involved. The fastest way to build those (and the shortcut past every mistake I made learning on my own) is a few days with someone who already knows the water. Find a beginner course with a vetted guide through vetted packrafting instruction on TripOutside, and go find out what your feet can reach.