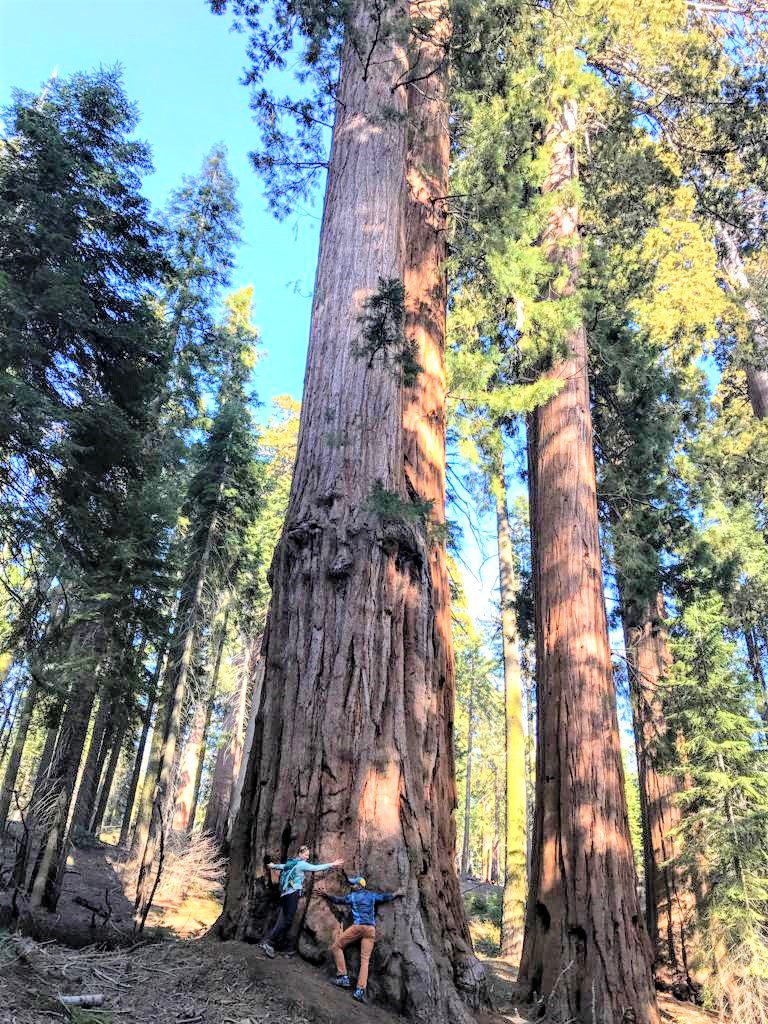
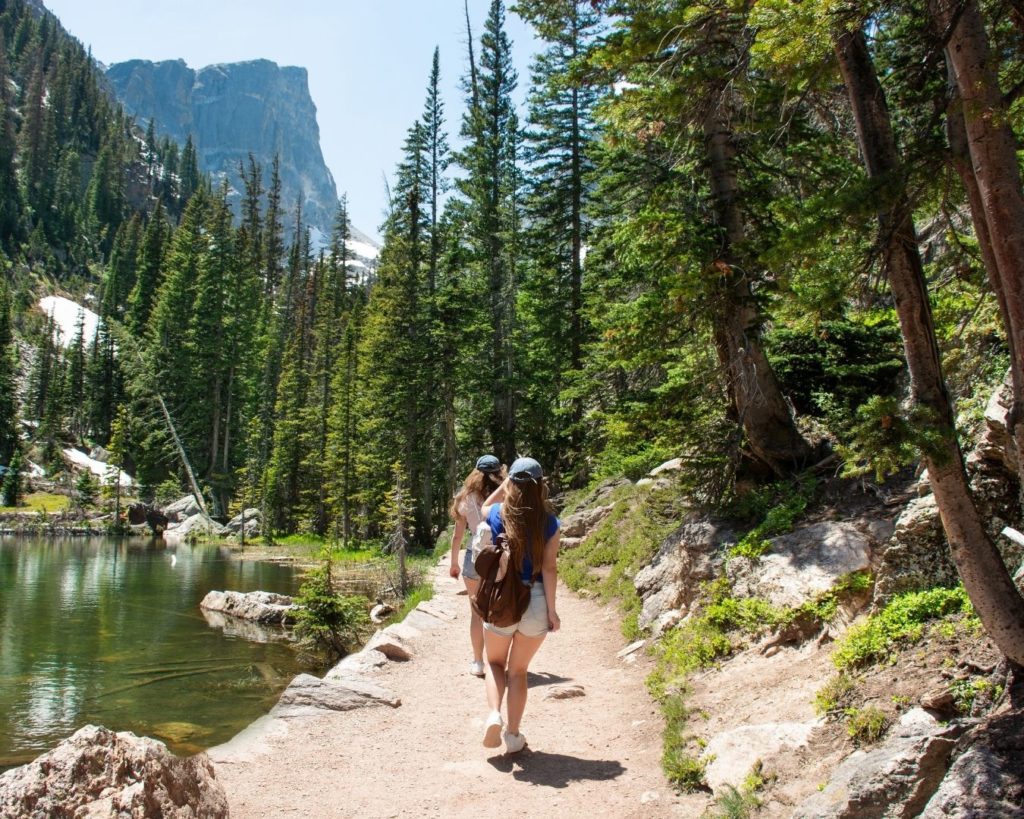
Introduction to Hiking, Backpacking, and Thru-Hiking
This Hiking for Beginners guide was built from the ground up with insights from our TripOutside team and partners – a crew of hikers, backpackers, thru-hikers, and outdoor guides who spend serious time on trails. We tapped into years of trail-tested experience, plus feedback from our vetted local guide partners across the U.S., to create a no-fluff resource for beginners who want to hit the trail with confidence. Whether you’re heading out for a quick nature walk or planning a multi-day trek, this guide covers the essentials.
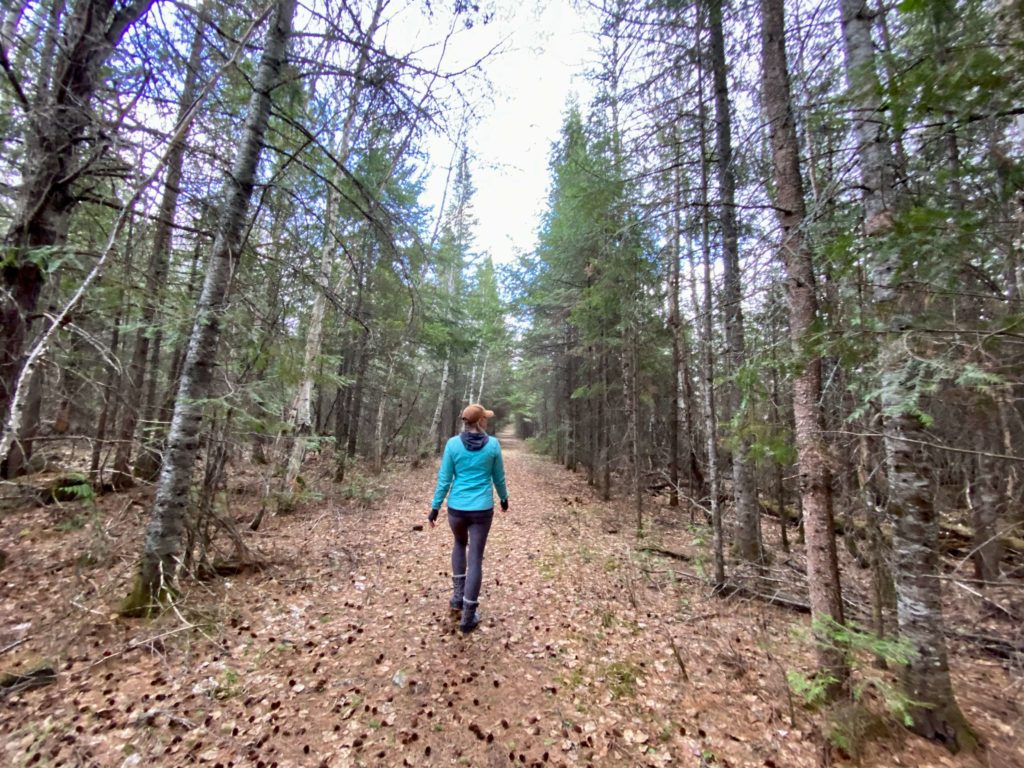
What is Hiking?
Hiking, in its simplest sense, is walking on trails for fun, exercise, or both. America’s National Trails System includes over 88,600 miles of trails. Add in state park and local trails, and there are quite a few opportunities to get out on a hike, no matter where you are.
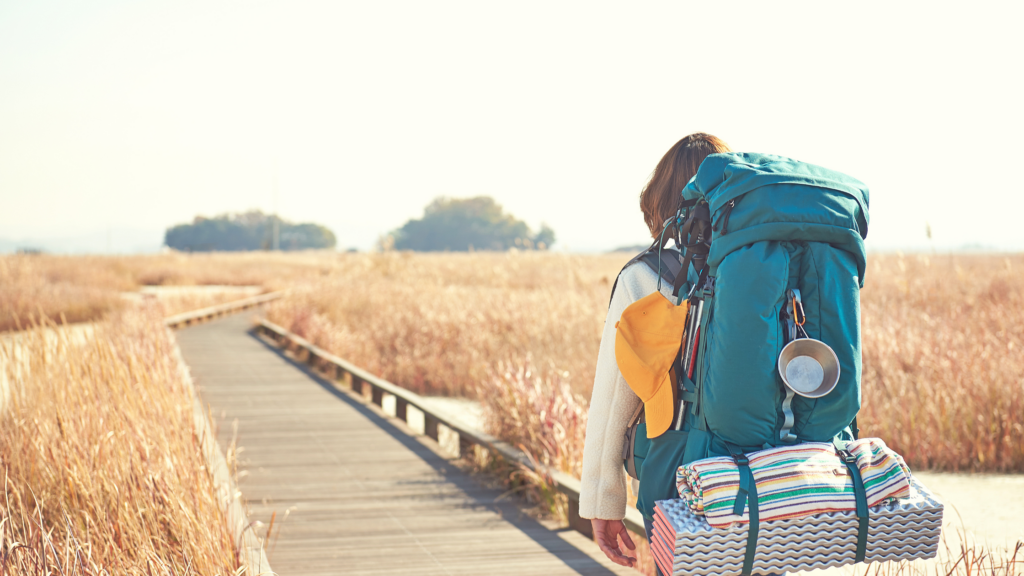
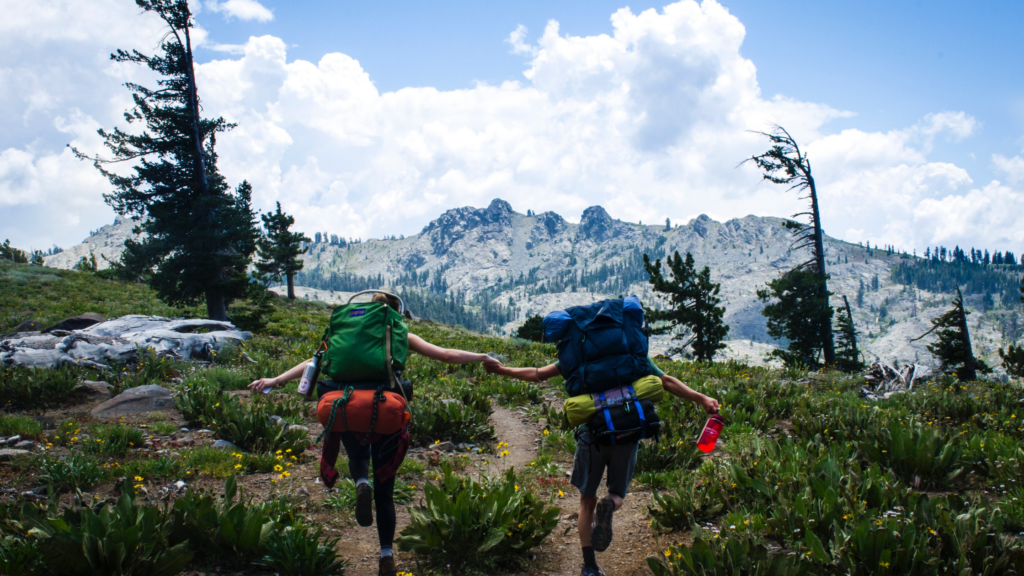
Backpacking, Thru-Hiking and Trekking
Whether you’re chasing waterfalls, bagging peaks, or just looking for a chill nature walk near town, hiking can get you there. And as you dig in, you’ll start to hear a bunch of hiking lingo tossed around.
We’re going to define a few of those terms so you’ve got the scoop when you’re planning your next adventure.
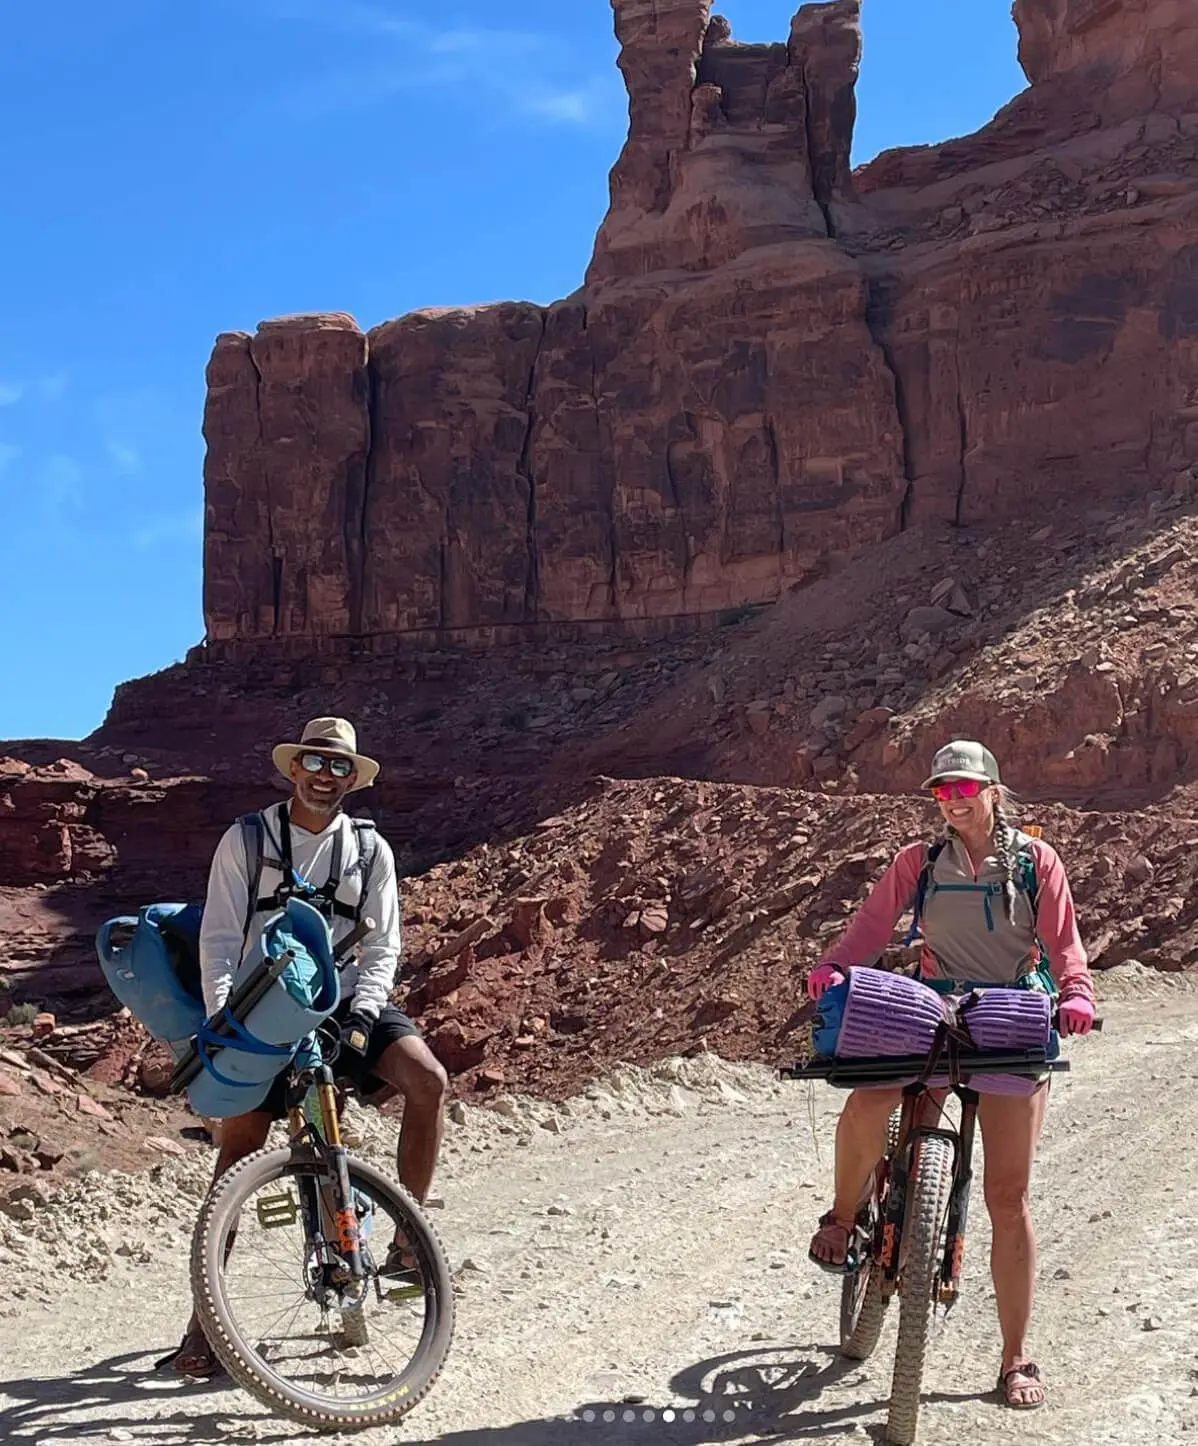
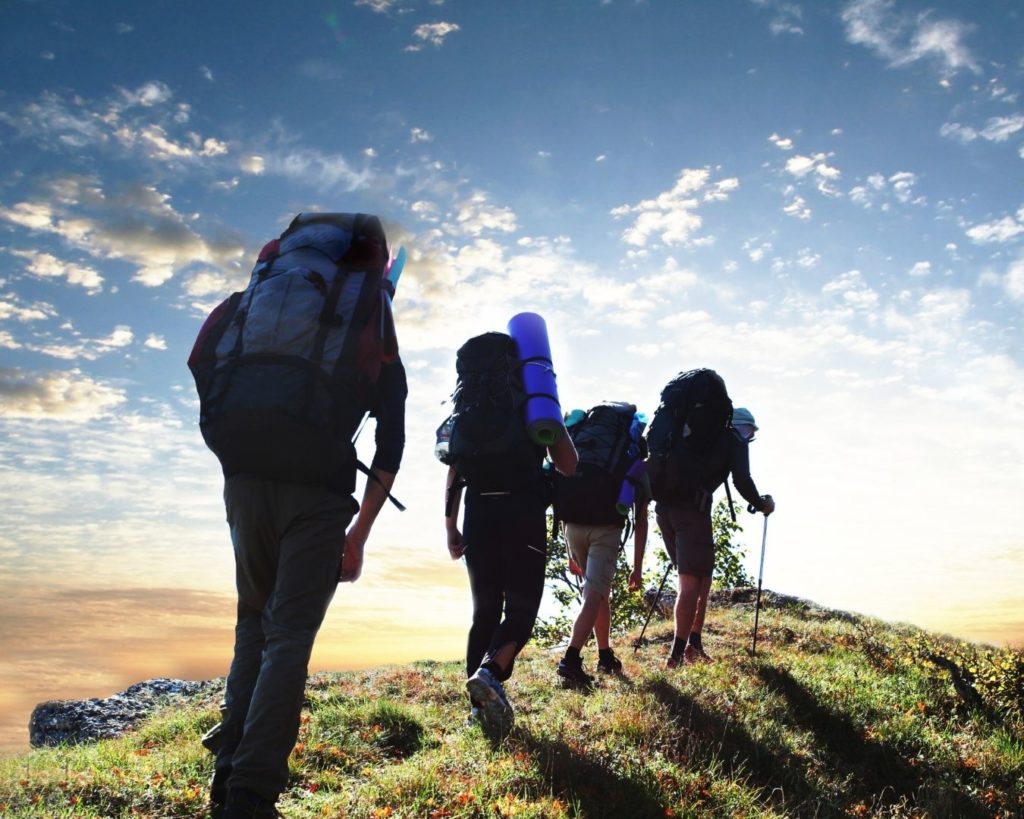
- Backpacking is hiking with all your essential gear on your back, so you can camp in the “backcountry” or wilderness. Think multi-day adventures versus a day hike. For more information on backpacking, check out our Ultimate Backpacking Guide.
- Thru-hiking is backpacking a long-distance trail end-to-end, like the Pacific Crest Trail or the Appalachian Trail. Also multi-day backpacking adventures.
- Trekking and hiking often get used interchangeably. “Trekking” may imply a longer, more arduous route, whereas you can go on a short, “easy” hike without much elevation gain. The term trekking is more often used in Europe and internationally, while hiking is commonly used in the US and Canada.
Types of Hikes
Not all hikes are created equal, and that’s part of the fun. Here’s the beta on different types of hikes you’ll run into and how to choose one that fits your vibe:
- Out-and-Back: You hike to a destination (like a lake or summit), then return the same way you came. Easy to follow and great for beginners.
- Loop: These hikes circle back to the starting point via a different route. They’re awesome for variety and scenery.
- Lollipop: Starts as an out-and-back, but adds a loop at the end before returning. A tasty option if you’re looking to spice it up.
- Summit: A hike that ends at the top of a peak. These usually come with elevation gain (and epic views).
- Waterfall or Lake Hike: Often lower elevation and great bang for your buck in terms of scenery.
- Interpretive or Nature Trails: Usually short and educational, often with signs pointing out local flora, fauna, or geology. Great for kids and a chill intro to hiking for beginners.
How to Choose a Hike
Start with what you’re excited about — a view, a waterfall, wildflowers — then match it to your fitness level and available time. Apps like AllTrails let you filter hikes by length, difficulty, and route type, which makes it easier to find the right match. See below for our trail apps comparisons!
Average Hiking Speed (and Why it Matters)
Knowing how fast you hike helps you plan your trip, stay safe, and avoid getting caught on the trail after dark. It’s also super helpful for figuring out how much water, food, and time you’ll need — especially if you’re heading into unfamiliar terrain.
How long a hike will take you depends on many factors, including your fitness level, the trail’s elevation gain and condition, and how often you take breaks. On flat or mellow trails, most hikers move at about 2 to 3 miles per hour. But once you start climbing, that pace slows down — and that’s totally normal.
A good rule of thumb: add 30 minutes for every 1,000 feet of elevation gain.
So if your hike is 3 miles long with 1,000 feet of elevation, you’re probably looking at 1.5 to 2 hours on the trail — more if you take snack breaks or spend time soaking up the views.
Other things that can affect your pace:
- Trail surface (rocky, muddy, loose, or smooth)
- Altitude (you’ll slow down the higher up you are)
- Your fitness level and how heavy your pack is
- How often you stop for photos, breaks, or just to chill
Whether you’re out for a sunrise summit or a post-lunch stroll, having a rough time estimate helps you avoid surprises and plan better — which means more time enjoying the trail, and less time stress-checking the clock.
Benefits of Hiking
Hiking has so many benefits, because it accomplishes two healthy pursuits: spending time in nature and physical activity. Hiking boosts your mood, builds strength, reduces stress, and gets you out in nature — which, let’s be real, most of us need more of. It’s a low-barrier activity that anyone can enjoy, whether you’re 8 or 80. Plus, you don’t need a gym membership or fancy gear to start.
Spending time outside with loved ones and friends has been shown to strengthen social bonds, as well as improve overall psychological well-being. Research shows that spending time in nature is particularly beneficial for the health and development of young kids, too.
Hiking Clothing & Attire
Hiking attire can be highly personal, and depends on the conditions and weather. But overall, we recommend to dress in layers, and think about the trail like you would a road trip — conditions can change fast. Merino wool is a hiker’s favorite for a reason: it doesn’t stink, keeps you dry, and holds up to long days and sweaty climbs. And if it might rain, bring that shell – you won’t regret it. Here’s what we recommend:
- Hiking top that wicks moisture. This can be short-sleeve or long-sleeve, depending on the season. Our favorite material is merino wool, because it’s a natural, moisture-wicking fabric that’s antimicrobial and odor-resistant — great for backpacking! Polyester is a good second choice, but avoid cotton because it retains water — not what you want while you’re sweating on the trail.
- Hiking socks. Ideally these are merino, too, and provide some cushioned support.
- Hiking pants or shorts. These should be moisture-wicking and sturdy.
- Rain jacket. Depending on where you live and the time of year, it could rain at any moment. For comfort and safety reasons, you don’t want to be out the trail without a rain shell.
- Warm jacket and/or warm layer. Depending on the weather, go for a polyester fleece, polyester jacket with down fill, and/or a merino/poly mid-layer. Bringing at least one warm layer on a hike is a good practice, even in warm weather. When you climb in elevation, it gets colder. So you might appreciate the layer when you break for lunch at the top of the summit. Or if you get hurt and are moving slowly back down the mountain, you might be grateful you brought that jacket.
- Hiking boots or trail-running shoes. You want sturdy shoes with traction that were designed for hiking trails.
- Hiking hat. Wide-brimmed hats are great for optimal sun protection. Light-weight baseball-style caps work well, too. If you’re hiking in the winter, consider bringing a warm cap/beanie.
- Hiking sunglasses. Protect those eyes! Wearing shades is important, especially on sunny days.
If you’re doing some winter hiking or heading to a trail that might have snow, consider bringing microspikes. They’re lightweight, easy to slip on, and will improve your traction while traversing packed snow and icy patches on the trail. Note: hiking over snow and ice can be dangerous, and you should check the trail conditions and make sure you have the right gear (microspikes or snowshoes) before heading out.
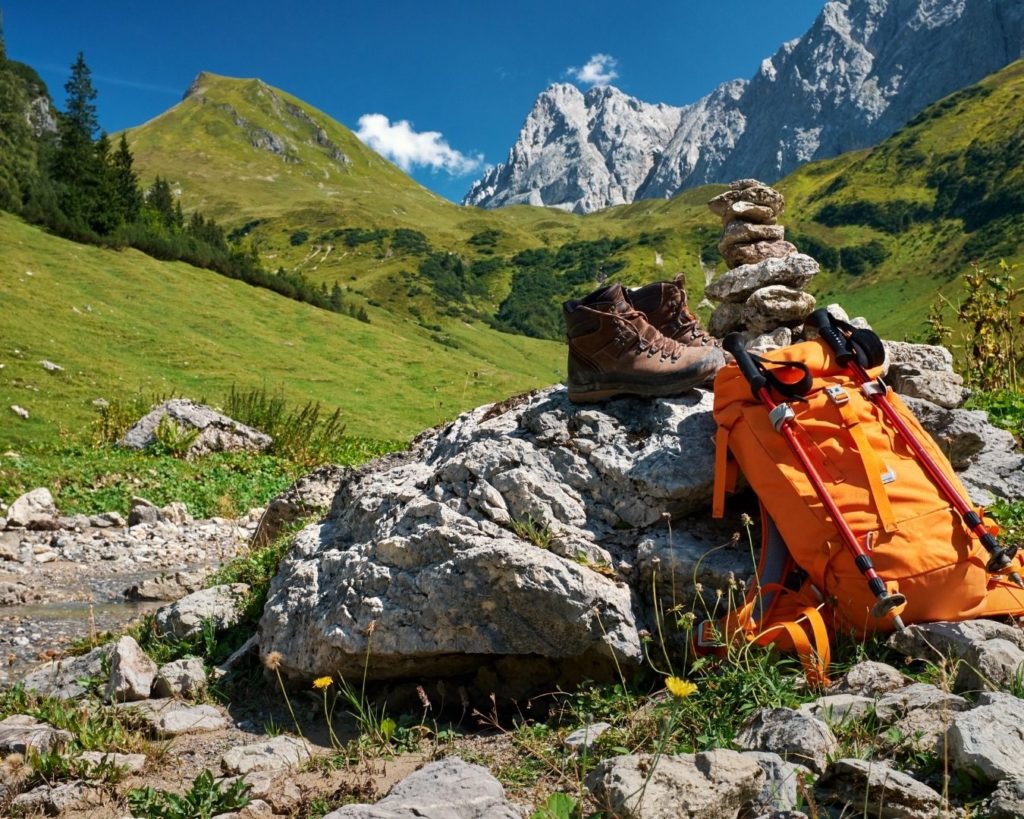
What to Bring Hiking: Backpacks, Essentials, and Snacks
Backpacks
What you bring hiking depends on how long you’re planning to be out there, but you’ll almost always want a backpack. A small daypack (20–30L) is perfect for most hikes – enough room for snacks, water, and an extra layer. If you’re heading out overnight, that’s when you’ll need a bigger pack, fitted to your body and dialed in for carrying camp gear. Got a tiny trail buddy? There are baby carriers made for hiking, too – so parents don’t have to miss out on the fun.
If you are doing a multi-day backpacking trip or a thru-hike you’ll need a larger pack. Depending on the weight and size of your gear and how long you foresee staying in the backcountry, consider options between 30 and 80 liters. Backpacking packs are sized, and it’s important to choose the right one for your body. We recommend that you get fitted for a pack at REI or your local outdoor shop.
Day Hiking Essentials
Here’s a list of gear we recommend bringing on a day hike:
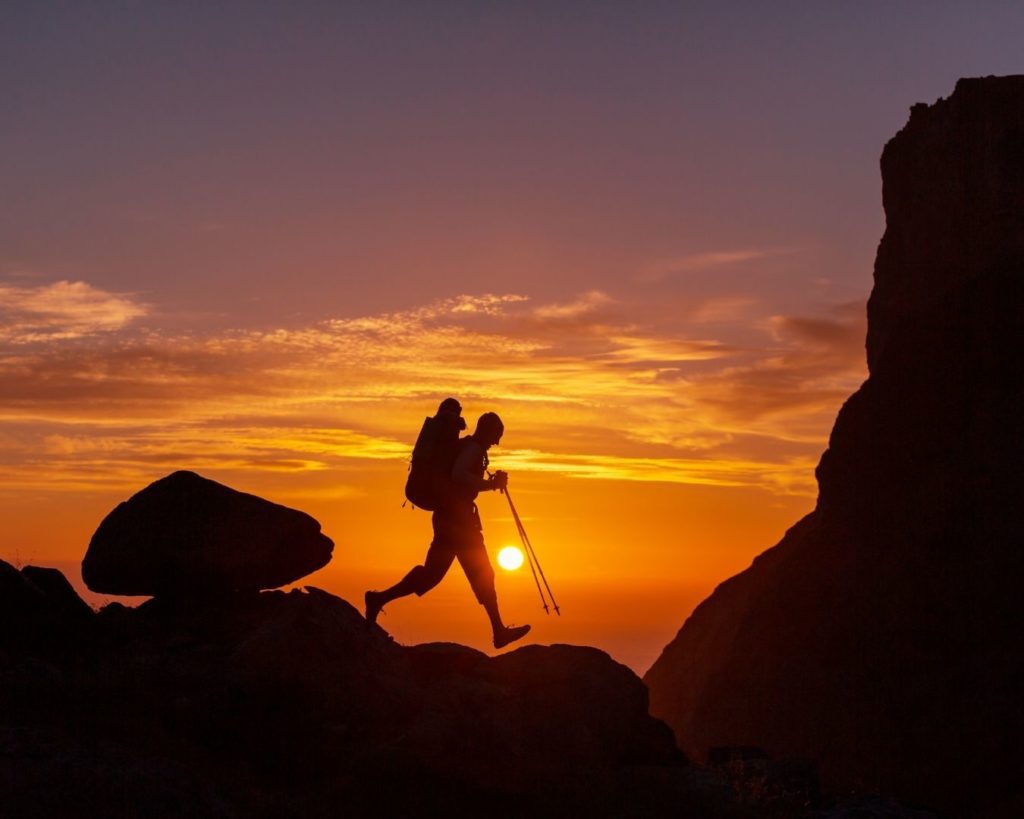
- Hiking poles. Using poles takes pressure off your joints and helps protect your knees.
- Hiking water bottle. We recommend using a stainless steel bottle that will keep your water cold or a hydration reservoir, for easy access while on the move.
- First aid kit. Accidents happen. It’s good to be prepared. You can purchase lightweight adventure medical kits at many outdoor retailers.
- Headlamp. In case you get lost and the sun starts to go down.
- Sunscreen. Lotion up, even on a cloudy day. You’re still getting UV rays.
- Map. When you’re out on the trail, it’s important to know where you’re going. Carrying a paper map is a good idea. But we recommend downloading your route on AllTrails, because it makes navigation pretty fool-proof. That said, you’ll need to make sure your phone stays charged. (More on AllTrails in a bit.)
Best Snacks for Hiking
Hiking snacks are essential — not just for energy, but for morale. A well-timed granola bar can save a trip. Our go-tos include trail mix (GORP style), dried fruit, nut butter packets, or even a tortilla stuffed with peanut butter and a banana. Basically, if it doesn’t melt and fits in a pocket, it’s fair game.
Hydration Tips
It’s important to stay hydrated while hiking. Rule of thumb: a liter per hour is a good place to start, especially in the heat. When the trail you’re hiking has a stream or water source, consider bringing a water filter to save your back from carrying all the water you’ll need at once. But don’t count on filling up from streams unless you’ve got a solid water filter — no one wants to end a hike with a side of Giardia.
Hiking Tips: Safety, Weather, and Etiquette
Hiking Safety
There are dangers with every outdoor activity and it’s important to know what you’re getting into in order to stay safe. So, make sure you:
- Plan your hike. Know where you’re going, and have a trail map with you. Ideally, you should bring a paper copy and a downloaded digital map that shows where you are on the trail.
- Stay on the trail. It’s easy to get lost in the wilderness. Stay safe by staying on the designated trail.
- Know your limits. Choose a trail that’s suitable for your skill and experience level. Trails are often rated “Easy,” “Moderate,” or “Difficult.”
- Bring enough water. See above for hydration tips.
- Bring hiking snacks. See above for our favorite trail snacks.
- Be aware of the wildlife you may encounter. If you’re hiking in the wilderness, there’s a chance you’ll run into wildlife. Know the type of wildlife that’s in the area before you go out, and take necessary precautions. For example, if you’re in a grizzly bear habitat, you should carry bear spray and know how to use it.
How to Read a Trail Description or Map
Reading trail descriptions can feel like decoding secret hiker code. Here’s how to interpret the info so you know what you’re getting into:
- Distance: Total mileage, either round-trip or for the full loop. Make sure to double-check if it’s listed as one-way.
- Elevation Gain: How much uphill you’ll be doing. 1,000 feet of gain in a short hike means it’s going to be steep.
- Trail Type: See above for out-and-back, loop, or lollipop.
- Difficulty: Usually rated as Easy, Moderate, or Difficult. These are somewhat subjective, but good guidelines.
- Surface: Rocky, rooty, paved, gravel — it can all impact how fast or comfortably you move.
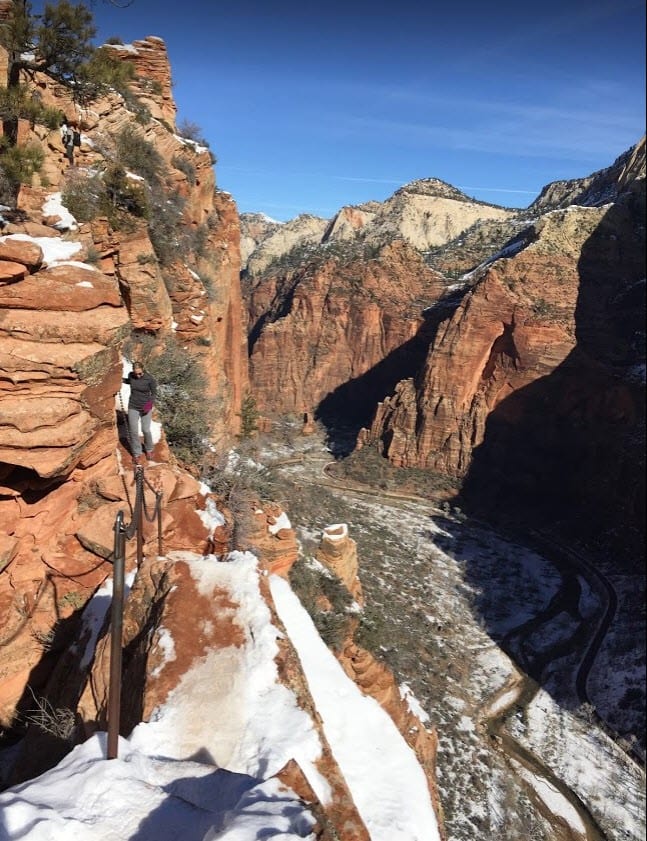
- Exposure: Trails with “exposure” usually mean steep drop-offs. They’re not everyone’s jam, especially if heights give you the willies.
- A topographic (topo) map will show contour lines — the closer they are together, the steeper the terrain. If you’re looking at a dense line sandwich, it’s a climb.
Hiking and Weather
Look up the weather report before you hike, and make sure you have the right gear and clothing for the conditions. Avoid hiking midday in hot climates during the summer, and consider whether the route you’re taking has trees. Trees provide shade that’s a welcome reprieve on a hot day. Hiking in extreme conditions, e.g., Arizona in the middle of a summer day or Alaska on a frigid winter morning, could be life-threatening.
If you could be hiking in the rain, you should have a rain jacket on hand. If you’re planning on hiking in the snow, make sure you have a warm waterproof jacket, snow pants, a warm cap, and waterproof gloves. And bring a wide-brimmed hat and long-sleeve sun shirt if you’re planning on hiking in the heat or on a sunny trail.
Best Time for Hiking
The best time of year for hiking will vary from place to place, depending on the climate. Hiking in the lower-lowing areas of southwestern states, like Arizona, New Mexico, and California, is usually best in the spring and fall, when it’s not too hot. Hiking at higher altitudes in the mountain West — in states like Washington, Oregon, and Montana — tends to be best in the summer (mid-June – September). And hiking in the northeast is best in the fall, when the temperatures cool down and the leaves are colorful.
The best time of day for hiking varies from place to place, but it’s generally most pleasant and safest to hike in the morning or the evening, when the sun isn’t as strong.
Common Hiking Terms
Hiking, like many activities, has its own language of sorts. Here are some common hiking for beginners terms, defined:
- Bushwhacking. Hiking off-trail, through thick brush. Respect the wilderness and avoid bushwacking.
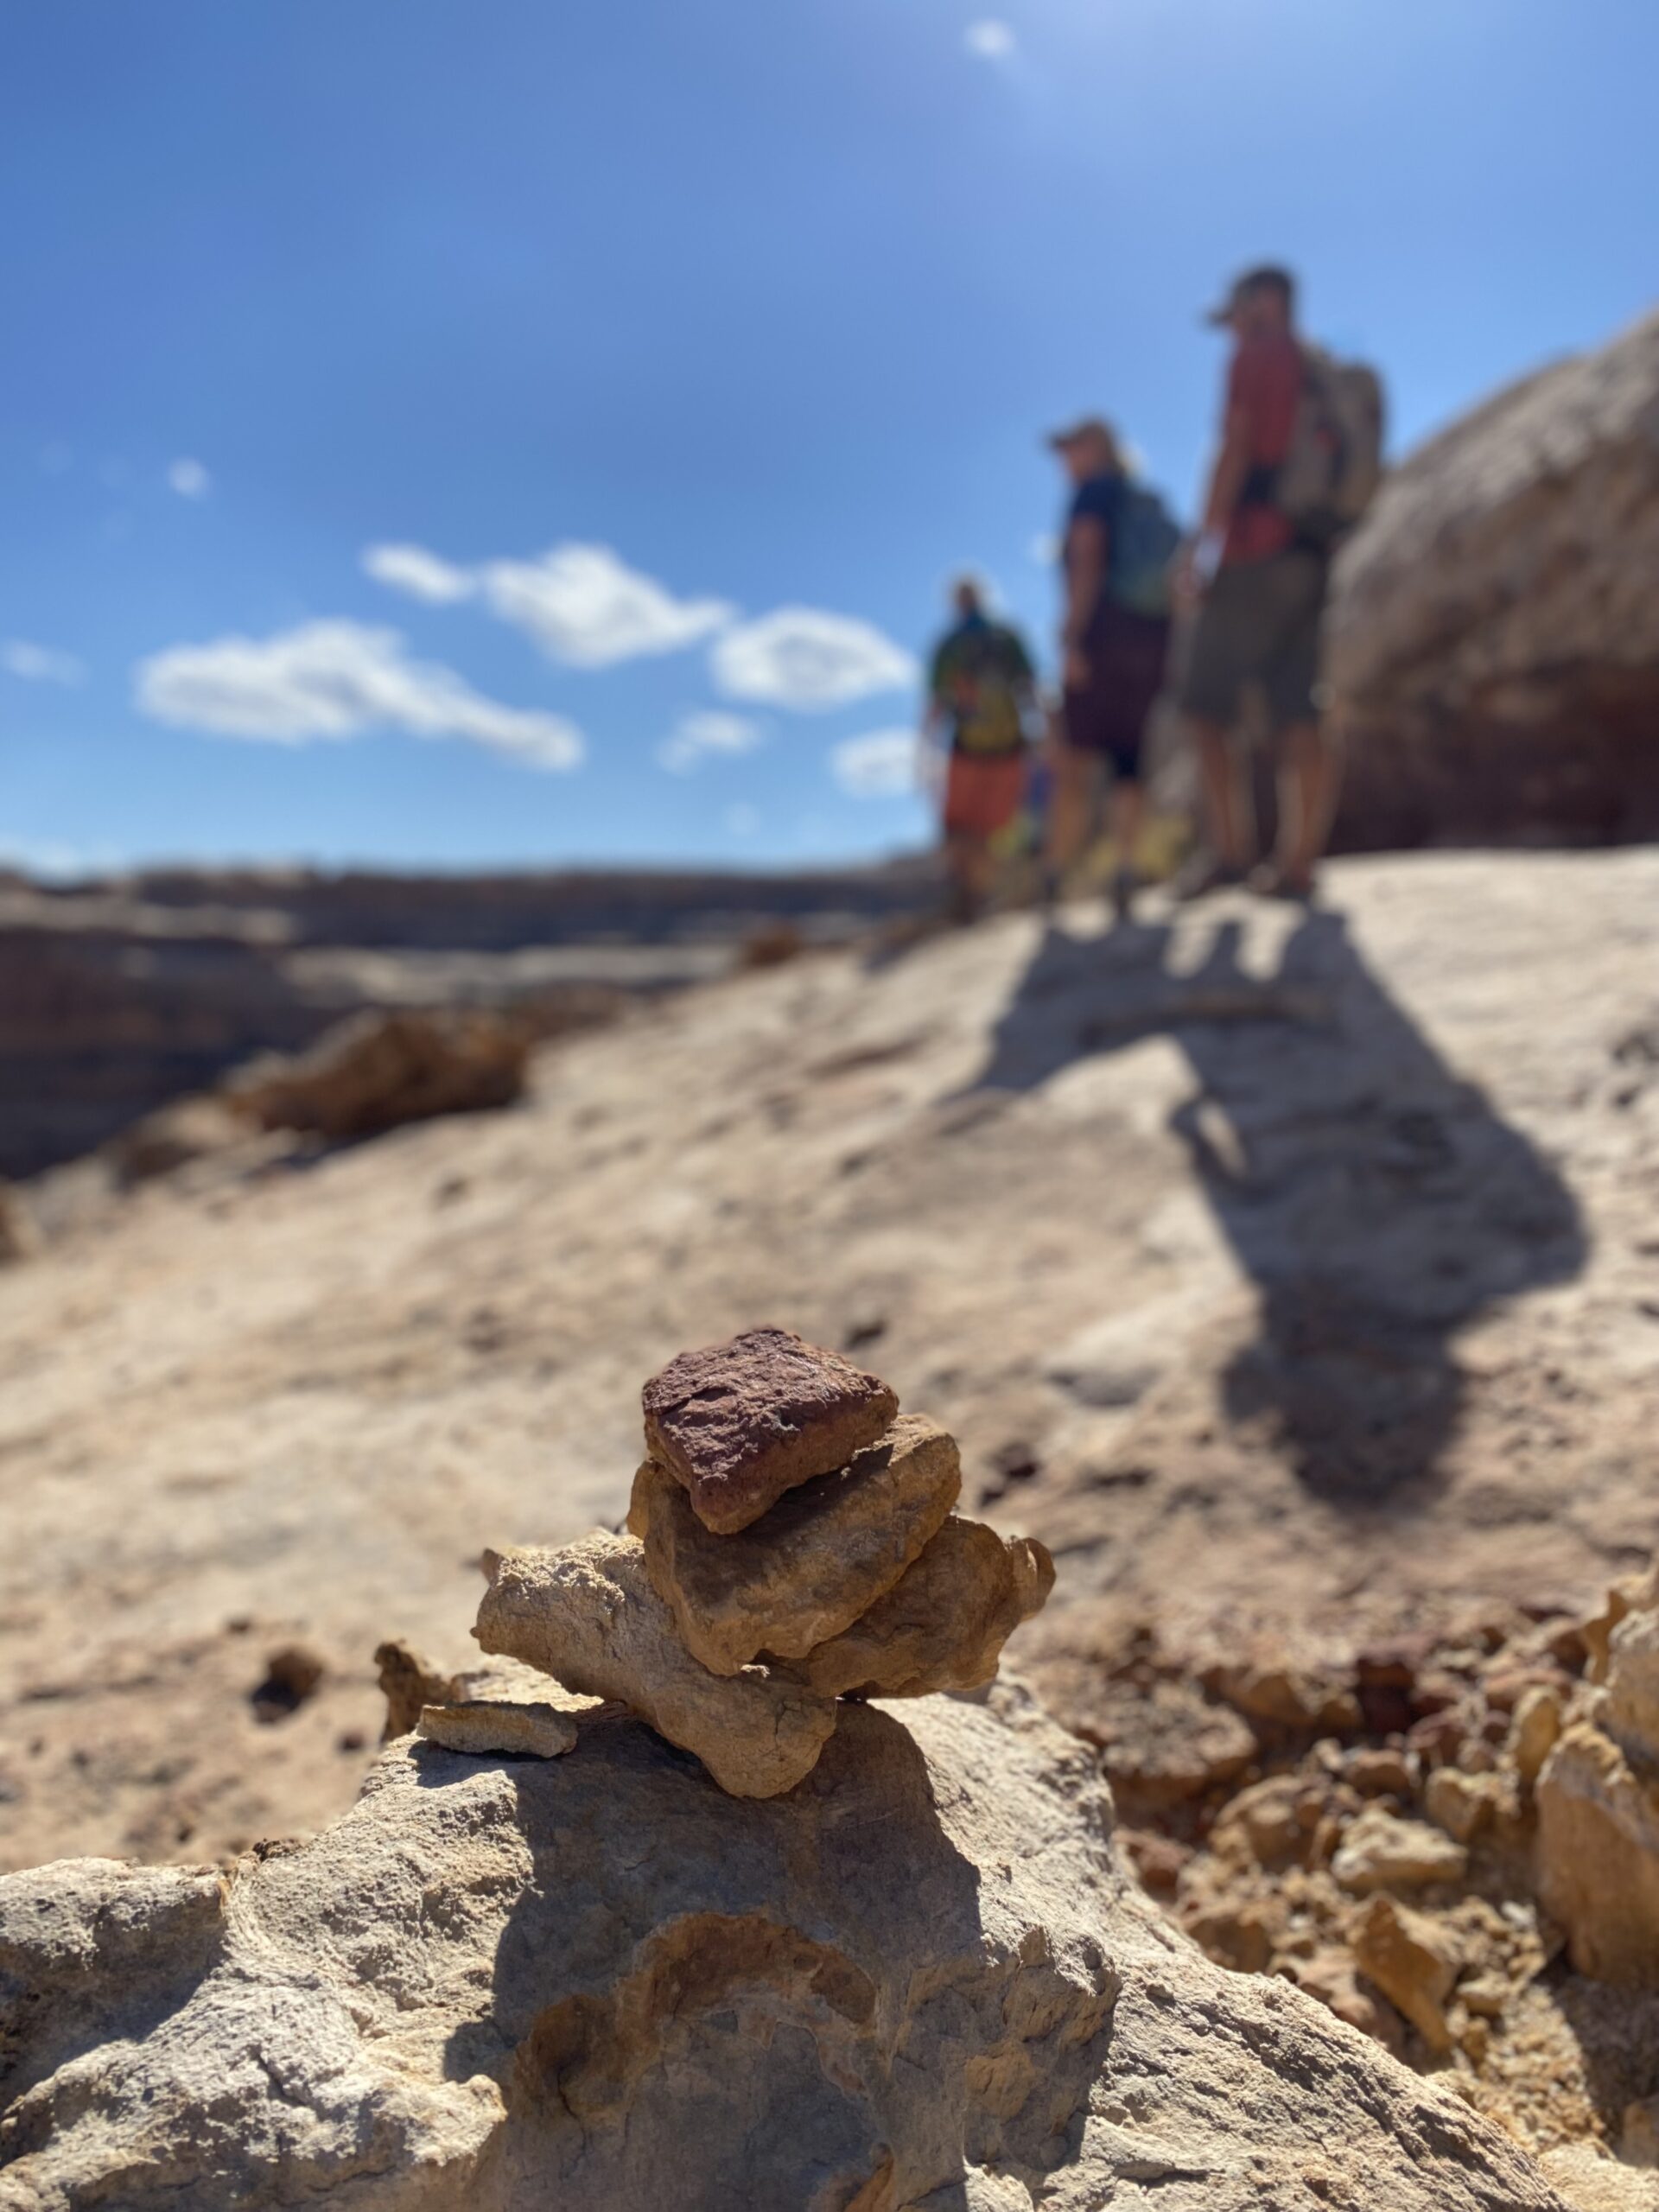
- Cairn. A pile of rocks that marks which way to go on the trail.
- GORP. Stands for “good old raisins and peanuts,” or trail mix.
- Switchbacks. Steep portions of a trail that zig-zag back and forth.
- Summiting. Getting to the top of a peak or mountain.
- Trailhead. The starting point of a trail, where hikers usually park.
Trail Etiquette
Sharing the trail means knowing a few unspoken (and spoken) rules. These trail etiquette tips help keep the outdoors safe, welcoming, and awesome for everyone.
- Hikers traveling uphill have the right of way on the trail. So, if you’re traveling downhill, step aside for the people climbing up.
- Bikers should yield to hikers and horses.
- Hikers should yield to horses.
- Say “hello” when you pass people on the trail! Or give folks a nod or wave. This helps to create a friendly, welcoming environment out in nature.
- If you’re coming up on hikers from behind and would like to pass them, make yourself known in a kind, friendly way.
- Respect wildlife and enjoy animals from afar.
- Stay on the trail. Going off-trail can crush plants and disturb wildlife.
- Respect the peace and quiet of nature. Don’t play music from a speaker while you’re on the trail.
How to Use Hiking Poles
Hiking poles are a great tool for stabilizing your body and protecting your knees. It’s important to adjust your hiking poles to a height that allows your elbows to rest at a 90° angle. If you’re doing a long uphill climb, shorten your poles by a few inches so you can get more leverage. Generally, the steeper the trail, the shorter your poles should be. If you need hiking poles for your next hike, see this comprehensive hiking pole guide for more information.

Hiking Partners – Dogs, Friends or Solo
There’s no one right way to hit the trail — whether you’re heading out solo, hiking with your dog, or meeting up with a few friends, every style has its perks. Here’s what to know for a safe and respectful experience, no matter who (or what) you bring along.
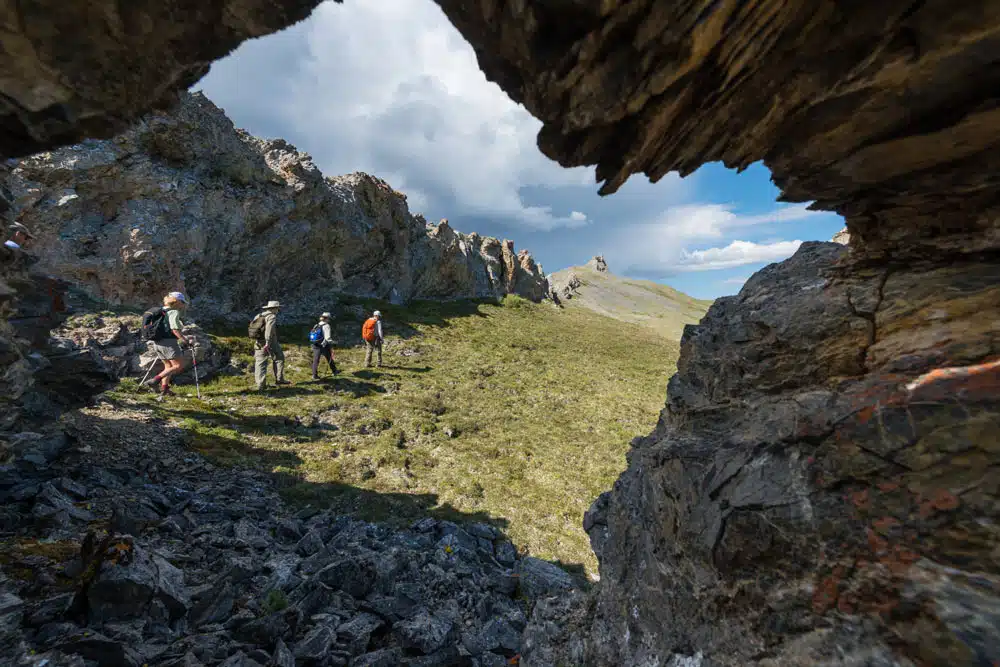
Hiking with Friends or a Small Group
Hiking with a friend or two is a great way to get into the groove and stay safe. A small group also means you can share gear and stoke levels.
It’s best to avoid hiking in large, loud groups, which can disrupt the experience for others and overwhelm narrow trails. Keep your voices low and skip the Bluetooth speakers — one of the best things about hiking is the peace and quiet. Let others enjoy the sounds of nature, and leave the trail better than you found it. Some additional tips:
- Match the hike to the slowest hiker’s pace and ability level.
- Stay together at junctions and don’t leave people behind.
- Split up gear like water filters, first aid kits, or snacks for lighter packs.
Solo Hiking Tips for Beginners
Solo hiking can be peaceful, empowering, and a great way to disconnect — or reconnect — with yourself. But it also means you’re your own support crew, so preparation matters.
- Start Small: Choose a well-trafficked, short trail in an area you’re familiar with.
- Tell Someone: Always let a friend or family member know your route and when you expect to be back.
- Download Offline Maps: AllTrails Pro, Gaia GPS, or even a photo of a paper map can be clutch if your signal drops.
- Bring the Essentials: You’ll want your first aid kit, headlamp, and a little extra food and water.
- Know When to Turn Around: If weather rolls in, you’re losing daylight, or something feels off, it’s OK to call it early. You’ve still bagged an experience.
You don’t have to go far or fast. Just be mindful, be prepared, and enjoy the quiet rhythm of hiking on your own.
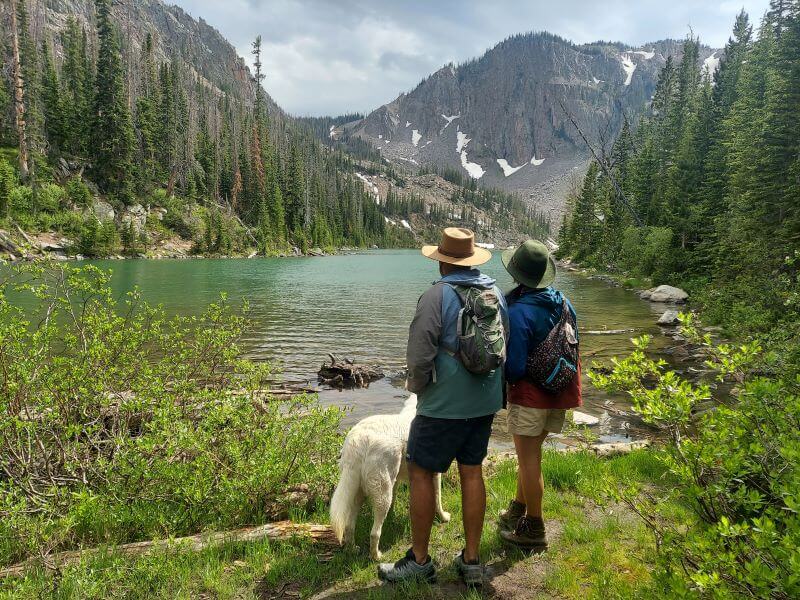
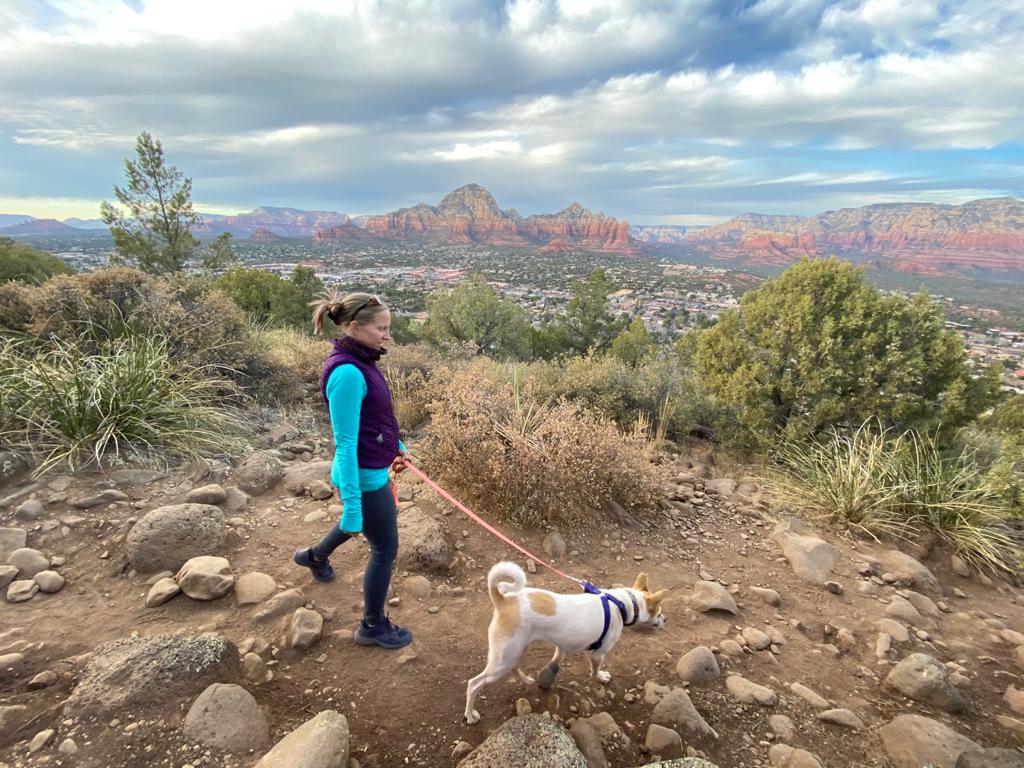
Hiking with Dogs
Bringing your pup along is a great way to explore nature together. Just make sure you plan ahead to keep the experience safe and enjoyable for both of you — and for other hikers.
- Double-check that the trail allows dogs (many national parks don’t).
- Make sure your dog is physically up for the adventure.
- Keep your dog leashed unless off-leash is clearly allowed and your dog has solid recall.
- Pack water, a collapsible bowl, and waste bags — always pack out your dog’s poop. Dog poop can pollute water sources and spread disease to wildlife.
- Watch for hot trails or sharp rocks, and bring a towel or paw balm if needed.
A tired trail dog is a happy dog. And a respectful dog parent keeps the trail open for all of us.

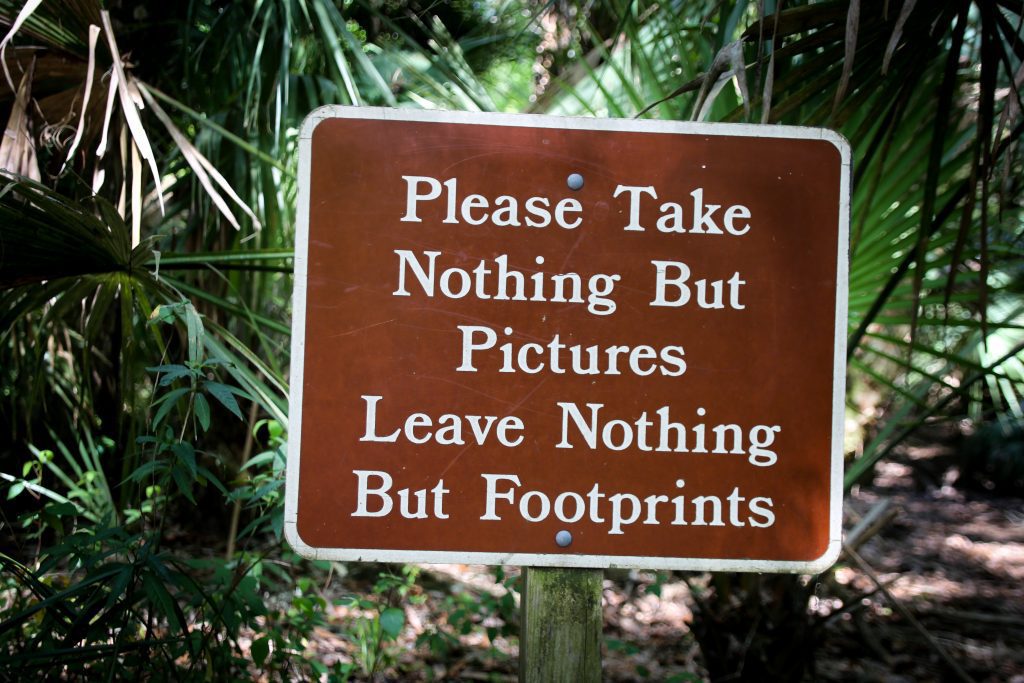
Leave No Trace Hiking
“Leave No Trace” is a set of principles that promote wilderness conservation. The seven principles are:
- Plan ahead and prepare.
- Travel and camp on durable surfaces.
- Dispose of waste properly.
- Leave what you find.
- Minimize campfire impacts.
- Respect wildlife.
- Be considerate of others.
If you follow the “Leave No Trace” principles, stay on designated trails, follow rules regarding pets on trails, and pick up after your furry friends when you’re allowed to come, you’ll minimize your impact on the environment while hiking.
How to Find a Hike
Trail Apps and Websites
There are many ways to search for a hike, but finding the right one can be overwhelming. AllTrails, our favorite hike-finding and navigation app, makes the process a bit simpler. AllTrails allows you to search for popular hikes in your area and, if you have the paid Pro version, you can download offline maps, which help out a ton when you’re navigating through the backcountry. The information on AllTrails is crowd-sourced, and you can consider useful metrics like trail length, difficulty, elevation gain, and trail quality.
But AllTrails isn’t the only great tool out there. Some states and local areas have their own robust, trail-finding websites or apps, like the Washington Trails Association Hike Finder Map and the Colorado Trail Explorer.
Here are a few more options worth checking out:
- Gaia GPS: Excellent for backcountry or off-grid adventures with super detailed maps. Great for layering route info like slope angle, weather, or fire history. The free version has basic features, and a Premium subscription gives more advanced capabilities.
- Hiking Project (by REI): Community-curated trails with detailed descriptions, elevation profiles, and photos. It’s free and doesn’t require a subscription.
- Strava: Best known for runners and cyclists, but many hikers use it to record their hikes and share routes with friends. The free version gives you GPS tracking, routes and more, and the premium subscription offers more advanced route planning and performance tracking.
- Komoot: A global app with solid navigation and a clean interface. Good for route planning and turn-by-turn directions (one free region, then you must upgrade to paid).
- Caltopo: A little more advanced, but super useful for building custom maps and planning off-trail or multi-day adventures. Upgrade to the paid version for offline maps, maps sharing and other advanced features.
Whatever you choose, be sure to download your route before you lose service — signal can vanish fast in the backcountry.
Choosing Guided vs. Non-Guided Hikes
If you’re new to hiking, going into terrain you’re unfamiliar with, or wanting to do a route that pushes you out of your comfort zone, seeking out a guided hike might be the right call for you. With a local guide, you’ll be in a good position if unexpected challenges come up; have access to their local knowledge and expertise; and hey, they might even show you a secret spot along the way. Plus, not having to plan the logistics is a nice perk. Learn more here about the perks of guided hikes and when to choose a guide.
Here are some top-rated (and beginner friendly!) guided hikes on TripOutside, to get you inspired and excited to plan your next adventure:
- Breckenridge, CO: Climb a 14’er
- Canyonlands National Park, UT: Full-day private custom hiking tour
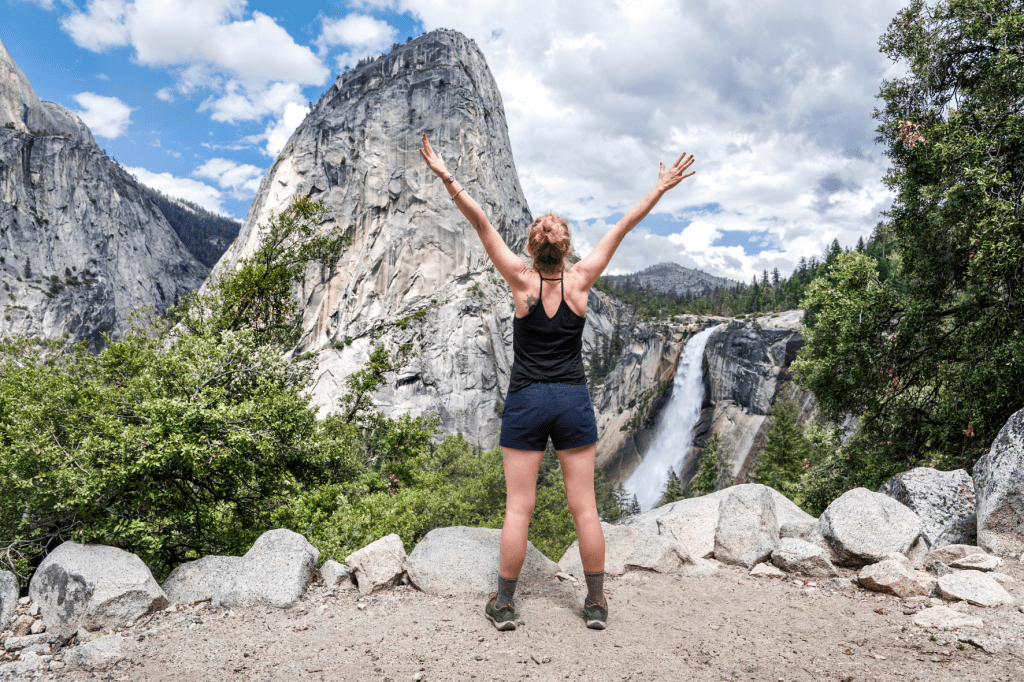
- Yosemite, CA: Private Summit Hike in Yosemite NP
- Portland, OR: Mount Saint Helens Adventure Tour
- Albuquerque, NM: Chaco Canyon Day Tour
- Hawaii Volcanoes National Park, HI: Elite Volcano Hike
With that said, if you get into hiking, most of the hikes you do will likely be non-guided. You can gain a lot of satisfaction by navigating a hike with a partner or small group. And if you’re doing a hike in a familiar area, or on terrain that doesn’t seem challenging, you likely won’t need a guide. For safety, we highly recommend that you hike with a buddy, when possible.
Popular Hiking Destinations in the U.S.
Hiking gems aren’t limited to big-name national parks — your local state parks and national forests can be just as rewarding. But if you’re dreaming of those bucket-list trails, here are some of the most popular hiking destinations in the U.S.:
- Yosemite National Park, CA. Yosemite is famous for its granite cliffs, lush meadows, idyllic valleys, and thundering waterfalls. It’s also home to some of the most popular hikes in the country, including the Mist Trail, Upper Yosemite Falls, and Half Dome.
- Grand Canyon National Park, AZ. The Grand Canyon is one of the largest canyons on earth. Hikers can explore views of this expansive, red-rock canyon by hiking around the rim trails in the national park.
- Zion National Park, UT. Zion includes an arresting, deep red-rock canyon, high-altitude forests, and Angels Landing, one of the most popular hikes in the country.
- Great Smoky Mountains National Park, TN / NC. This park has lush forests, lovely views, and is home to a section of the famous Appalachian Trail.
- Acadia National Park, ME. Stunning coastal views and rugged terrain make Acadia NP shine. It’s also one of the few national parks that allow dogs on many trails. Pro tip: visit during the fall, after the leaves have changed colors.
How to Get Started Hiking
New to hiking? These hiking for beginners tips will help you plan your first adventure and start strong:
- Find a short hike near you on AllTrails, and invite a friend to join you on your next day off.
- Search for a guided hike, if you’d rather not do the planning. You can browse guided hiking tours from our partners here.
- Collect the essential day hiking gear we mentioned above, or borrow it from a friend. We know the price tag for gear may feel daunting, which is why we love buying used gear. REI Re/Supply is a great source. We also recommend looking for a local used gear retailer. Many local, outdoorsy communities have these.
Hiking for Beginners – Get Out There!
Get out there on the trail, and don’t overthink it! Start small, educate yourself, and continue moving. Finding a hiking buddy is a great motivator, and it’s what we recommend for safety. But solo hiking is great, too, as long as you feel comfortable being out there on your own. We bet you’ll meet friends along the way.
Written by the TripOutside team, with contributions from certified hiking guides, long-distance backpackers, and outdoor educators across North America.