The Rogue River in Southern Oregon is one of the best multi-day whitewater trips in the West. This was my 7th time down this section of the river, and every trip reveals something new! With scenic camps, side hikes, and (if you’re lucky) good weather, the Rogue is a must-do. Here’s a day-by-day recap, covering campsites, side hikes, logistics, and more.

Where is the Rogue River?
The Rogue River is in Southwestern Oregon. Its source is in the Cascades near Crater Lake National Park, and it flows over 200 miles into the Pacific Ocean at Gold Beach. In 1968, it was one of the first eight rivers designated “Wild & Scenic,” outstanding and remarkable value for fishing, recreation, and scenery. The classic multi-day section is from Grave Creek (mile 33.8) to Foster Bar (mile 67.8), but we began a few miles upstream at Almeda Park (mile 29.4).
Logistics: Day 0: For private trips, I recommend camping near the put-in. We chose Almeda Campground, where you can leave a car for $10/night, because you can’t camp at Grave Creek Boat Ramp. Camping near the put-in expedites rigging in the morning, and allows for time on Day 0 for vehicle issues, grocery shopping, and other last-minute necessities – or in our case, setting shuttle.
Rogue River Vehicle Shuttles
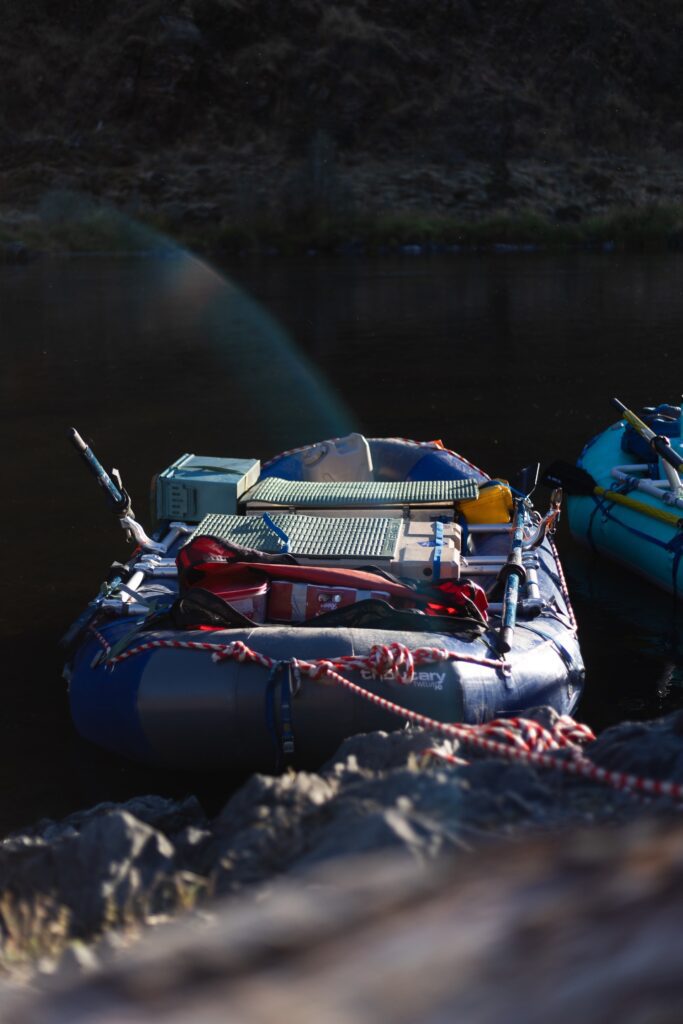
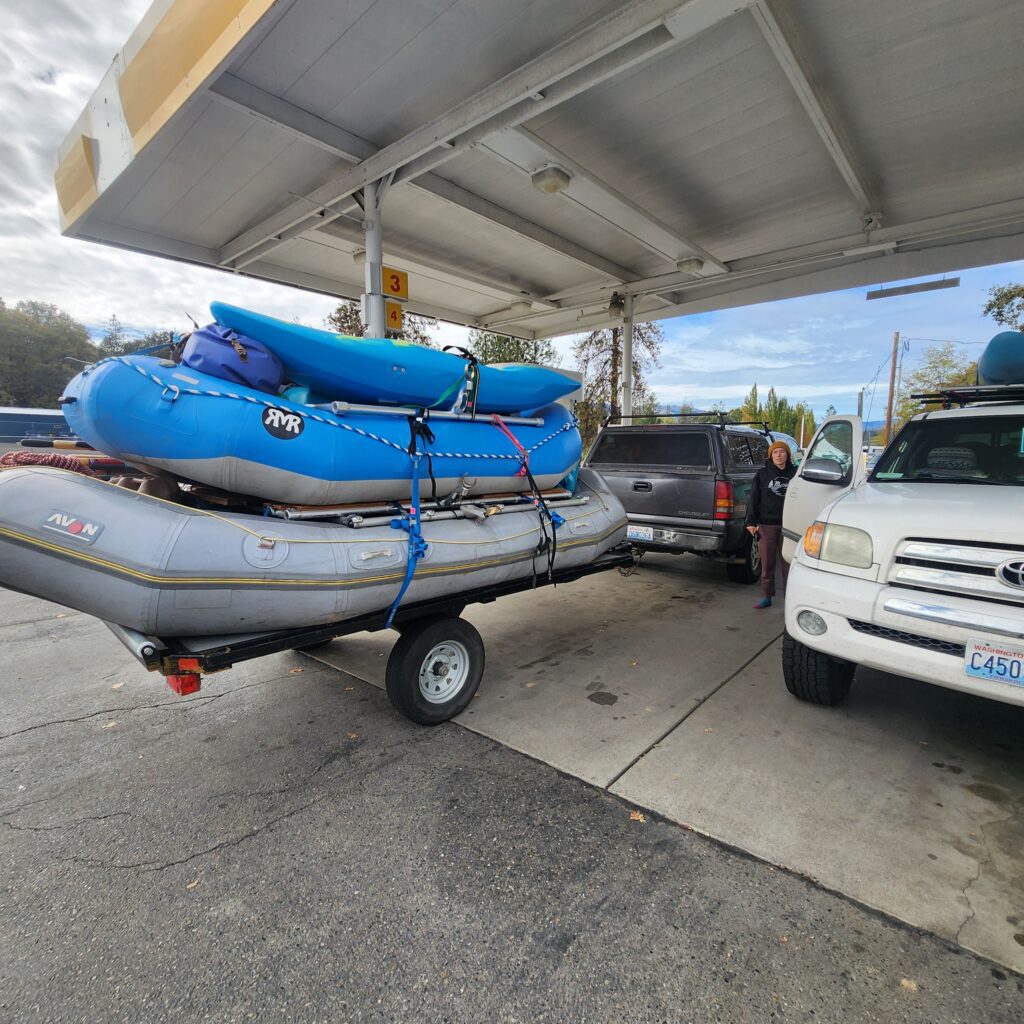
There are two ways to approach the shuttle – self-shuttle or hire a shuttle. We opted to set up a shuttle to Foster Bar ourselves. Self-shuttling means we dropped off all of our gear at Almeda, where most of the group stayed to rig boats, while the drivers took all the vehicles to Foster Bar at take-out. We dropped off all but one car, which drove back to the put-in.
Of note, the common shuttle route is over Bear Camp Road, which is 1 hour, and 45m each way (3.5 hours total for self-shuttling). However, this road is typically closed from November to April, and some years it closes for wildfires, so if you’re self-shuttling, you’ll definitely want to make sure it’s open. If not (or if you’d rather not spend any extra time driving), I recommend hiring a shuttle through Galice, Morrisons, or Orange Torpedo, which typically costs around $150-$200 per vehicle. Hiring a shuttle is also a better option if your final destination is in the general direction of the Oregon coast.
Rogue River Multi-Day Permits
The Wild & Scenic Section of the Rogue River is permitted from May 15 to October 15, limited to 120 people launching daily. For river permits in the controlled season, you can apply to the lottery for noncommercial permits, which is open from December 1 to January 31 the winter prior. Other options are to call in to pick up openings, or show up at the Smullin Visitor Center at Rand, ready to run a trip and pick-up last-minute openings for that day. Our trip launched after the controlled season, though; from October 16 – May 14, permits are self-issuing, available in front of the Smullin Visitor Center at Rand and at the north end of the Grave Creek Bridge.
If the section above feels like something you don’t want to tackle, no problem. Hop on a commercial river trip with a reputable outfitter, and you’ll get to experience this incredible section of river without the hassle of logistics.
Choosing Trip Length
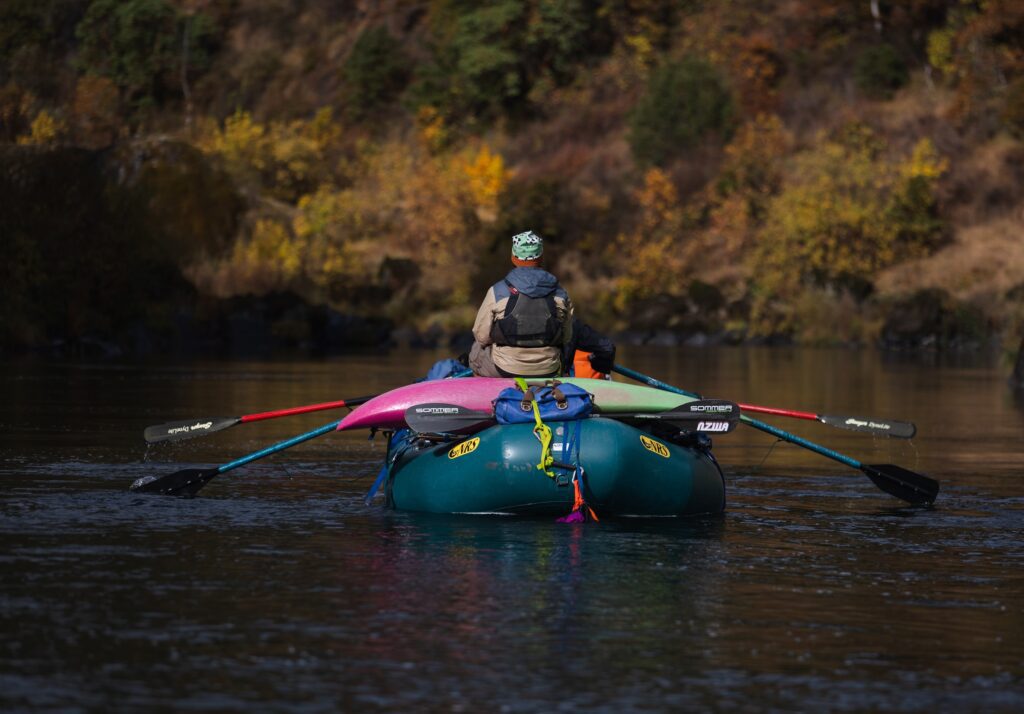
We spent 5 days, 4 nights on the river – not including Day 0 camping at the put-in. This is a bit longer than the average 3-4 days most folks take to run this section of river. With this length of trip, you can cover the 40-mile section at a relaxed pace, which leaves plenty of time to explore.
For reference, rafts travel about 4 miles an hour. With an 8-mile day average, this is about 2 hours on the river if you’re casually rowing or paddling. Notably, the Rogue does have quite a few flatwater sections, which make for some slower mileage, but all-in-all you can push off the beach at a leisurely time, and get to camp in the early afternoon with a 5-day trip.
Rafter Math:
- Total Trip Length / Number of Days = Miles Per Day
- Miles Per Day / 4 = Approximate Daily Time on River
- Calculate Miles Per Day based on your intended campsites for more accurate daily timing.*
On the River | Day-By-Day Whitewater, Camps & Hikes
Day 1: Launch Day! 8 Miles
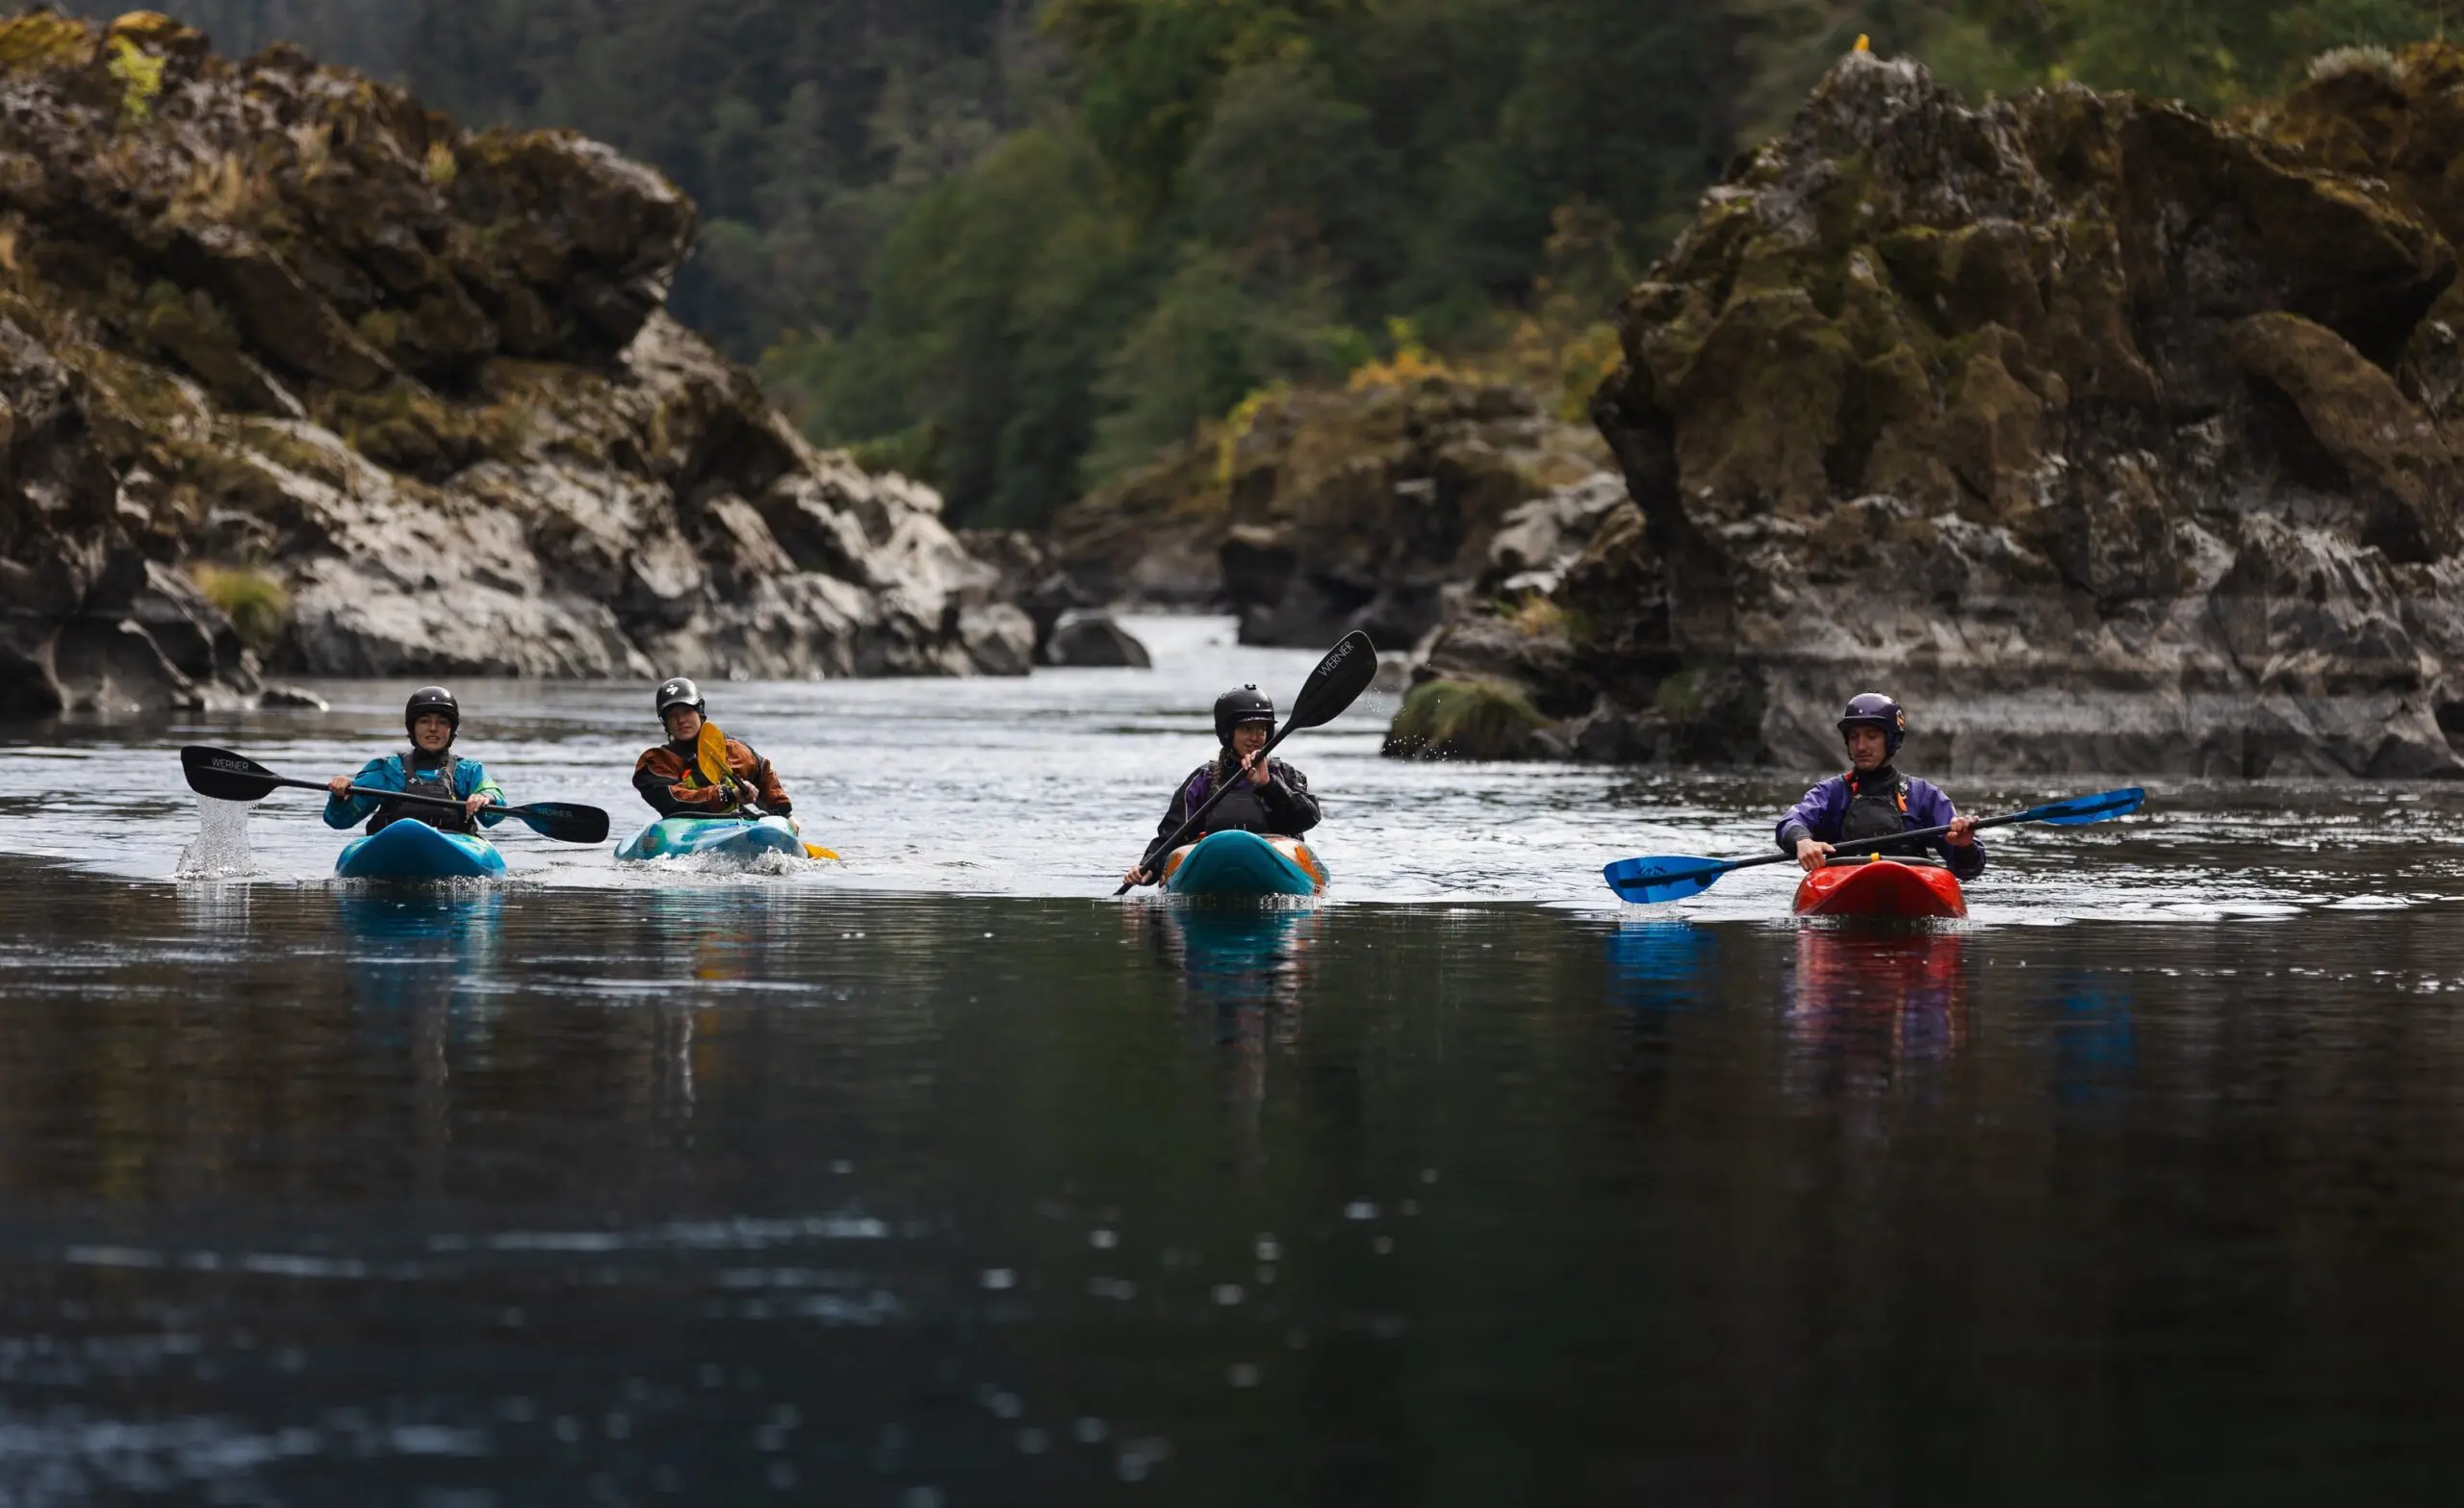
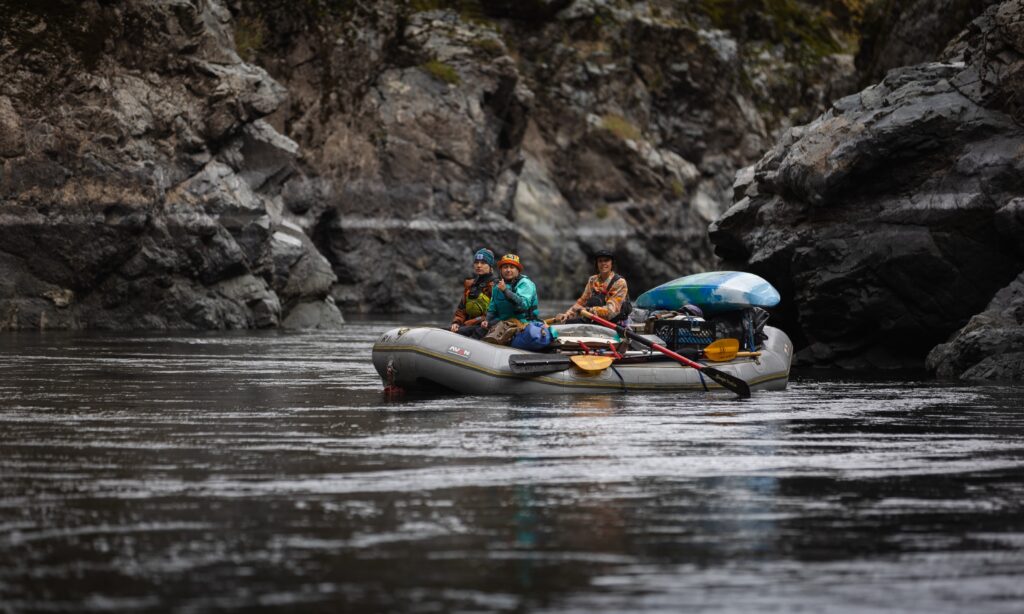
With rafts rigged the night before, we packed up, paid for the car permit, filled out river permits, and launched. With 4 rafts, 1 shredder, and 6 hardshell kayakers, we had a wide variety of crafts on the river. The whitewater kicks off with fun class II-III. When you get to Grave Creek, the Wild & Scenic Section begins – kicking off with Grave Creek Falls, a fun, steep class III.
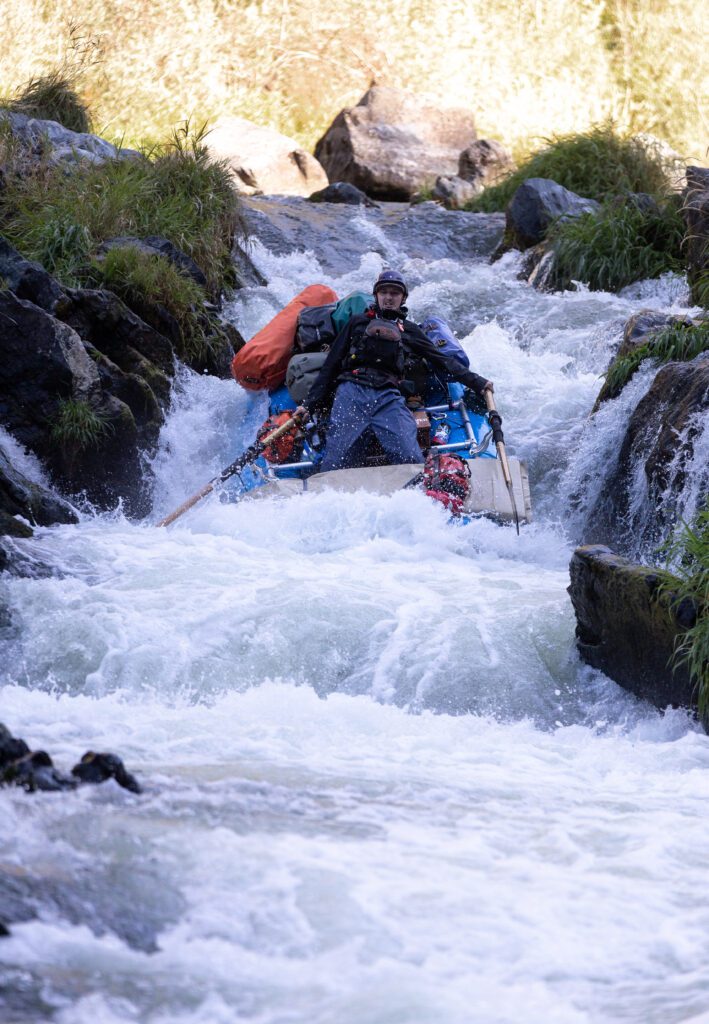
After a couple of miles, we quickly reached Rainey Falls. Rainey has three different lines – the Class III Fish Ladder, Class IV Middle Chute, or Class V main line down Rainey Falls. We pulled over on the left to scout the rapid, and there were a few folks on our crew that chose each line. We first set safety for the folks running the main line, and they all styled it. I ran the Middle Chute with most of the other kayakers, which was a first and an exciting step for me, as I’ve always run the Fish Ladder prior to this trip. After that, one raft and one kayak took the fish ladder, and we all continued downstream. The rest of the day was more mellow, class II-III whitewater.
Camp 1: Tyee Bar – Mile 37.4
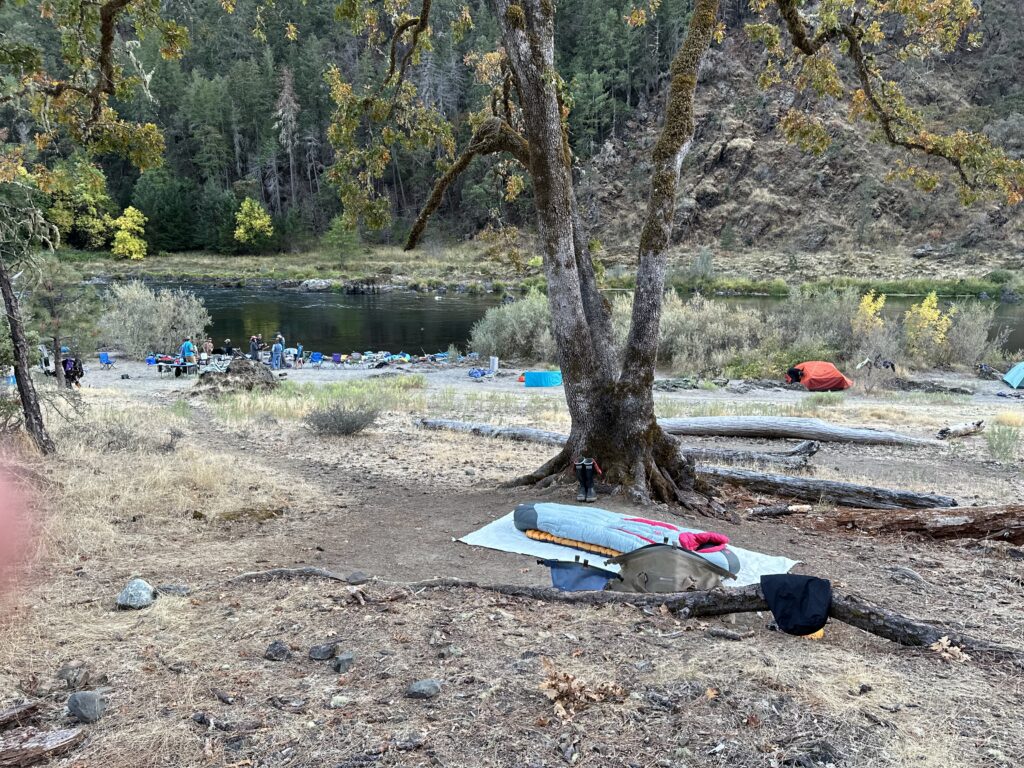
Just on river right below Tyee Rapids, Tyee Bar is a great camp for a big group. There’s a great sandy gravel bar close to the boats for the kitchen and a ton of flat tent sites spread out across the bar. We saw OTTERS! A small family of otters was snacking on fish on the downstream end of the camp. There’s not a ton of shade at this site though, so it might be less ideal for trips in the heat of summer.
Day 2: 12.3 Miles
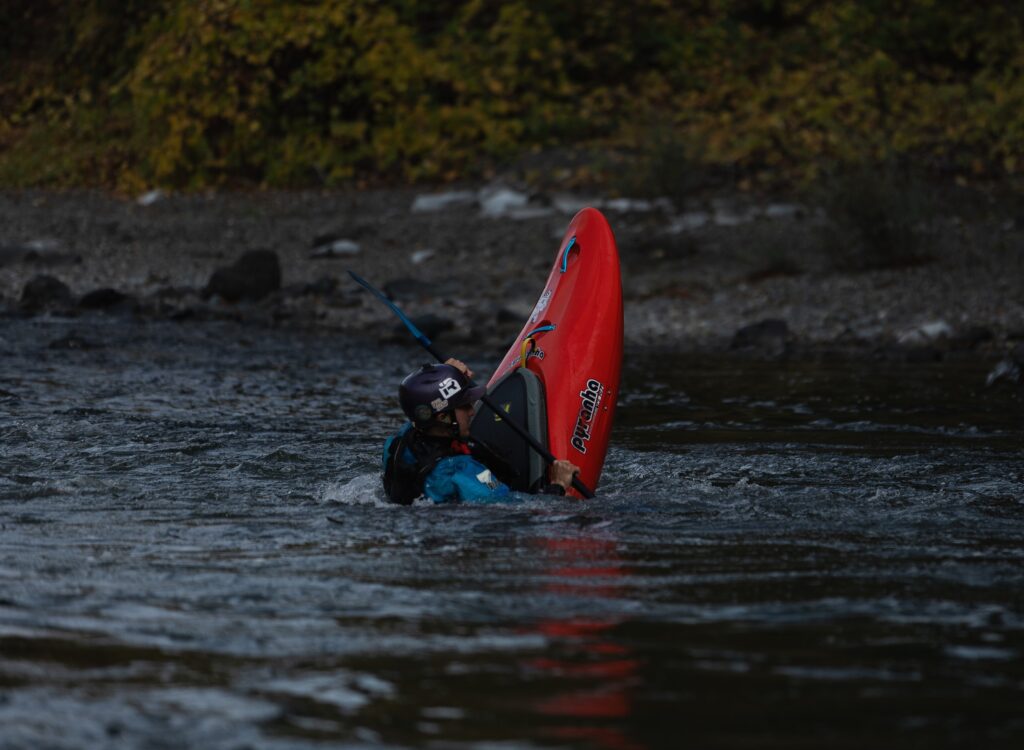
After a lovely first evening, Day 2 kicked off with Wildcat Rapids (Class III). In the center of the rapid, there is a large island covered with brush and willows. After the island, there’s a cluster of boulders with a sneaky pin rock called “Alligator Rock.” This rapid has been known to cause some trouble (in fact, I found myself upside down for far too long in this rapid when I was learning to kayak), but our crew all had clean lines on this trip. This day, we also saw Upper Black Bar, a tricky minefield of boulders, and more class II-III fun.
Camp 2: Missouri Bar – Mile 49.7
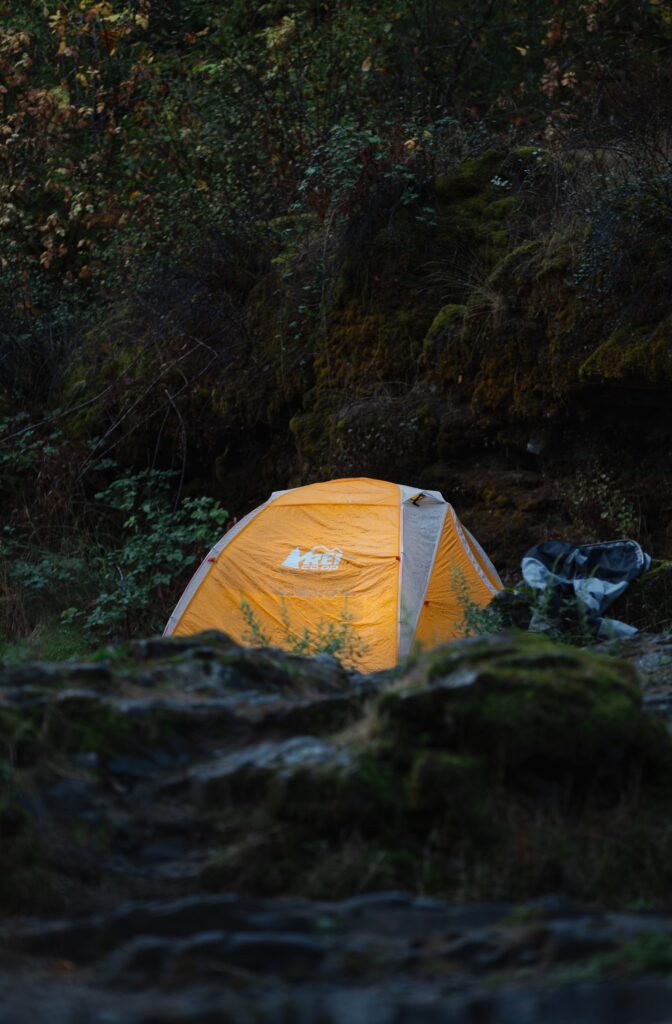
Initially, we had planned to push ahead to Upper Mule camp at Mile 53, but we were cruising pretty slowly that day. Since Mule is a popular camp and the last option before the crux rapids of the trip, we opted to play it safe and camp a bit sooner, reducing the risk of having to run the crux rapids close to sundown. That said, Missouri Bar is epic! There is room for either one big group or two smaller groups, because there is a small rock ridge that would provide some privacy for separate groups. The upstream side of the camp has incredible tiered rock ledges and a creek, while the downstream side has a nice beach for the group to hang out at and a great area for the kitchen close to the rafts.
Camp Hike:
There is a structure up a short trail on the bench against the hillside, which was the homestead of Gerald Fry. Gerald homesteaded here in the early 1900’s. Continue exploring up Missouri Creek (really just rock-hopping) and you’ll find remnants of a mining diversion flume. We spend about 2 hours exploring up this creek.
Day 3: 3.3 Miles (Yes, really)
Instead of a full layover day, we opted for a “lunch-over” which means you get to camp early, around lunchtime, and don’t leave until the next morning. A layover on the other hand, is when you stay for a full day (2 nights) at the same camp. We pushed off from Missouri Bar around 10:00 am and got to camp around 11:00 am. What we lacked in river miles, we made up for with lawn games, relaxing, and hiking at camp.
Camp 3: Upper Mule Creek (Billings Rogue River Ranch) – Mile 53
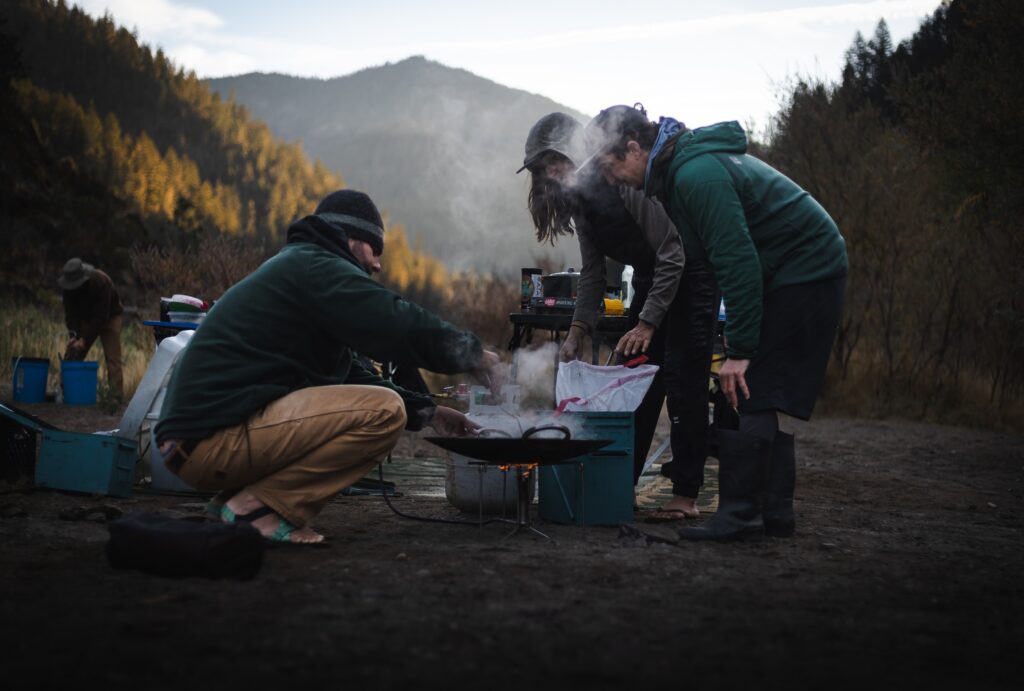
This camp is huge! There is a steep but short sandy beach at the top, which is a great kitchen spot and an equally great Kuub field. There are tent spots scattered throughout the camp, and a trail up to a large, grassy field – our personal Croquet field.
Beyond the field is the Billinigs Rogue River Ranch, colloquially called “The Ranch,” which is a BLM National Historic Site. The original structure was built in 1903. Mule Creek was the site of a relatively large mining operation in the late 1800s and early 1900s. George Billings moved his family to the area in 1895 to seek mining work and established a boarding camp and mining store. Three generations of the Billings family lived at the ranch until they sold it in 1927
Camp Hike:
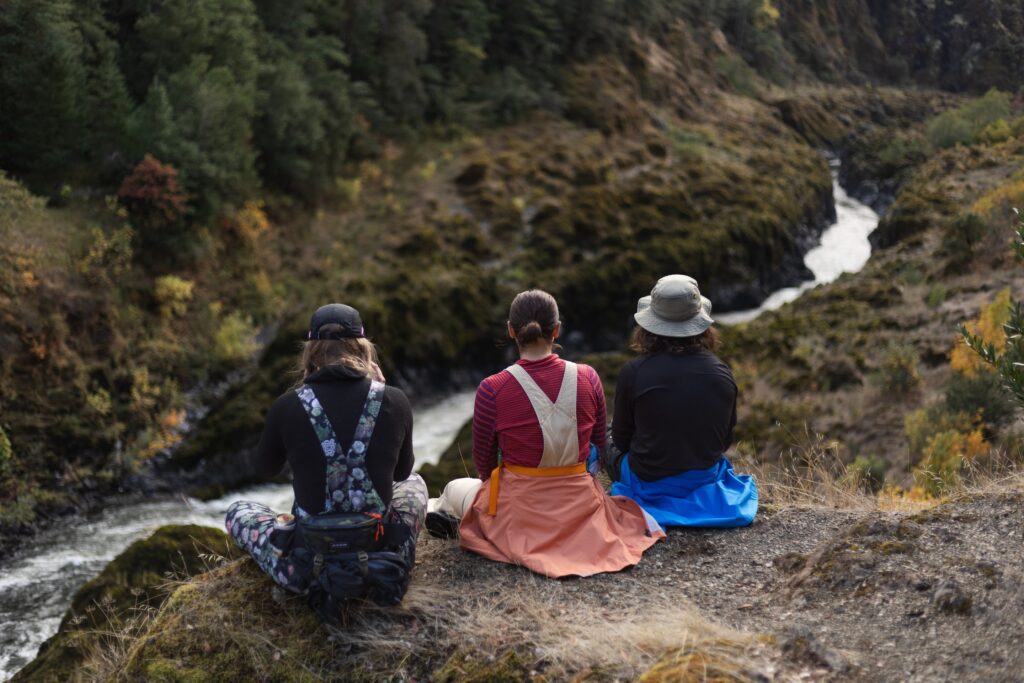
If you want to venture further than the ranch, you’re in luck. If you follow the gravel road out of the ranch (one of the only vehicle access sites in the canyon), you’ll find the Rogue River Trial, which runs the length of the Wild & Scenic section. This hike leads to Inspiration Point, overlooking the entrance to Mule Creek Canyon, the Class IV rapid we would run the next day.
Day 4: 10 Miles
After a hearty breakfast, we pushed off to tackle the most notable rapids of the trip – Mule Creek Canyon and Blossom Bar, which begin just a mile from our camp. Mule Creek Canyon (Class IV) is a nearly 1-mile-long gorge, where the entire river constricts into a channel that’s barely wider than a raft in spots, with canyon walls as tall as 50 feet. The whitewater is full of swirlies, boils, and seams. For rafts, it’s known to push you into the walls, so you’re making adjustments throughout to try to avoid slamming walls and keep your oars intact. For kayaks, at the level we ran it, it’s a fun mile with great little eddies. The rapid is punctuated by the Coffee Pot, with extremely powerful boils, eddies, and whirlpools.
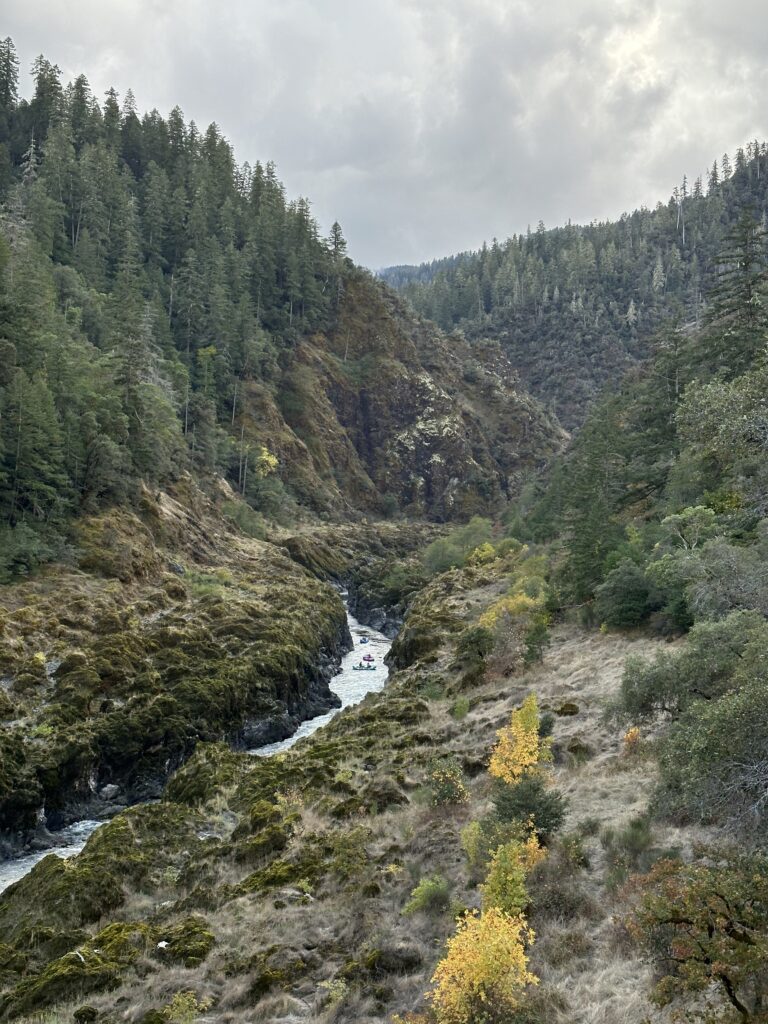
Next up is Blossom Bar, a boulder-choked Class IV rapid at the mouth of two drainages. Many don’t realize that this rapid, and many others on the Rogue, was dynamited. Some of the early river runners of the Rogue deemed the channel unnavigable, so they took to explosives to get through. The most important move of the rapid is at the beginning, where you tuck behind the “Goalpost” rock above a very distinct horn-shaped rock. This avoids the “Picket Fence,” a mess of sieves and boulders in the left channel. Right behind the Picket Fence is The Picture Eddy, which the kayakers parked in to be in a good position to support the rafts should there be any carnage. Luckily, despite a couple of spicy lines, there was none.
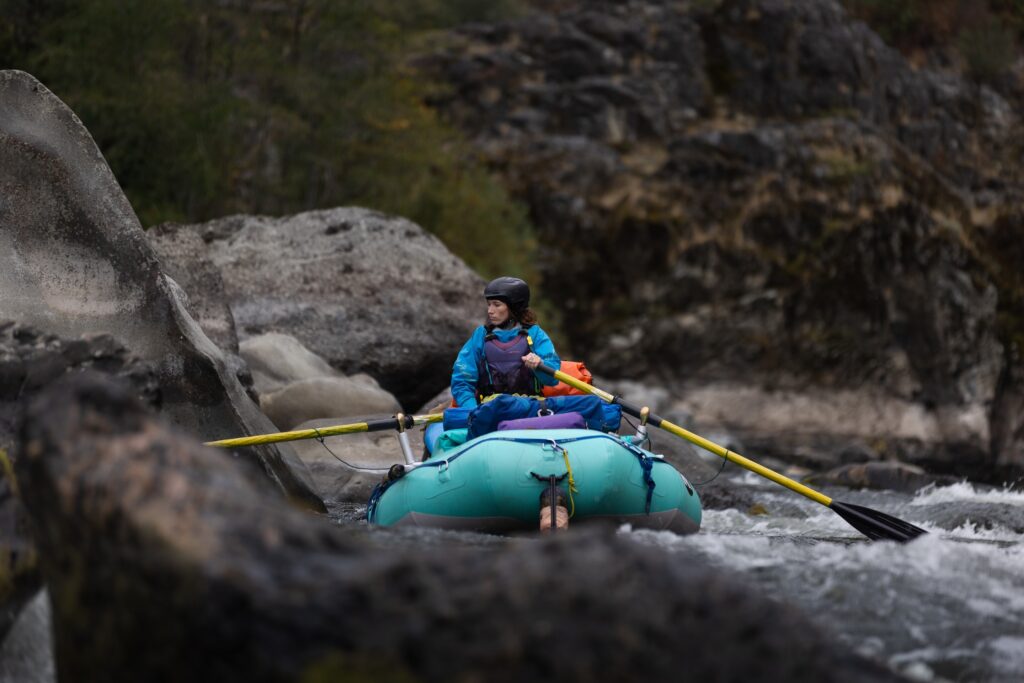
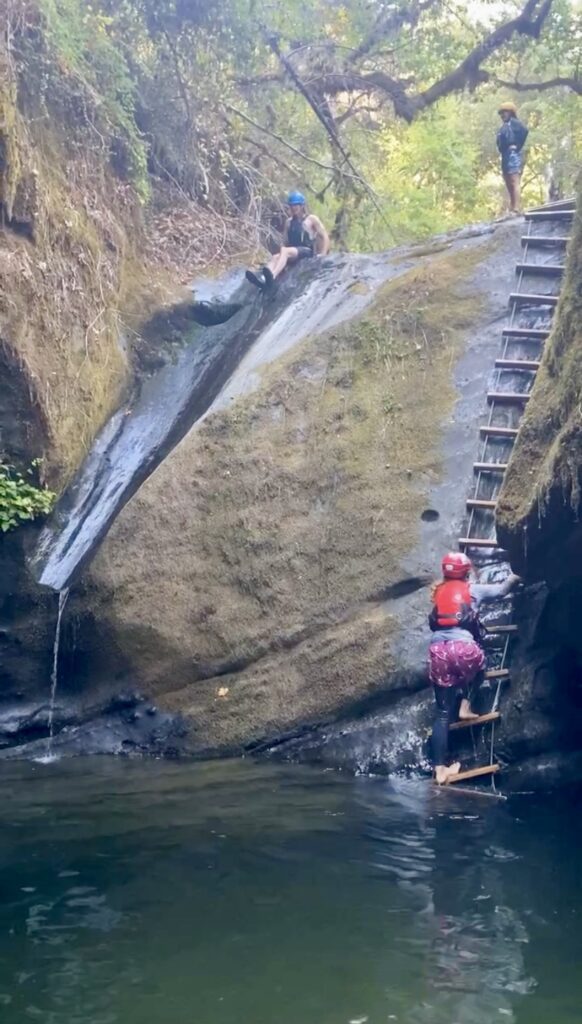
After Blossom, the rest of the day has fairly chill whitewater. About 5.5 miles downstream, we pulled off for a side-hike at Tate Creek. You won’t find this one on the map, but pull over on river right above the creek for an incredible adventure. If you head up the creek for about 15-20 minutes, hop over a few longs, and tuck underneath two leaning boulders on your hands and knees (trust me, you’ll know the spot when you see it), you’ll emerge into a true oasis with a natural waterslide. Previous river rats have installed a rope ladder to climb to the top of this roughly 15 foot slide. For the best sliding experience, position yourself on the slide so the water builds up behind you. When you’re ready to slide, lay back and keep your head down as flat as possible to avoid clipping an overhanging rock. Pro tip – keep your helmet and PFD on – it’s been known to KO folks who don’t lean back, so keep your safety gear on in case you get knocked unconscious. It sounds scarier than it is, but it’s a great experience, especially on a hot day.
Camp 4: Clay Hill – Mile 63
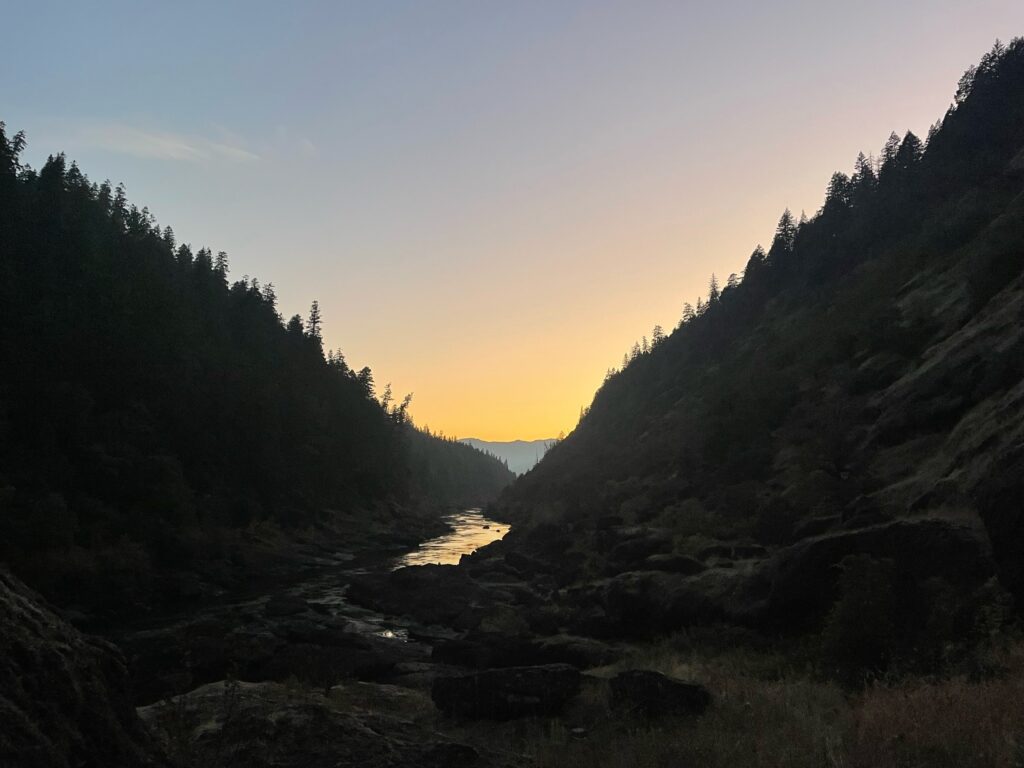
Clay Hill is one of my absolute favorite camps. The downstream view is the perfect, winding river. The sunset is truly stunning here – the afternoon light reflects on perfectly still water until the colors of the sunset are enveloped in a blanket of stars. The camp itself has a great, big sandy beach. Tent sites are scattered throughout the conglomerate ledges. There’s a short trail up to a rock that is an even better overlook. In the summer, there’s also a nice little cliff-jumping spot into the river.
Day 5: 4.8 Miles – Take-Out Day
From Clay Hill, it’s just a few miles of flatwater and a few minor class I-II rapids before reaching the take-out at Foster Bar, where our journey ended. We packed up the gear into our cars before parting way after an incredible trip.
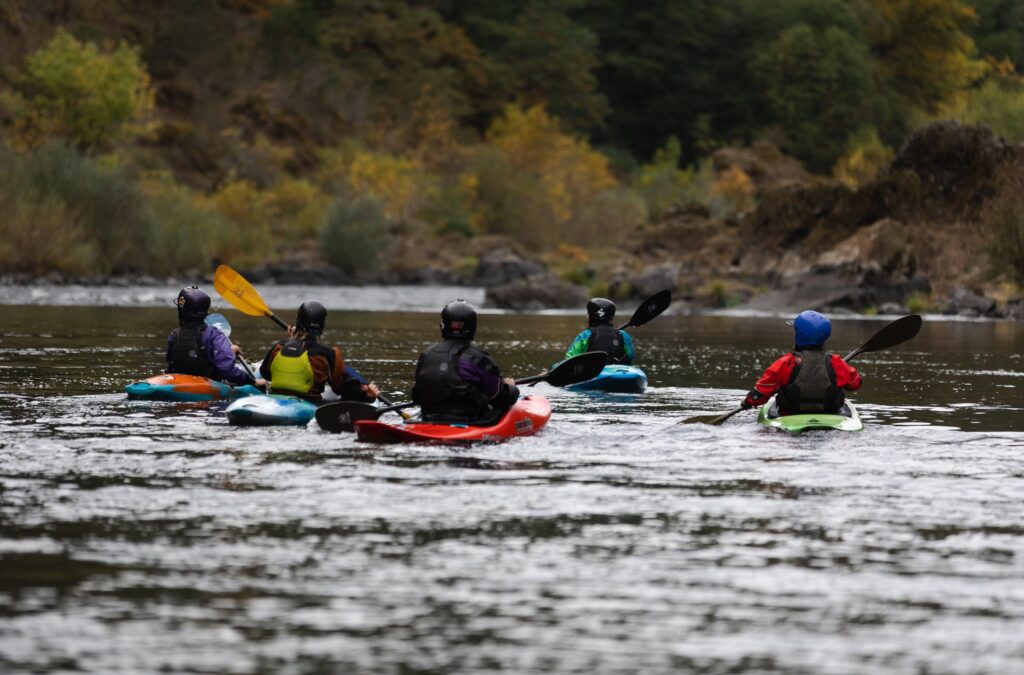
All in all, the Rogue River is an incredible multi-day river trip – it truly has something for everyone. Whether you want to relax on the sandy beaches, explore side hikes or go fishing, there is no shortage of adventure and beauty in the Wild & Scenic Corridor.
Have a question about the trip? Leave a comment below!
Sources:
Leidecker, M. (2015). The Rogue River: A Comprehensive Guide from Prospect to Gold Beach (2nd ed.). Idaho River Publications LLC.

