Transitioning from Day Hikes to Backpacking: Your Top Questions Answered
If you’ve mastered day hikes and are eager to develop a deeper connection with the wilderness, it might be time to take the next step – backpacking. I still remember how it felt to make that leap. The idea of carrying everything I needed on my back and heading into the backcountry was both exciting and a little intimidating. That’s exactly why I put this Backpacking for Beginners guide together – to help you take that next step with confidence.
I’m Emma Desrochers, an outdoor enthusiast, writer, and traveler who’s been exploring wild places since I was 19. Over the years, I’ve solo-hiked the John Muir Trail, trekked to Everest Base Camp, and crossed the Grand Canyon rim to rim to rim. I’ve backpacked and adventured through eight countries – mostly solo – and every trip has deepened my love for self-supported travel and sleeping under the stars. My goal with this guide is to share what I’ve learned (sometimes the hard way) to make your first backpacking trip feel way more doable.
This Backpacking for Beginners guide is your handbook for taking hiking to the next level – from short trails to overnight (or multi-night) backcountry adventures. I’ll answer all of the top questions that beginners to backpacking have. I’ll walk you through what to expect, what gear you actually need, and how to plan your first trip – from packing your backpack to choosing the right trail and staying safe.
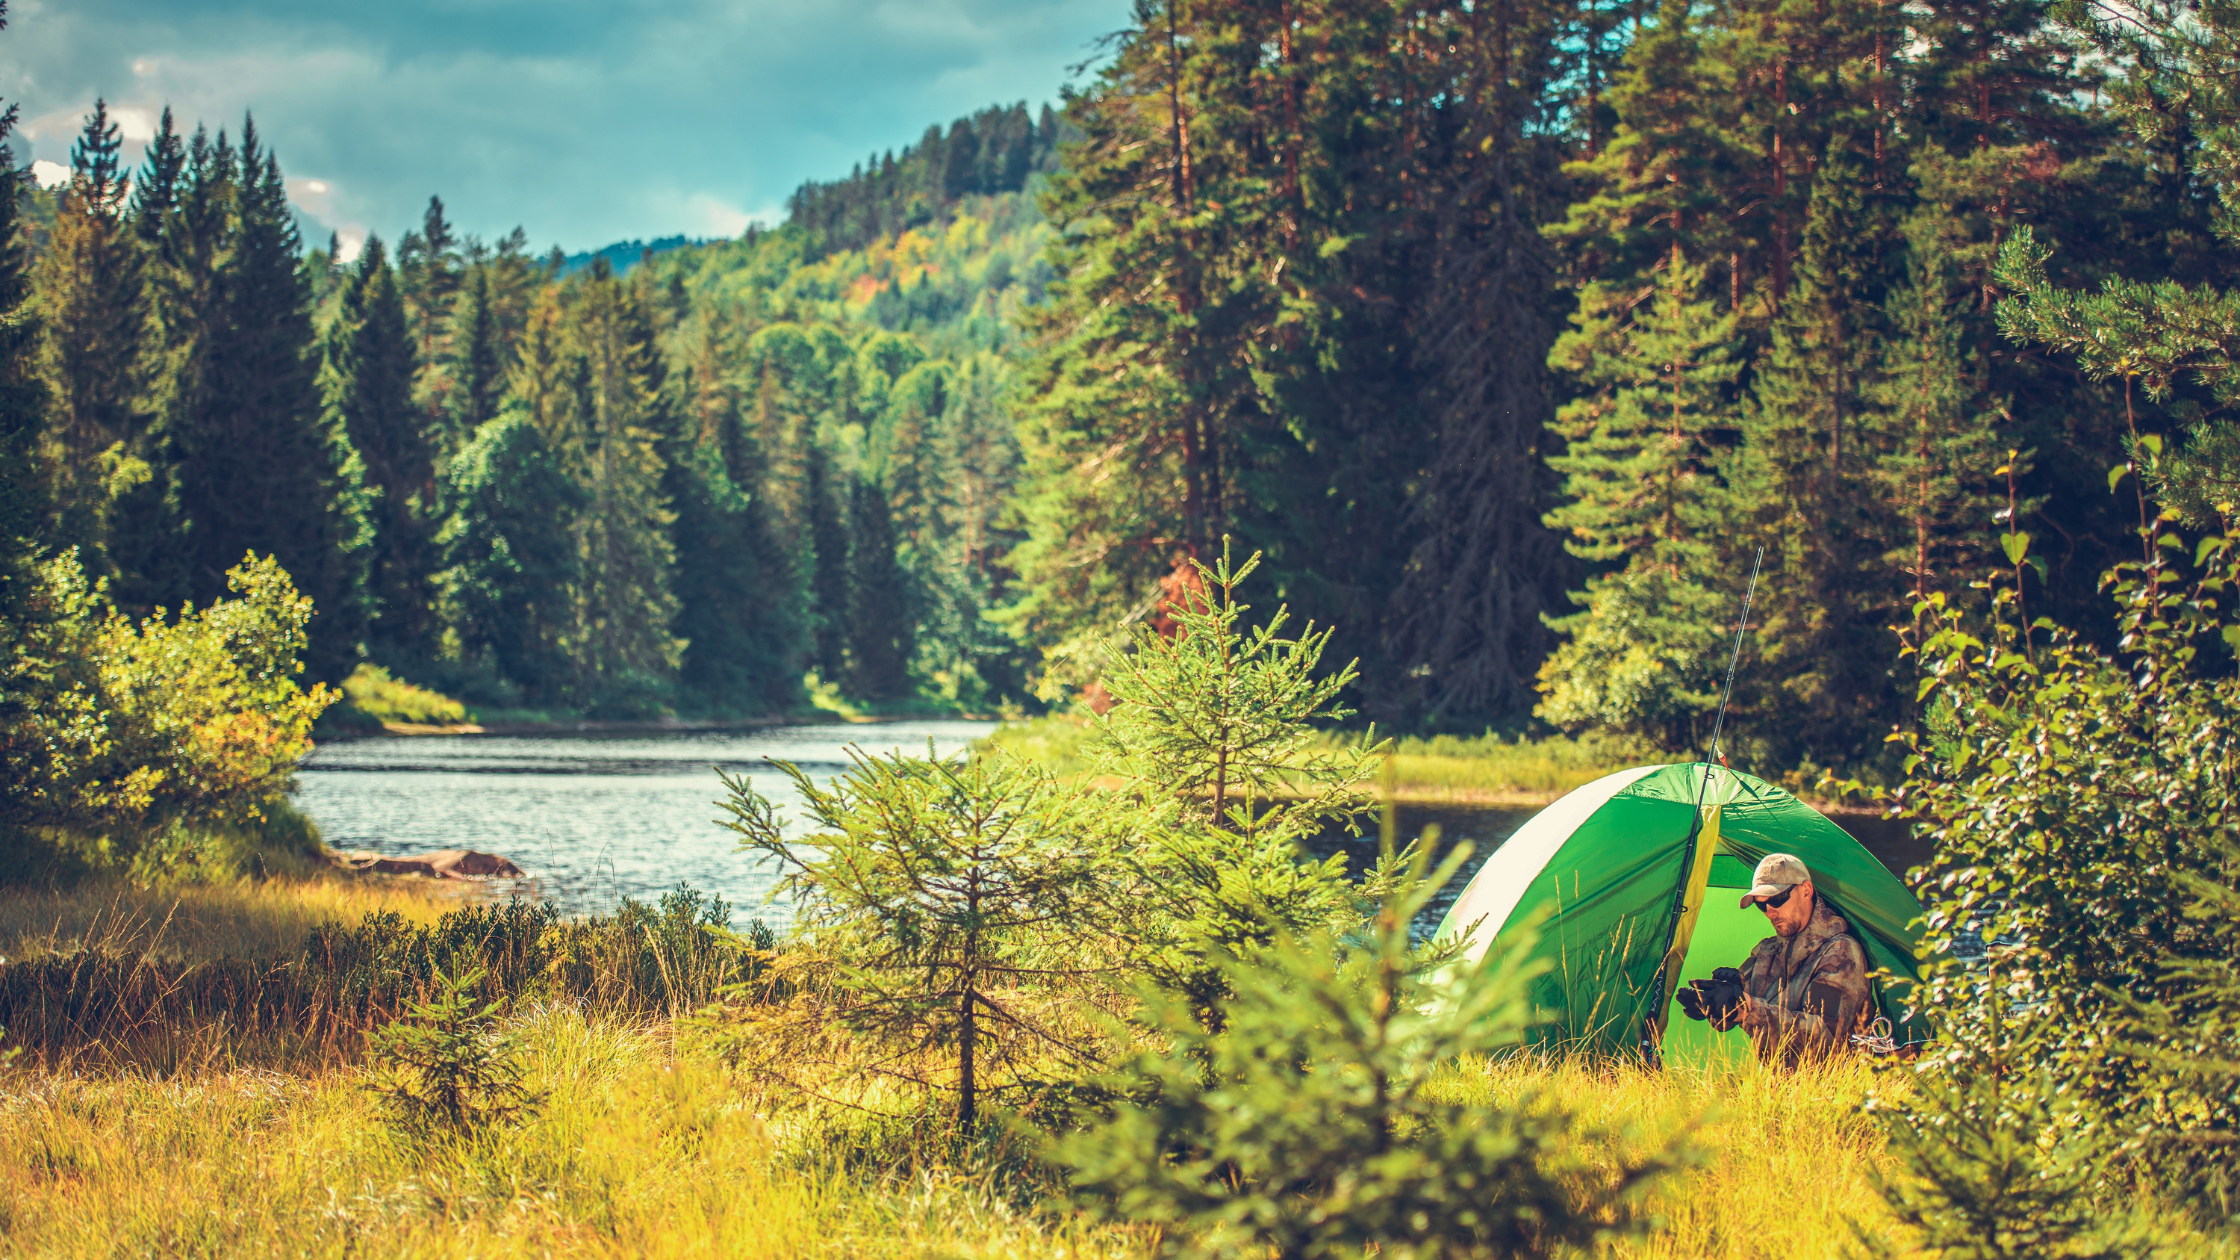
There’s something incredibly special about trading a quick out-and-back for a night under a starlit sky or waking up to sunrise in the wild. Backpacking isn’t just about carrying more – it’s about embracing self-reliance, pushing your limits, and discovering adventures far beyond the reach of day hikers.
Difference Between Hiking and Backpacking
Backpacking allows you to access remote, unspoiled areas where the crowds thin, the noise disappears, and nature unfolds in its raw, breathtaking beauty. You’ll cross into landscapes that feel untouched by time – alpine meadows blanketed in wildflowers, dense forests where only the sound of birds and wind in the trees fill the air, and high ridgelines where the world stretches endlessly before you.
Beyond the scenery, backpacking challenges you in ways that day hiking never will. Carrying everything you need for several days or more on your back forces you to think critically – what’s essential? How do you pack efficiently? How will you handle unexpected challenges? Learning how to start backpacking isn’t just about physical endurance; it’s about building confidence in your ability to navigate, adapt, and thrive in the backcountry. With each trip, you’ll grow stronger, more capable, and more attuned to the rhythms of nature and yourself.
But backpacking isn’t just a solo pursuit. Along the way, you’ll meet others who share your passion – trail veterans eager to share tips, fellow beginners navigating their first trips, and kindred spirits who find joy in swapping stories around a campfire. Whether you decide to join guided backpacking trips for beginners or go at it with a small group of friends, the trail has a way of fostering connections that last long after the hike is over.
The leap from day hiking to backpacking might feel daunting at first, but with the right preparation, gear, and mindset, it quickly becomes one of the most rewarding adventures you’ll ever take. This Beginners Guide to Backpacking covers everything you need to know – from how to pack a hiking backpack to finding the best backpacking trails for beginners – so you can step confidently into the wild and experience the freedom, challenge, and awe of overnight backpacking.
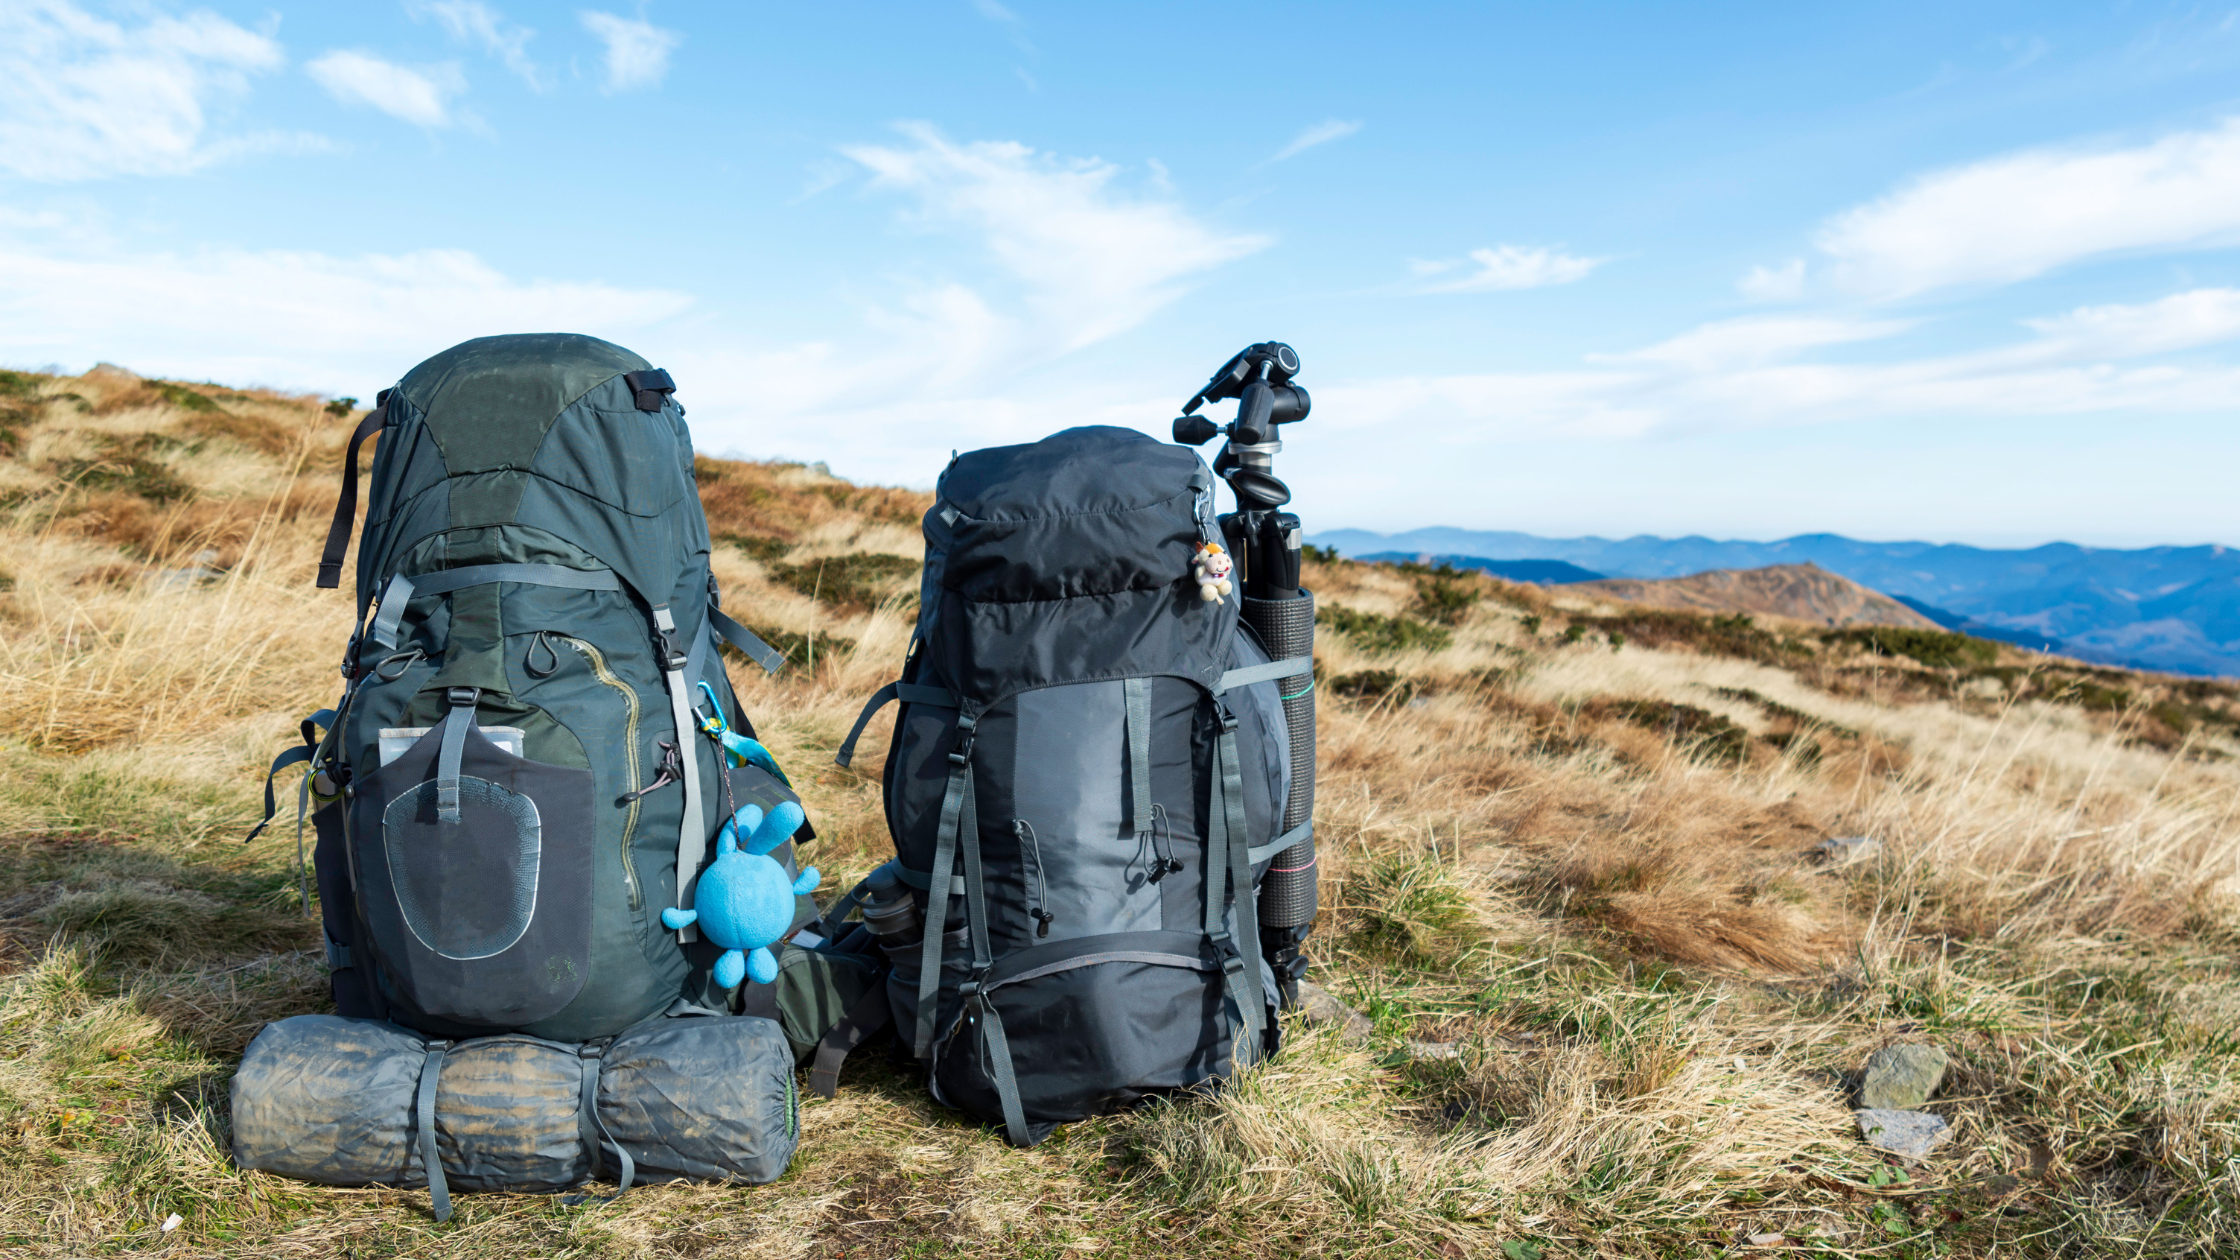
Essential Gear for Backpacking & Key Differences from Hiking
Making the transition from day hiking to backpacking means carrying more gear, planning for overnight stays, and understanding backcountry safety. It’s a shift that requires dialing in the backpacking essentials for beginners – from your sleep system and food storage to navigation tools and how you pack it all. Here’s what changes:
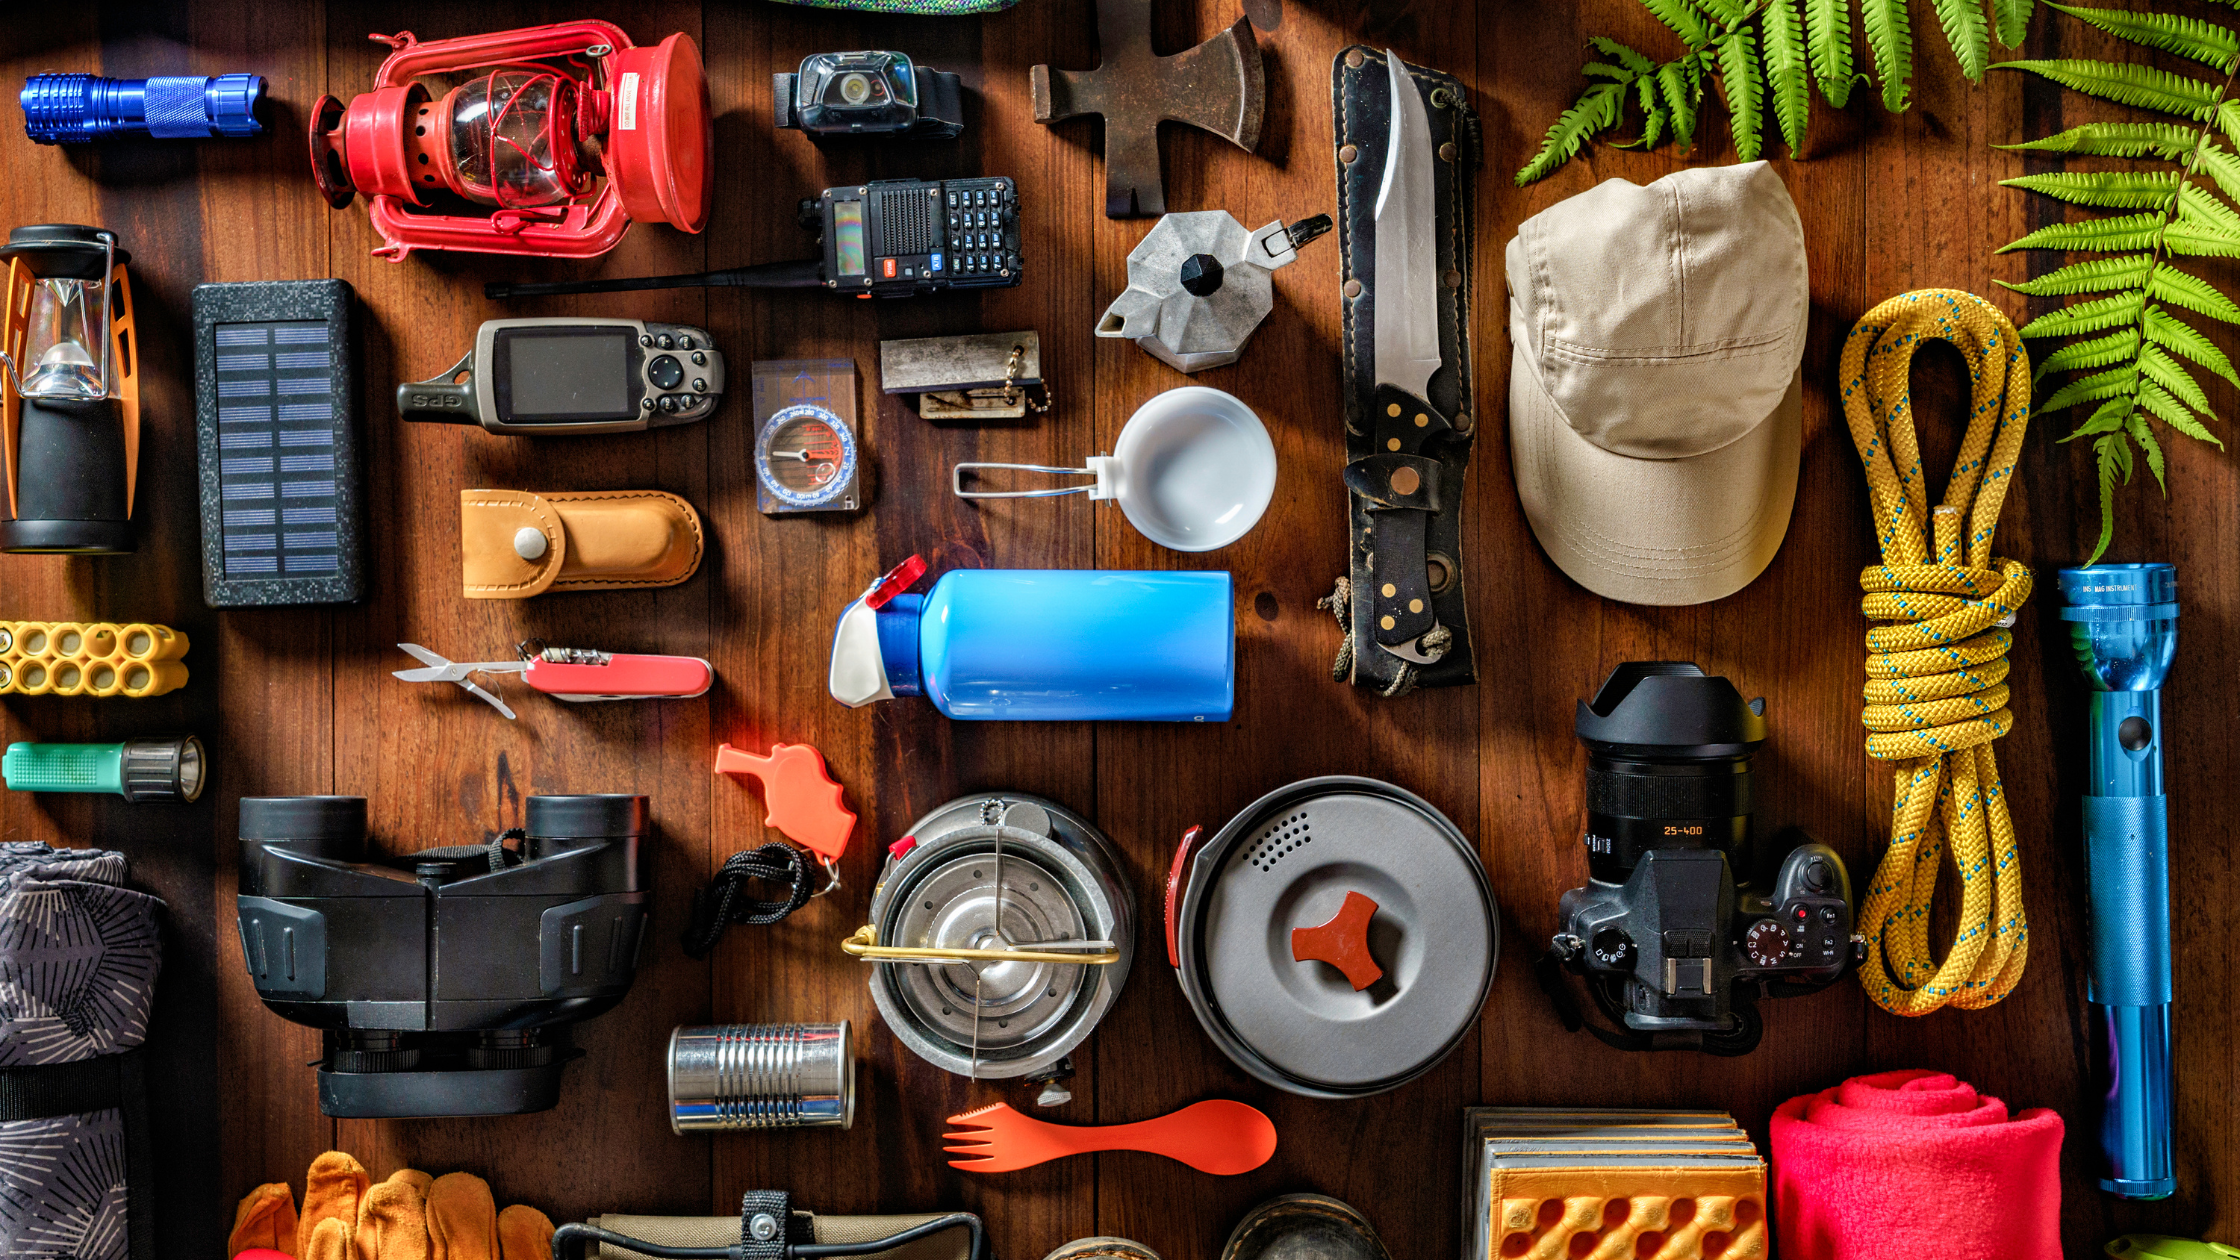
Backpacking Gear for Beginners
Gearing up for your first backpacking trip doesn’t mean you need to drop a ton of cash or go ultra-light out of the gate. But it does mean thinking differently than you would for a day hike. When your backpack is your home, kitchen, and closet for the night (or a few), packing the right gear becomes the difference between Type 1 fun and a serious sufferfest.
This beginner backpacking gear checklist covers the basics—what you really need, what you don’t, and how to make smart choices for comfort and safety without overloading your pack. From your sleep system to cooking setup, this is the gear beta to help you get trail-ready without feeling overwhelmed. Check out the infographic below for a breakdown of essential items, what each is used for, and a few handy tips to keep your pack light and your spirits high.
Backpacking Checklist for Beginners
Downloadable & Printable
Before you hit the trail, make sure you’ve got everything you need (and nothing you don’t). This backpacking gear list for beginners keeps it simple with the must-have gear for overnight trips. Downloadable and printable, so you can check things off as you pack and head into the wild feeling prepped and confident for your first backcountry adventure.
Downloadable Backpacking Checklist for Beginners
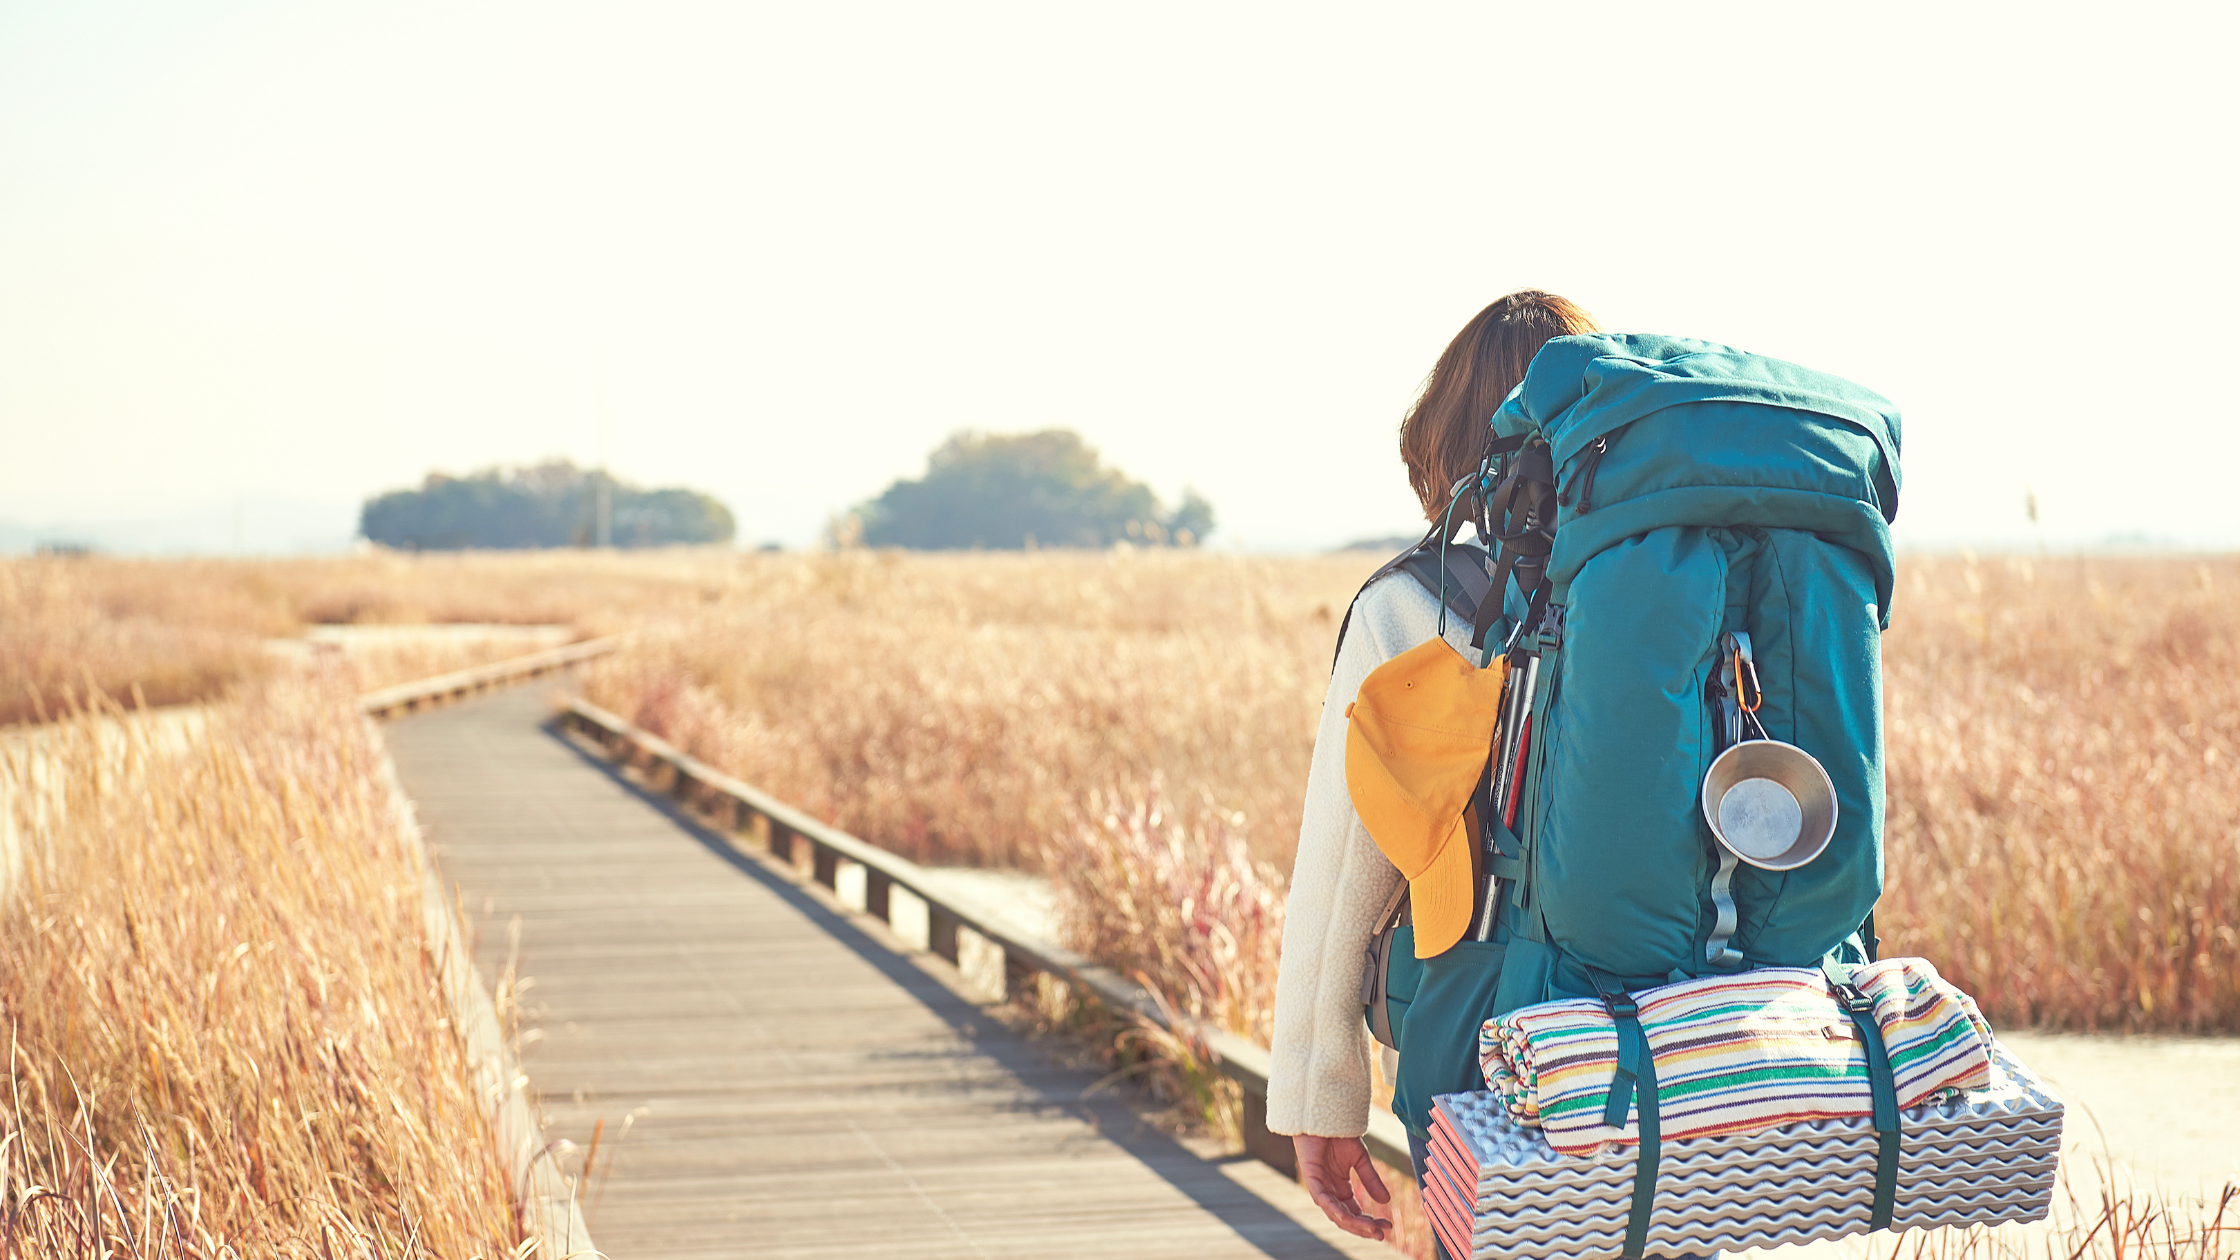
How to Pack a Backpack
Packing your backpack properly ensures comfort, balance, and efficiency on the trail. A well-packed bag distributes weight evenly, prevents strain, and keeps essential gear easily accessible.
Organizing Your Gear by Weight & Priority
A backpack should be packed strategically based on weight distribution and accessibility:
- Bottom (Light & Bulky Items) – Sleeping gear and soft items
- Middle (Heavy Items, Centered) – Food, water, cooking gear
- Top (Medium-Weight & Frequently Used Items) – Rain gear, extra layers, snacks
- External Pockets & Straps – Water, maps, small essentials
Step-by-Step Packing Guide
Bottom of the Pack: Light & Bulky Items
Purpose: Provides a stable foundation and keeps heavier weight from pulling you backward.
- Sleeping bag (in a compression sack or waterproof bag)
- Sleeping pad (if it folds or rolls up small)
- Camp clothes (base layers, socks, etc.)
- Any other lightweight but bulky items (pillow, extra layers for camp)
Avoid storing frequently used items here!
Middle of the Pack: Heavy & Dense Items
Purpose: Keep the heaviest items close to your back and near your center of gravity to prevent strain.
- Food (stored in a bear canister or dry bags)
- Cooking gear (stove, fuel, pot, utensils)
- Water reservoir (if using a hydration bladder)
- Bear-proof storage (if required, pack where it fits best)
Heavy items should sit as close to your back as possible for balance.
Top of the Pack: Medium-Weight & Frequently Used Items
Purpose: Keeps essentials accessible without unpacking everything.
- Rain jacket or windbreaker
- Mid-layer (fleece or puffy jacket)
- First aid kit
- Headlamp
- Toilet kit (trowel, toilet paper, hand sanitizer)
- Small snacks or lunch
External Pockets & Straps: Quick-Access Essentials
Purpose: Convenience and easy access while hiking.
- Side Pockets – Water bottles, maps, trekking poles
- Hip Belt Pockets – Snacks, GPS, lip balm, multi-tool
- Lid Pocket (Brain) – Sunglasses, sunscreen, gloves, hat
- Front Stretch Pocket – Wet rain gear or pack cover
- Bottom Straps – Tent poles or foam sleeping pad (if not inside)
Avoid hanging too much gear outside your pack—it can throw off balance or snag on branches.
Final Tips for a Well-Packed Backpack
- Waterproof Your Gear: Use dry bags or pack liners in case of rain.
- Distribute Weight Evenly: Keep it centered along your spine.
- Adjust Fit Before Hiking: Tighten shoulder straps, hip belt, and load lifters for comfort.
- Test Before You Go: Walk with your loaded pack before hitting the trail to check balance and comfort.
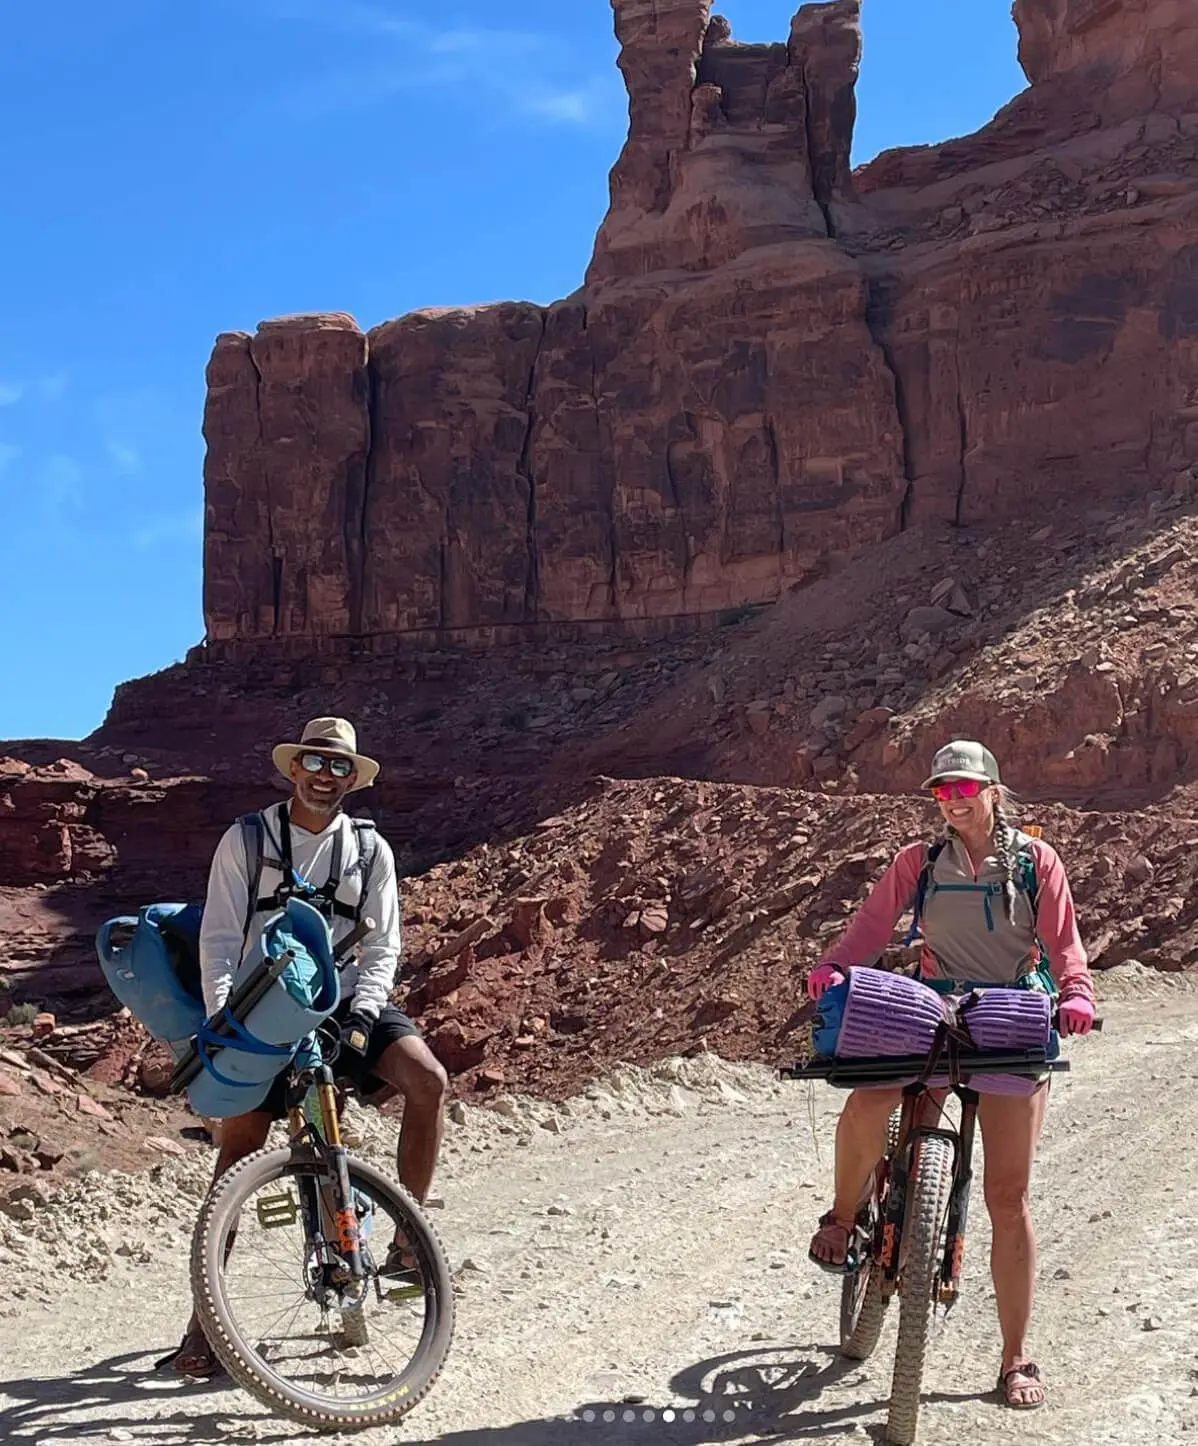
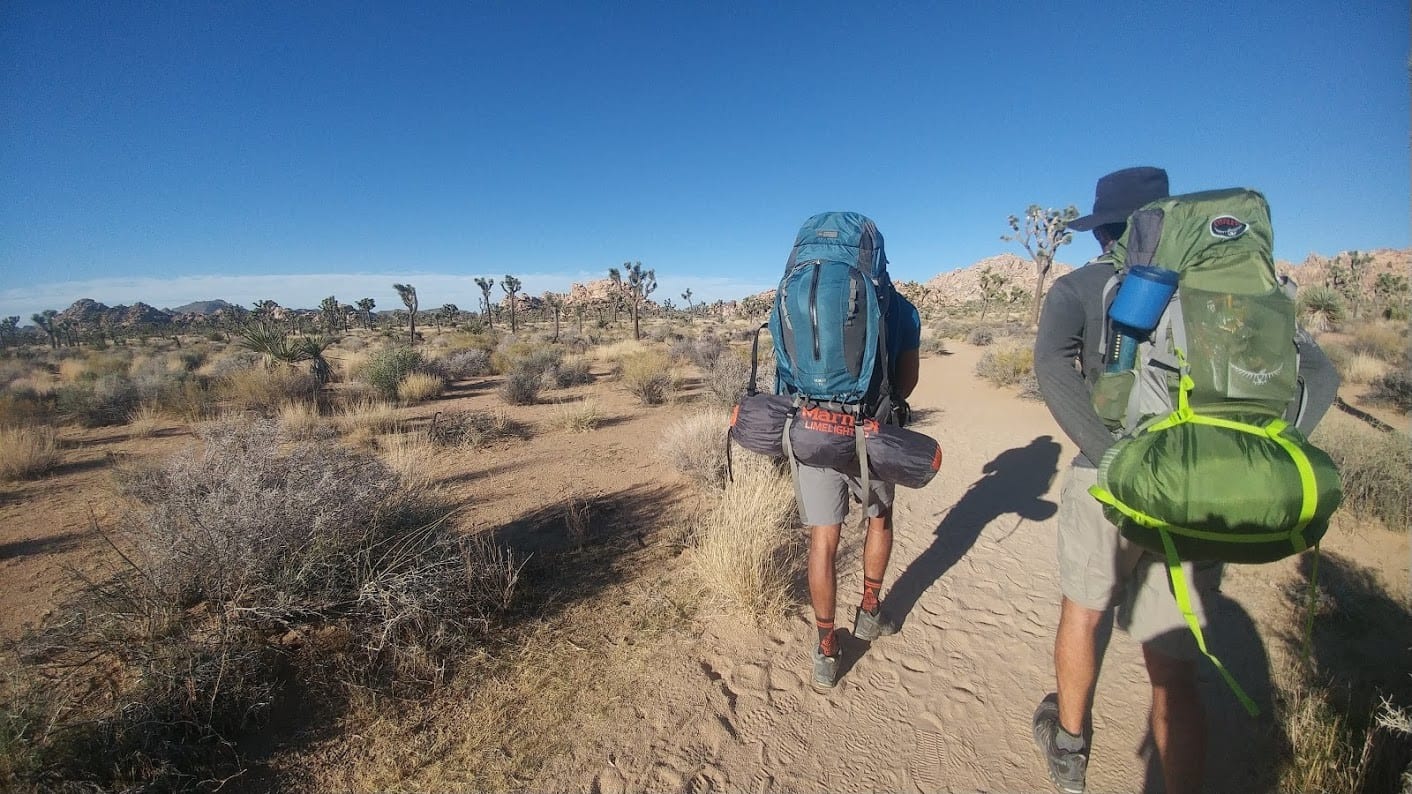
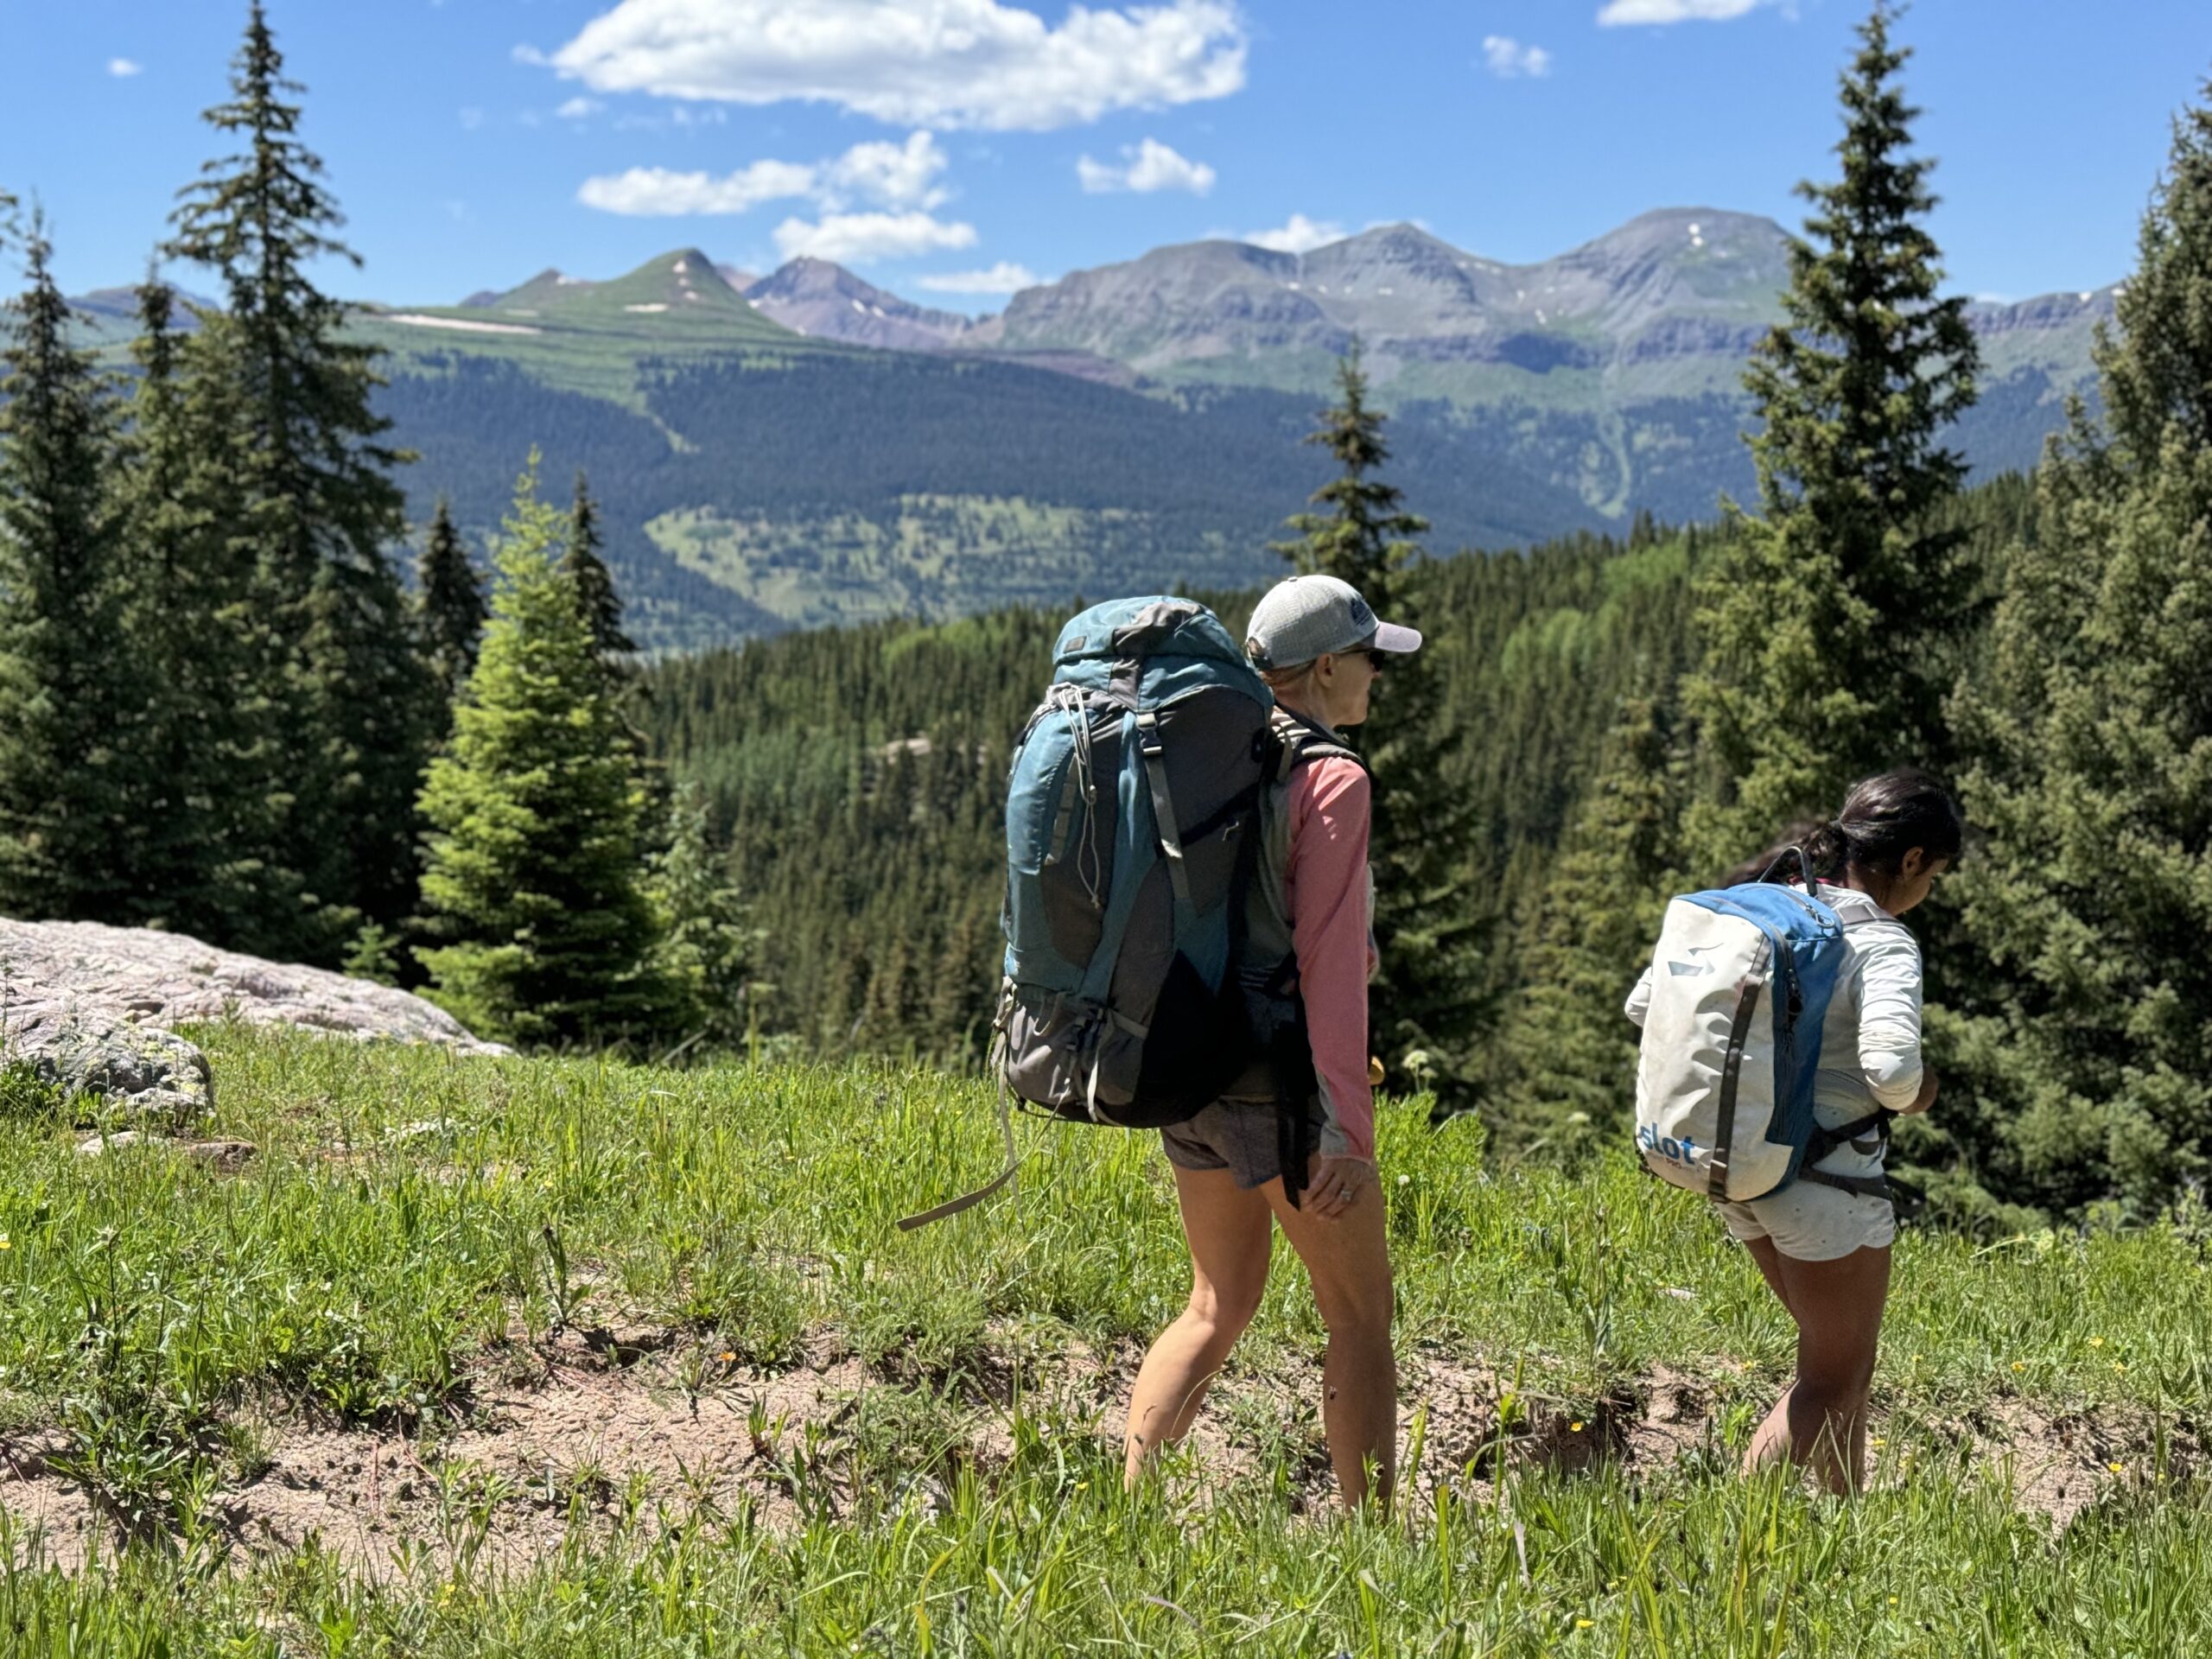
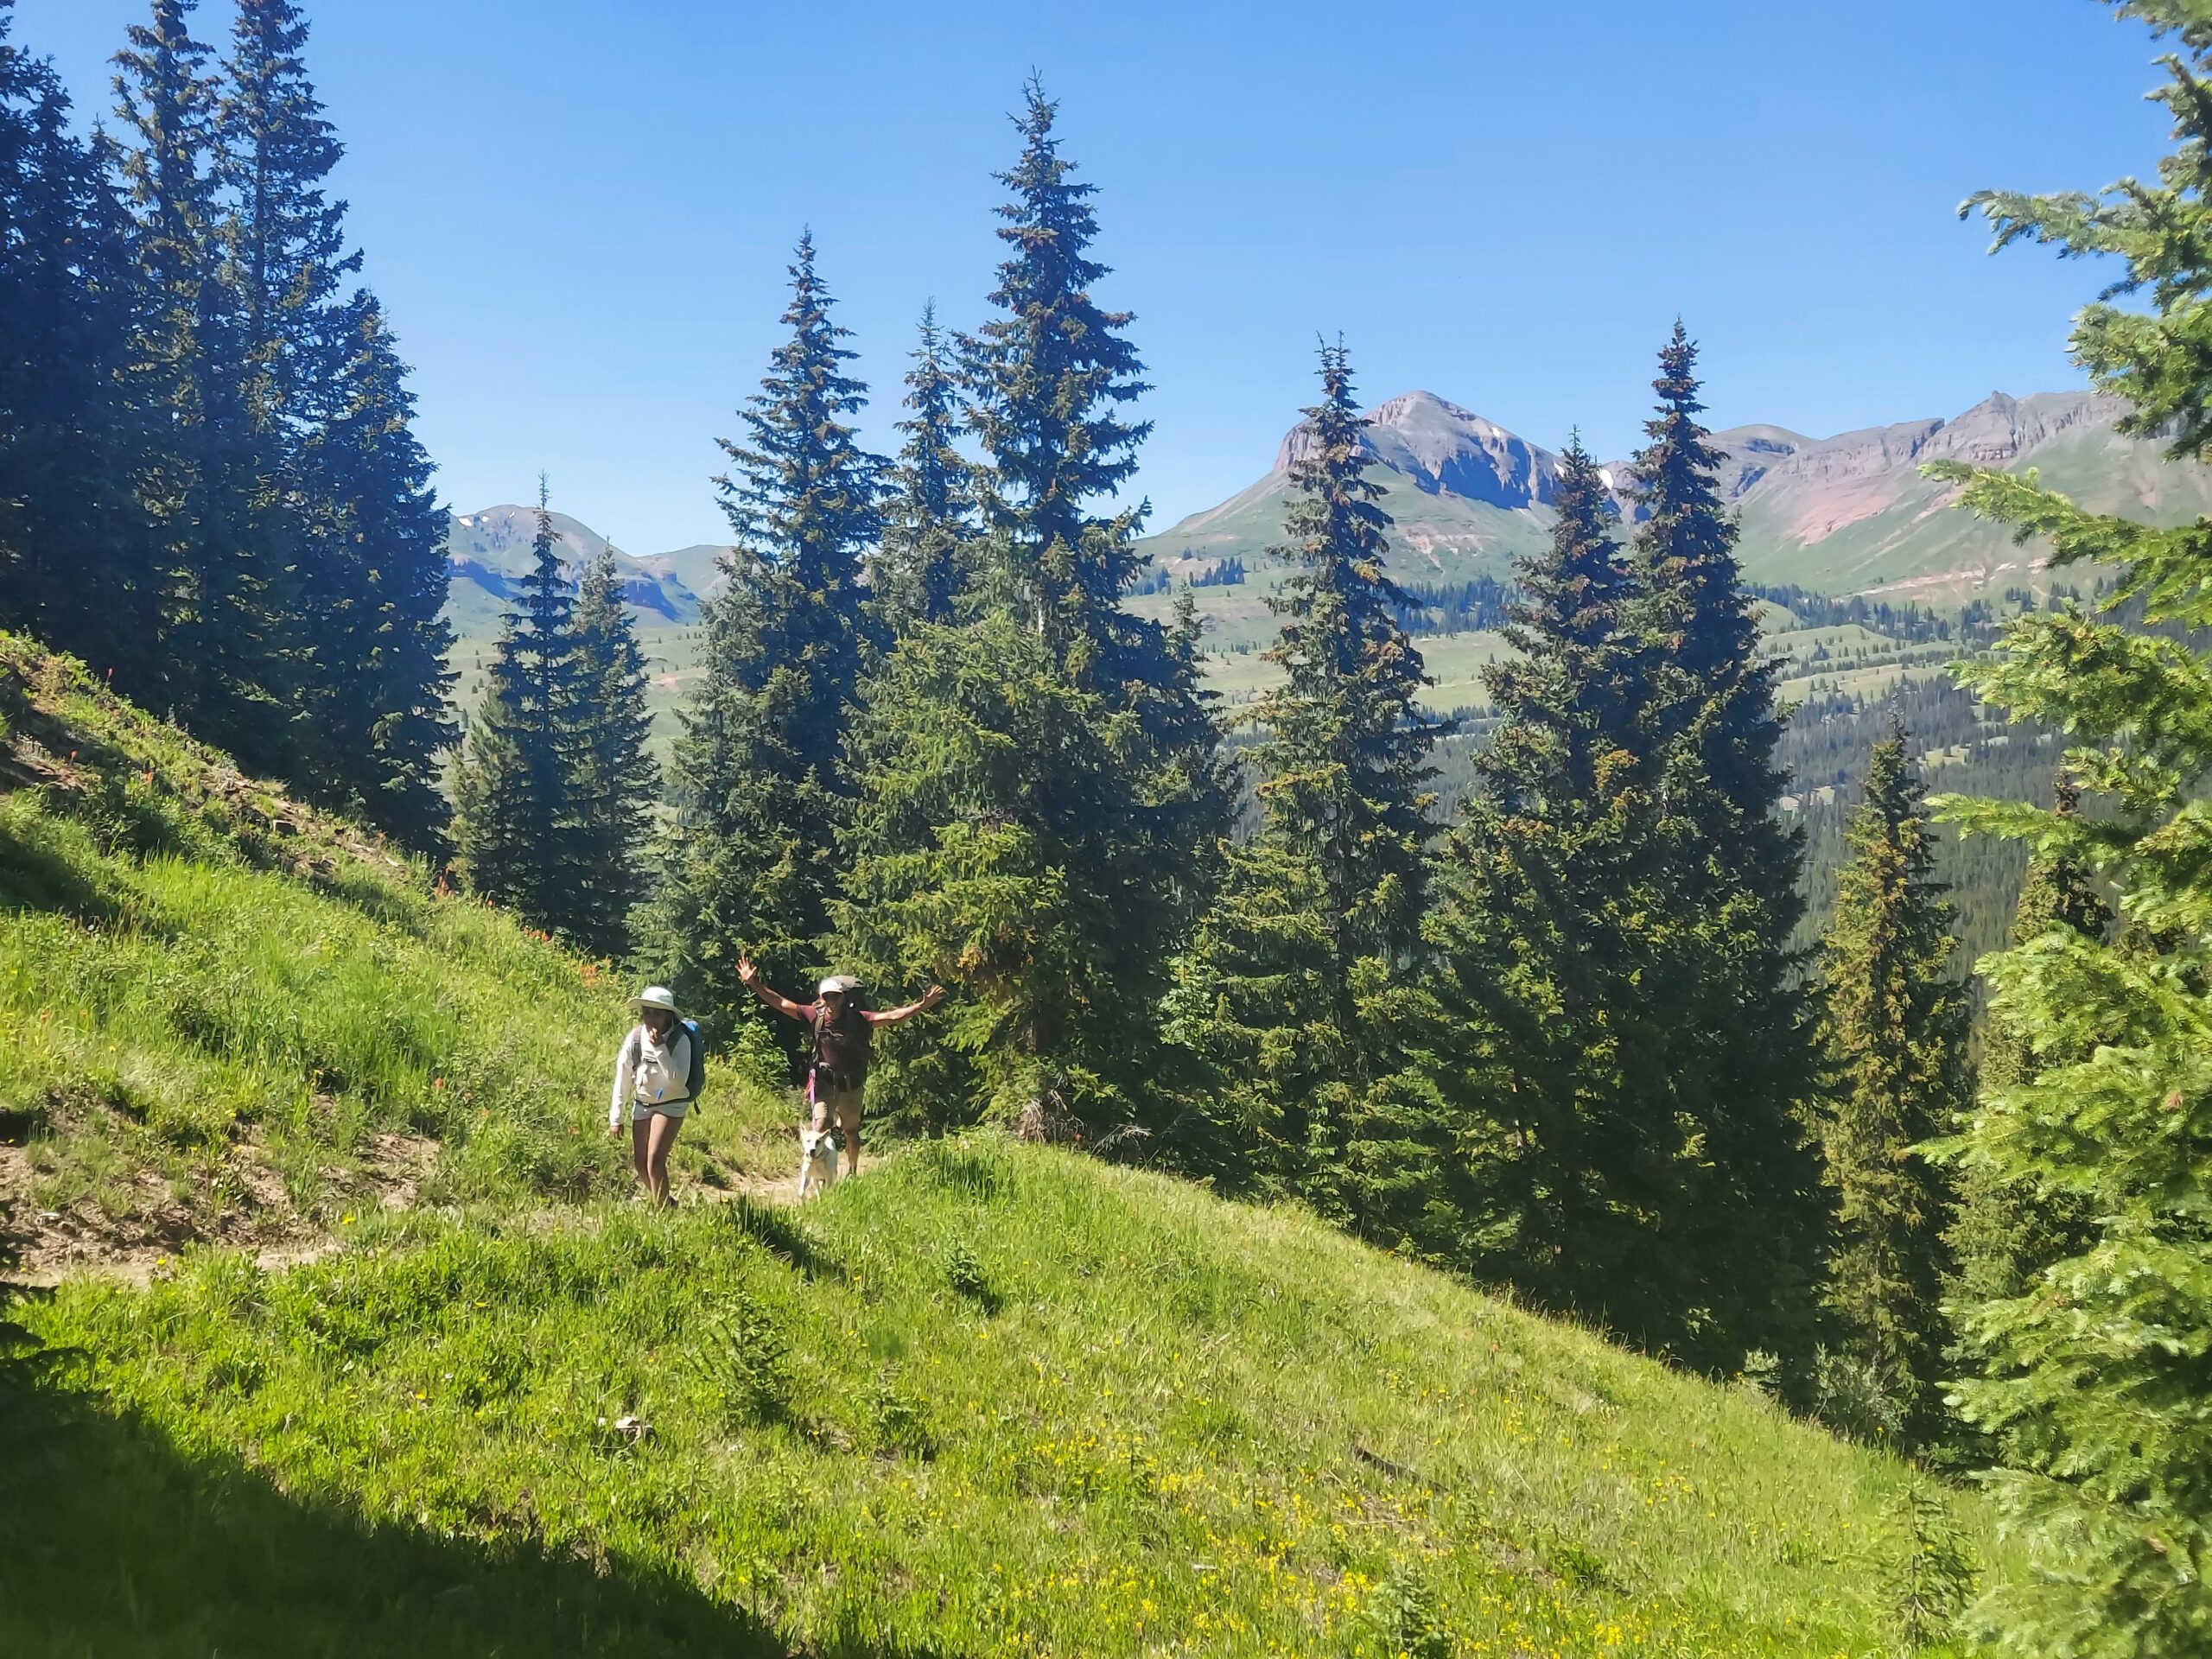
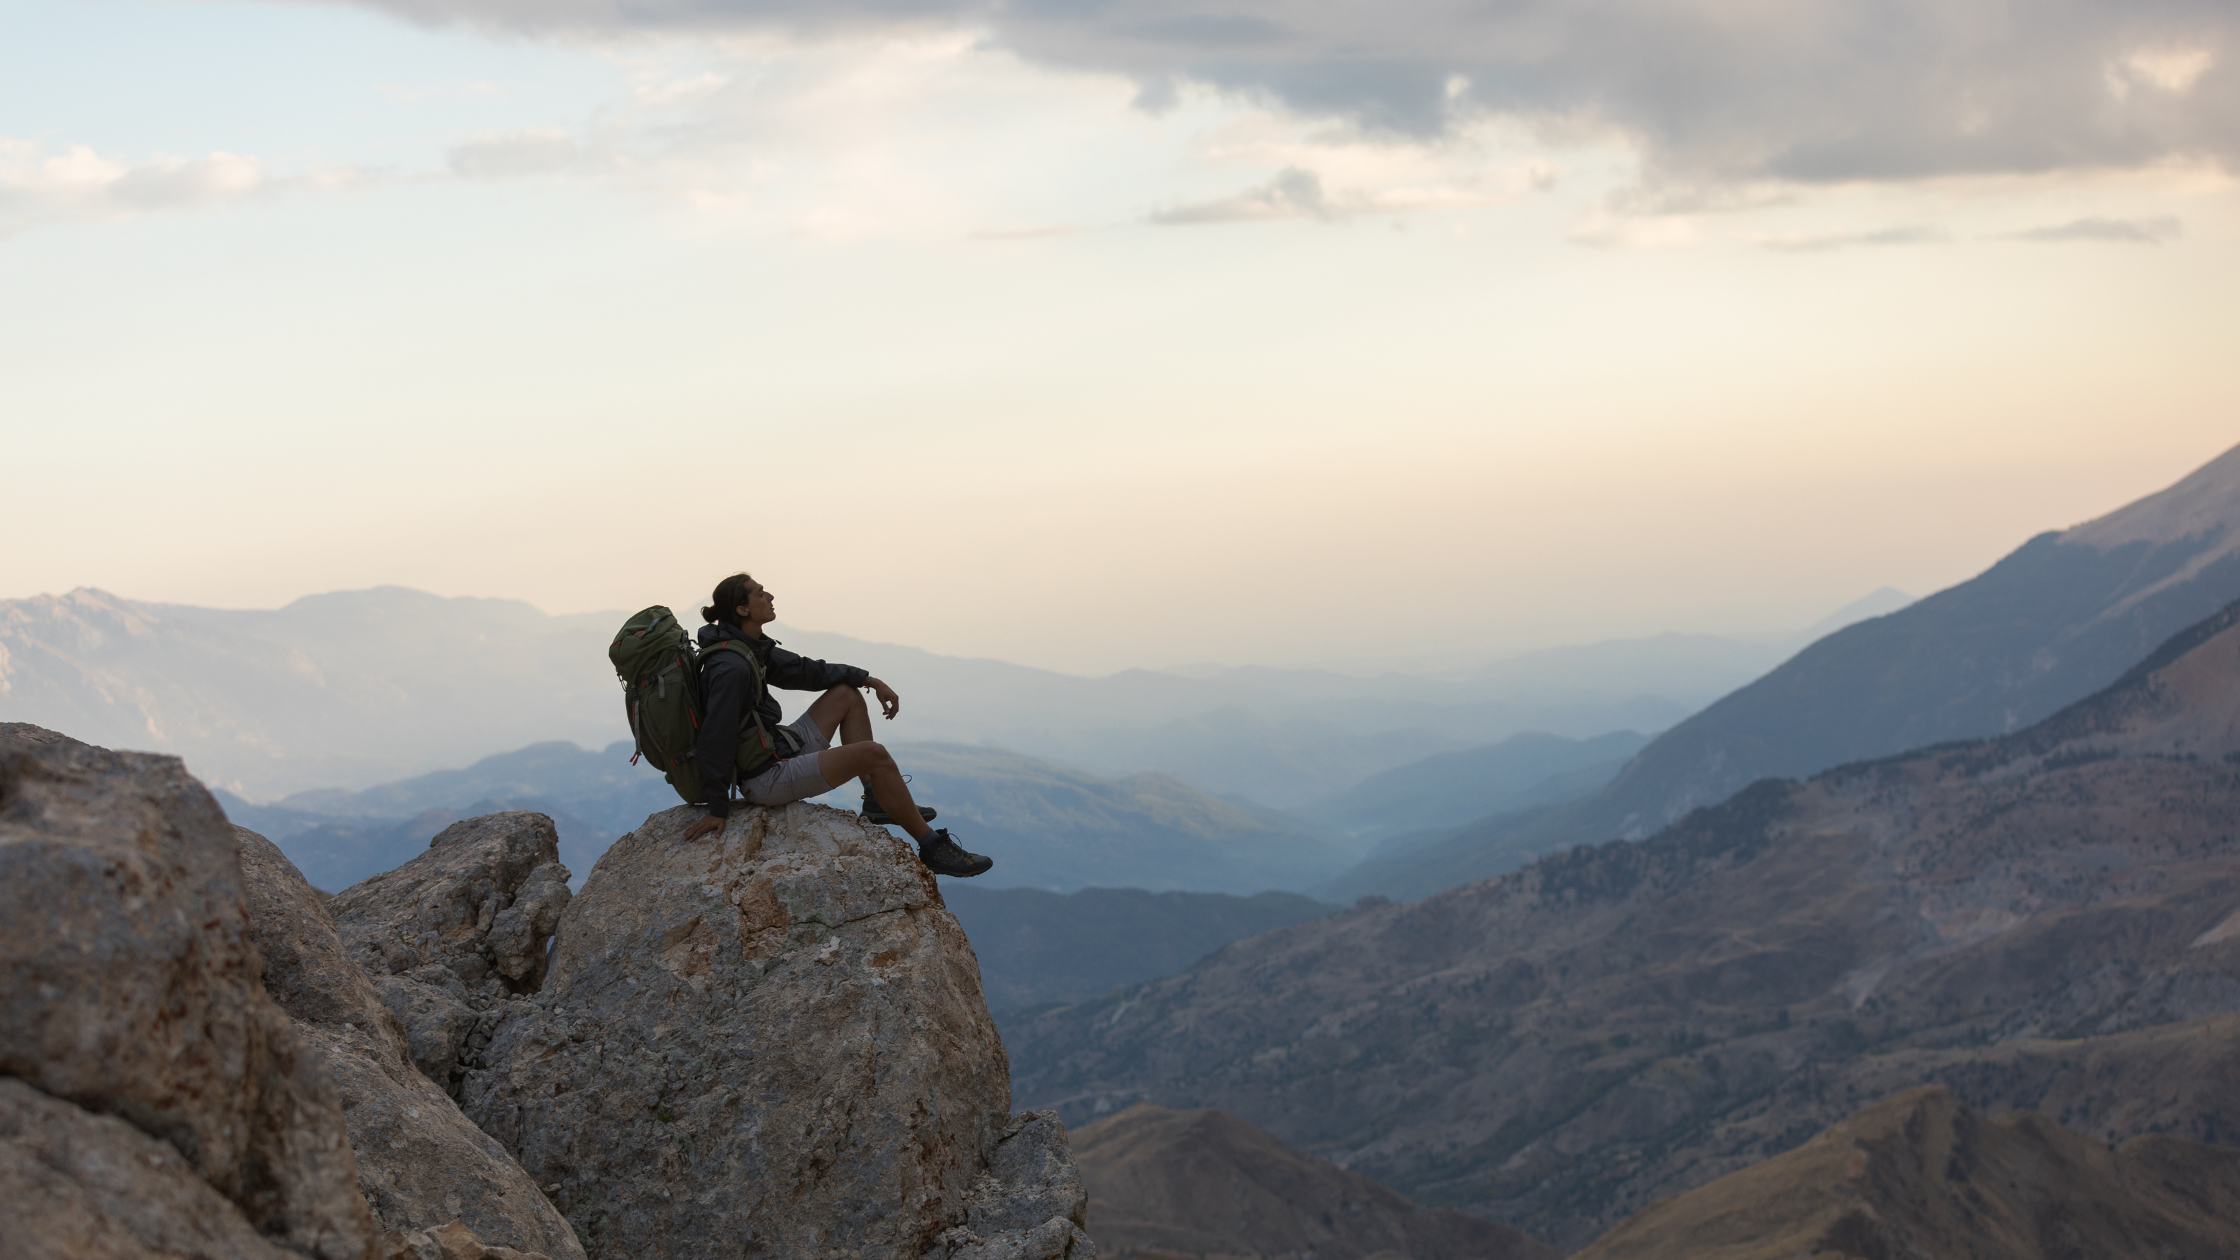
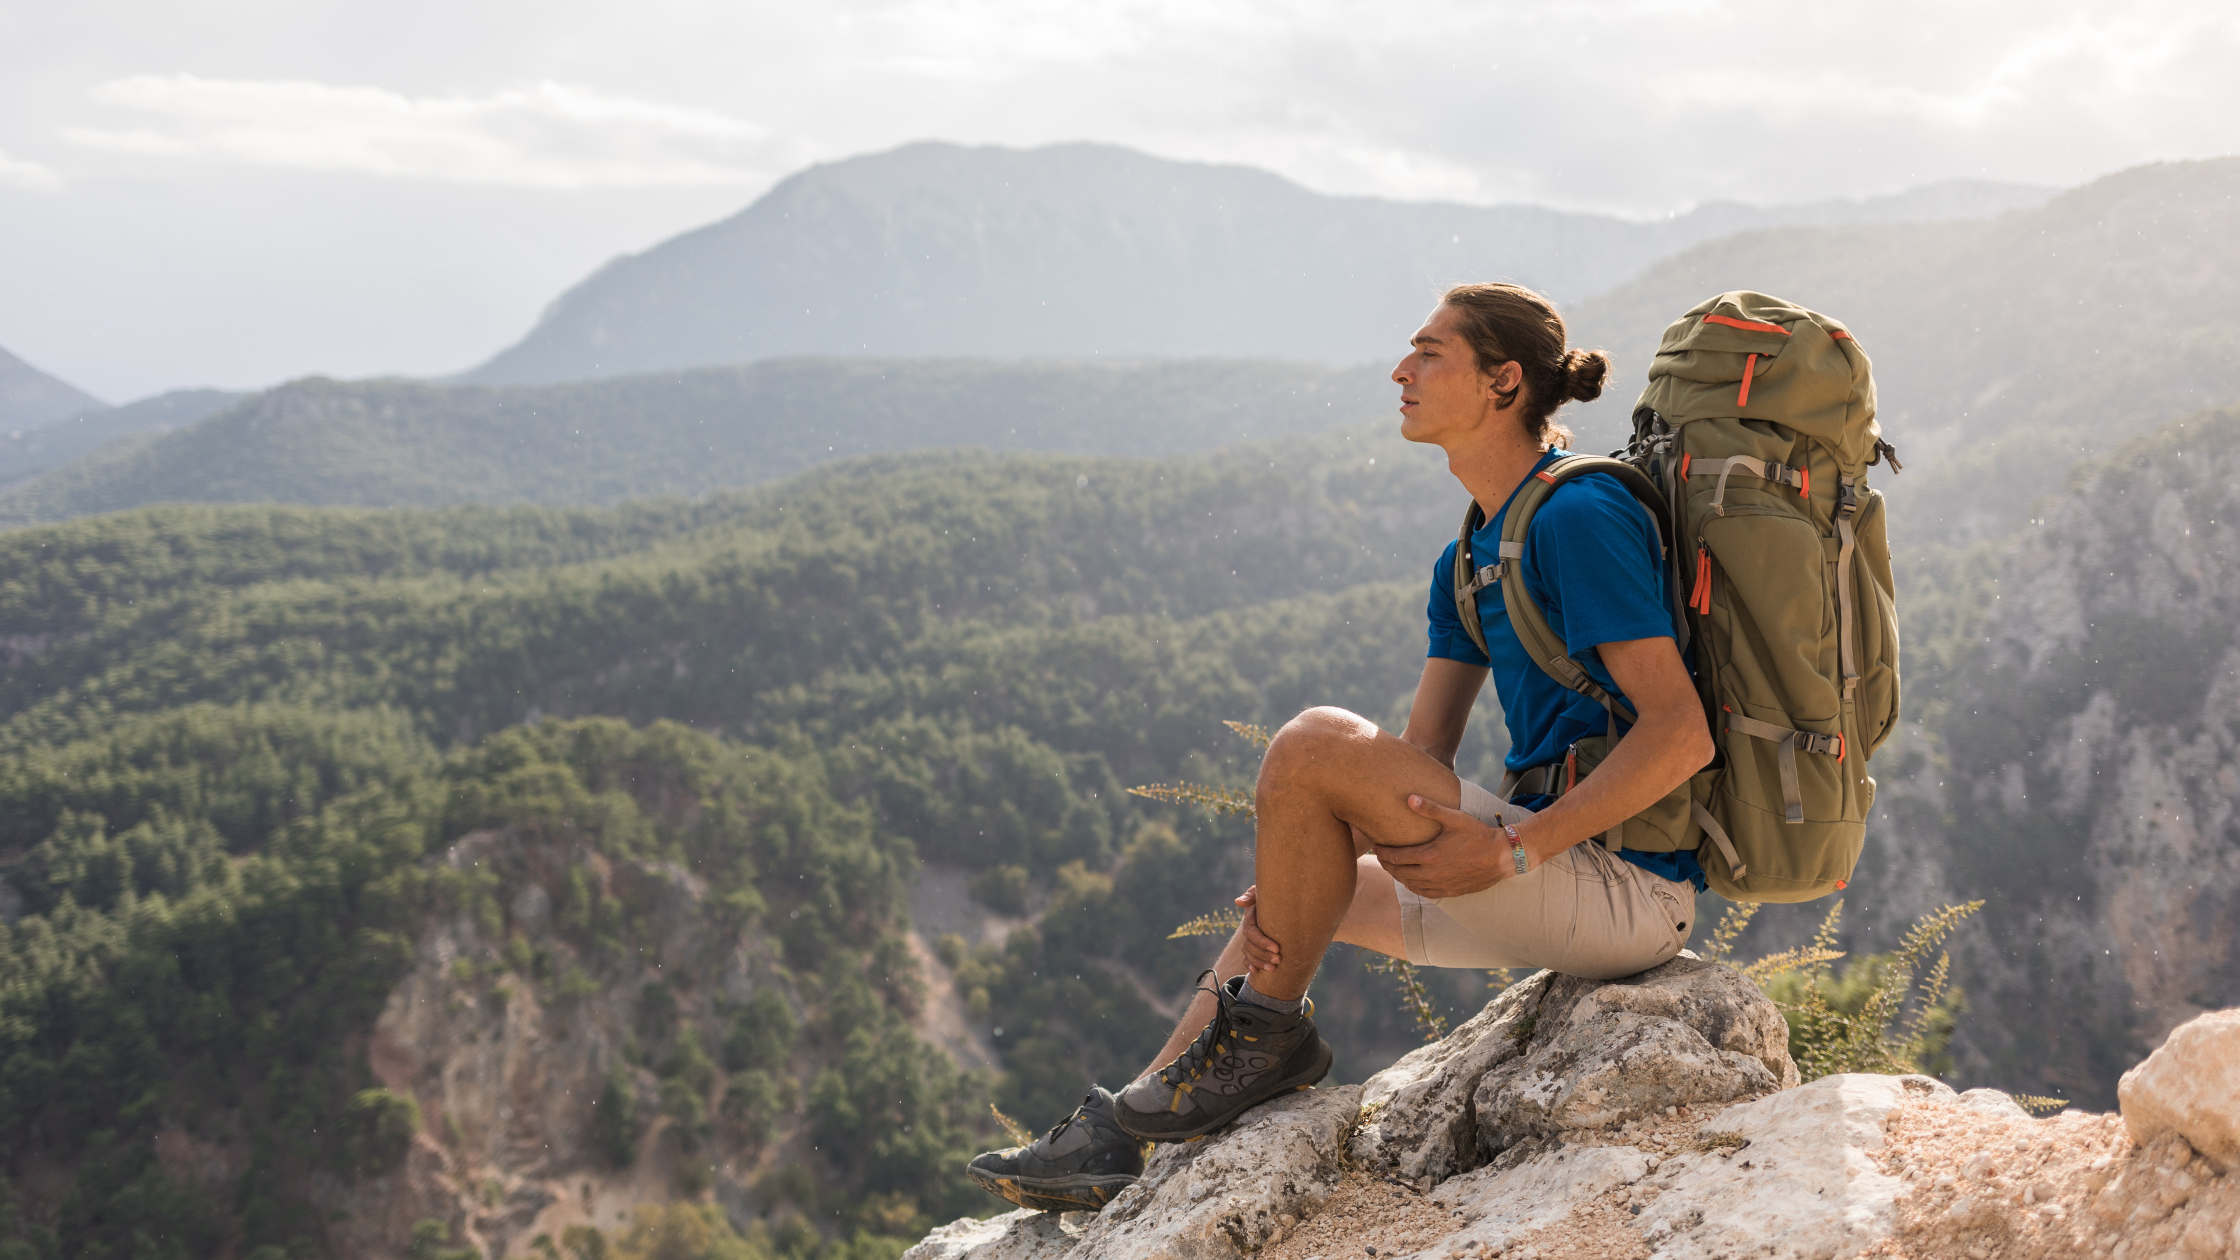
Backpacking Trips for Beginners
Choosing the best backpacking trips for beginners is all about finding the right balance of challenge and comfort. A good first trip keeps the mileage manageable, sticks to well-marked trails, and includes reliable water sources and established campsites. Look for routes with moderate elevation gain, stunning views, and maybe even a lake or waterfall to make the effort totally worth it. Bonus points if there’s a bail-out option or cell service in case plans change. The goal isn’t to crush miles—it’s to build confidence, test your gear, and get stoked for your next (longer) backcountry adventure.
Choosing the Best First Backpacking Trip
Picking the right trail for your first backpacking trip can make all the difference in how enjoyable and successful your experience is. Instead of diving into a multi-day, high-mileage trek, it’s best to ease into backpacking with a manageable route.
Consider a Guided Trip to Learn the Ropes
If you’re not quite ready to send it solo, guided backpacking trips for beginners are an awesome way to ease into the backcountry. You’ll learn the essentials – like how to pack, set up camp, manage food and water, and stay safe – all with the support of an experienced guide. It’s a chance to build confidence, test your gear, and pick up trail wisdom before planning your own adventure.
Start Small and Test Your Setup
Begin with a 1–3 night trip: A short overnight or a 2–3 night backpacking trip allows you to test your gear, hiking endurance, and comfort level before committing to a longer trek.
Choose familiar trails/terrain: Consider starting with a trail you’ve already hiked as a day trip or one in a climate you’re comfortable with—this eliminates the challenge of navigating unfamiliar terrain.
Pick a popular route: Choosing a well-traveled trail means you’re more likely to encounter other hikers, which can be reassuring if you’re new to backcountry camping.
Plan for Flexibility & Safety
Opt for easy-to-follow trails: Look for well-marked trails with moderate elevation gain, reliable water sources, and well-maintained campsites.
Have a bail-out option: If you’re determined to try a longer route, consider one with exit points or shorter loops so you can cut your trip short if needed.
Weather awareness: Opt for a season and region with stable conditions—avoiding extreme cold, heavy rain, or snow for your first experience.

How to Plan a Backpacking Trip
Planning your first overnight in the backcountry can feel a little overwhelming – but it doesn’t have to be. This section on how to plan a backpacking trip for beginners breaks it down step-by-step, from picking the right trail and securing permits to figuring out food, water, and transportation. With a little prep, you’ll be ready to hit the trail with confidence and focus on what really matters – soaking up the wild views and type 2 fun.
Permits & Logistics
Permits: Some of the most beautiful backpacking spots – think national parks and wilderness areas – require permits. Sometimes you’ll need to snag them well in advance (especially for popular routes), while other times you can pick them up at the local ranger station day-of. Either way, don’t skip this step. Read the fine print, check dates, and make sure you’re squared away before hitting the trail.
Transportation: If your route is a loop, getting to the trailhead is pretty straightforward. But if you’re doing a point-to-point hike (aka a thru hike), you’ll need to sort out a shuttle, a second car, or someone to pick you up. Bonus tip: don’t count on having cell service at the trailhead—plan ahead so you’re not stuck trying to hitch a ride in the dark.
Backpacking Meal Planning & Food Storage
Food Storage: This depends a lot on where you’re hiking and the critters that call it home. In bear country, you’ll need a bear canister or know how to hang a bear bag. In other places, you might be fine keeping food and scented stuff in your tent. Check the local rules before you go.
Meal Planning: You’ll burn a ton of calories on trail—think 2,000+ per day, and often more depending on your pack weight, mileage, and terrain. Some folks like to carry big meals, while others prefer snacking all day. Altitude can also mess with your appetite, so make sure to pack easy-to-eat, calorie-dense foods that don’t make your stomach turn.
Hot Meals vs. Cold Soaking: Want to go light? Cold soaking is a popular method—just add water to dehydrated meals and let them rehydrate over a few hours. No stove, no fuel, less weight. But let’s be real: a hot meal or warm drink can feel amazing at camp, especially in cooler temps. Choose your style based on your trip length, comfort level, and how much weight you’re willing to carry.
Resupply Options: If you’re planning a longer thru hike, you can often resupply in towns along the route or mail yourself a box of food to pick up. This lets you carry less weight between sections and also gives you a chance to grab fresh snacks (and maybe even a hot meal in town).
Weather
Knowing what kind of weather you’ll face is key to planning your gear and staying safe. Backpacking in snow? You’ll likely need microspikes, maybe an ice axe, and definitely the skills to use them. Expecting rain? Bring a pack cover, dress in layers, stash some dry socks deep in your bag, and for the love of all things cozy – skip the cotton. Wet cotton = cold misery.
Training & Physical Preparedness
Even a short overnight backpacking trip can feel way harder than a day hike once you add in a loaded pack and a few thousand feet of vert. It’s smart to start with a 1–3 night trip to test your gear and build your trail legs. Look at the terrain, mileage per day, and elevation changes, and make sure you’re prepped to handle it. Many new backpackers do a little pre-trip training—think loaded pack walks or stair climbs—to get ready.
Water Planning
This one’s big. Water can make or break a trip, especially in dry climates. Always carry more than you think you’ll need, and research water sources ahead of time—some creeks and springs dry up by late summer. Know where you can resupply and double-check current conditions before you head out. If a stream is marked on a map, that doesn’t mean it’s actually currently flowing.
Leave No Trace for Backpacking
One of the best parts of backpacking is experiencing wild places that feel untouched – but keeping them that way takes a little extra effort. Practicing Leave No Trace (LNT) principles isn’t just a rulebook – it’s a mindset that helps protect the landscapes we love so future adventurers can experience the same magic. Here’s how to tread lightly on your overnight trips:
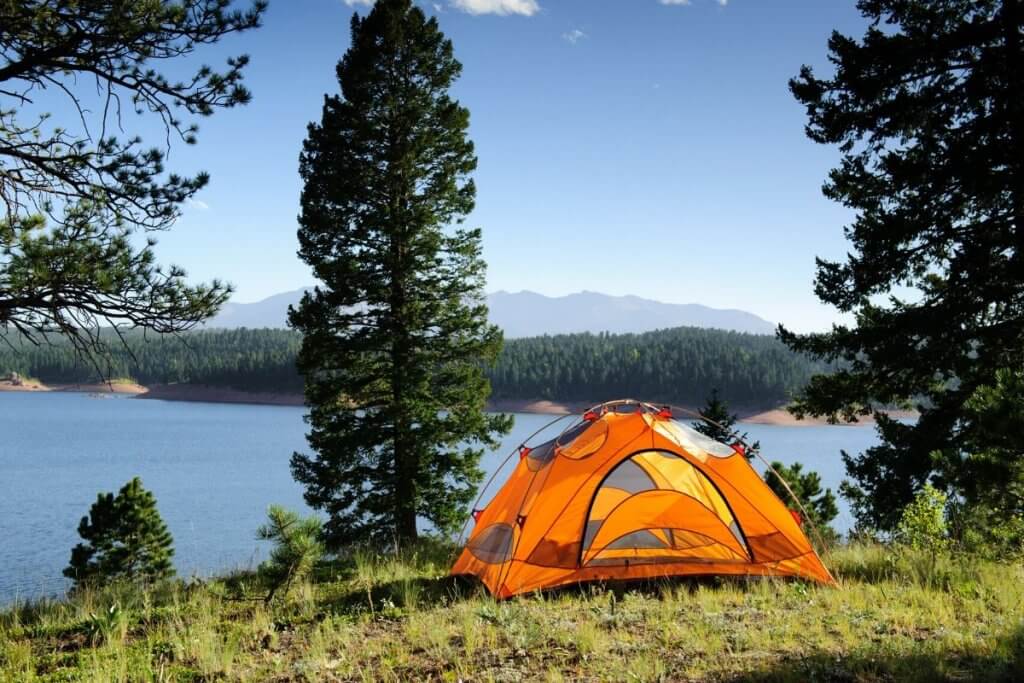
Setting Up a Campsite
- Use Established Sites When You Can: If there’s already a designated spot, use it. You’ll help minimize your impact on vegetation and fragile terrain.
- Camp 200 Feet from Water: That’s about 70 big steps. Keeping your camp away from lakes, rivers, and streams protects sensitive ecosystems and keeps water sources clean.
- Avoid Trampling Wild Spaces: If you’re camping in a more remote spot, choose durable surfaces like packed dirt, sand, or rock. Skip areas where you’d have to clear plants or build a new site.
Food & Cooking Waste
- Pack Out Every Scrap: Even “natural” stuff like orange peels and apple cores don’t break down quickly and can attract animals. If it didn’t grow there, it doesn’t stay there.
- Store Food Properly: Use a bear canister or hang your food if required—check the local rules so you don’t end up with a surprise visit from curious critters.
- Wash Dishes Away from Water Sources: Go 200 feet from streams or lakes, strain out food bits, and scatter the greywater. Use biodegradable soap sparingly—less is more.
Human Waste & Menstrual Products
- Use Bathrooms When Available: Many busy trails have toilets—use them if they’re there.
- Otherwise, Dig a Cathole: If you’re off-grid, dig a 6–8 inch deep hole at least 200 feet from water, trails, and camp. Cover it up well afterward. Important: In dry desert areas, catholes may not be allowed because waste doesn’t break down. In those cases, you’ll need to pack it all out.
- Pack Out TP and Menstrual Products: TP, wipes, and pads don’t break down easily, so bring a sealed bag (like a Ziplock or WAG bag) to carry them out.
- Try a Pee Rag: A reusable cloth or bandana works great for pee and cuts down on TP waste. Just rinse and dry it between uses.
Group Size & Camp Impact
- Keep Groups Small: Many areas limit group sizes to protect the land. Check the local guidelines before you go.
- Don’t Trample One Spot: With a big group, try to spread out tents and cooking zones to avoid compacting one area.
- Keep the Vibes Quiet: Tone down the late-night campfire jam sessions. Keep lights low, voices quiet, and let nature’s soundtrack do the heavy lifting.
Hygiene & Toiletries
- Go Easy on the Soap: Even biodegradable soap can harm water ecosystems. Use it 200 feet away from any water and in tiny amounts.
- Toothpaste? Spit Smart: Don’t leave a blob of minty foam behind—spit into a cathole or pack it out.
- Skip the Scents: Fragranced products can attract bugs and wildlife, so go for unscented soap, lotion, and deodorant when possible.
How to Prepare for Backpacking – Safety Skills for Beginners
Backpacking comes with a wild sense of freedom—but with that freedom comes responsibility. Knowing how to stay safe out there can be the difference between an epic adventure and a sketchy situation. Here’s the essential safety beta to help you feel ready, not rattled.
First Aid Basics
Blisters, sprains, dehydration—these are some of the most common trail issues, and they’re easy to manage if you’re prepared. Pack a lightweight first aid kit and learn how to use it. Know the signs of heat stroke (confusion, nausea, dry skin) and hypothermia (shivering, slurred speech, fatigue) – and how to treat both. Pro tip: electrolyte tablets can help prevent dehydration and cramping, especially on hot or high-mileage days.
Navigation
Even if you’re relying on a GPS or phone app, don’t skip the paper map and compass—and more importantly, know how to use them. Batteries die, devices fail, and trail signs disappear. Being able to read a topo map and navigate off-trail is a must-have skill, not just a nice-to-have backup.
Weather Awareness
Mother Nature doesn’t mess around. Always check the forecast before your trip and pack layers for changing conditions. In the mountains, it can go from sunny to sleet in a single afternoon. Know the signs of heat-related illness and cold exposure, and prep your clothing system to handle both. That means no cotton, solid rain gear, and extra dry layers just in case.
Wildlife Awareness
From black bears to rattlesnakes to curious chipmunks, knowing the local wildlife scene is key. Store your food properly—in a bear canister, bear bag, or locker if provided. Learn bear safety protocols like making noise on the trail, never storing food in your tent, and how to react in an encounter. Research any regional wildlife concerns, whether it’s moose, mountain lions, or venomous snakes—and know how to act if you meet one. (Hint: don’t run.)
River Crossings
Crossing creeks and rivers? This is where things can go south fast. Avoid crossing if the water is swift, high, or opaque. If you do cross, unbuckle your hip belt in case you fall, so you can ditch your pack quickly. It’s almost always safer to walk through a shallow section than to risk a slippery log or deep current. Spring melt can turn gentle streams into gnarly torrents—don’t underestimate mountain runoff.
Emergency Communication
In areas with no cell service (aka most good backpacking zones), bring a satellite messenger or personal locator beacon (PLB) if possible. At the very least, let someone at home know your route, timeline, and check-in plan—and don’t forget to check in when you finish.
Sun Protection & Bugs
At high altitudes or in exposed terrain, the sun can roast you before you know it. Wear UPF-rated clothing, a hat, sunglasses, and always carry sunscreen. If you’re hiking through buggy areas (hello, alpine lakes and humid forests), pack insect repellent or wear bug netting. There’s nothing like a swarm of mosquitoes to turn a scenic campsite into a mini nightmare.
Mindset & Mental Prep
Finally, mental preparedness is just as important as physical. Know that there will be hard moments – weather, fatigue, unexpected changes. Stay flexible, listen to your body, and don’t be afraid to turn around or change plans. Confidence, humility, and good decision-making will take you a lot farther than sheer grit.
Tips for Solo Backpacking Trips
Heading into the backcountry solo can be incredibly empowering—but it also takes a bit of extra planning and awareness. If you’re thinking about solo backpacking, start small. Choose a well-traveled, beginner-friendly trail, ideally one you’ve hiked before, so you’re not dealing with unfamiliar terrain on top of everything else.
Before your first solo overnight, get comfortable hiking alone during the day. Know how to navigate, manage your pace, and troubleshoot basic trail situations. Consider taking a Wilderness First Aid class so you feel confident handling common issues like sprains, blisters, or even helping someone else on trail.
Here are some go-to tips to make your first solo trip smoother and safer:
- Let someone know your route and check-in time: Always share your trip details with a trusted friend or family member.
- Bring an SOS GPS device: A Garmin inReach, SPOT, or similar tool gives you peace of mind and a lifeline in an emergency.
- Stick to popular trails: You’ll likely see other hikers and have access to better-marked routes and established campsites.
- Trust your gut: If something feels off—weather, wildlife, another hiker—listen to that instinct.
- Set up camp early: Arriving at camp with plenty of daylight gives you time to settle in, cook, and relax without rushing.
- Know your limits: You can always change plans, turn around, or cut your trip short. Flexibility is part of staying safe and enjoying the experience.
Solo Backpacking Tips for Women
Solo backpacking as a woman can come with some extra considerations—but it’s 100% doable, and for many, it becomes one of the most powerful and freeing experiences out there. With a little prep and a solid mindset, you’ll feel ready to take on the trail with confidence.
Some key things to keep in mind:
- Start small and build up: Try solo day hikes and short overnight trips before venturing into more remote or multi-day routes.
- Know the basics cold: Navigation, first aid, camp setup, and water sourcing—being self-reliant builds real confidence out there.
- Carry what makes you feel secure: A whistle, personal alarm, or even pepper spray—whatever helps you feel safe is totally valid.
- Connect with other women hikers: Join online or local communities like Women Who Hike or outdoor Facebook groups to swap tips, get trail recs, and feel supported.
- Go at your own pace: One of the best parts of solo hiking is the freedom to hike how you want—whether that means stopping for every wildflower or crushing miles in the morning and chilling by a lake all afternoon.
Backpacking Challenges & Problem Solving
Every backpacking trip has its ups and downs—literally and figuratively. From sore muscles to soggy socks, here are some common issues beginner backpackers run into, plus smart ways to handle them on trail.
Blisters
- Wear moisture-wicking socks and bring an extra dry pair.
- Break in your shoes well before your trip—no fresh-out-of-the-box boots.
- If your feet get wet, stop to swap socks or air them out.
- At the first sign of a hot spot, apply moleskin or athletic tape to prevent it from turning into a full-on blister.
Muscle Pain
- Stretch before and after hiking to keep your muscles loose and reduce soreness.
- Use electrolyte tablets or powders to help prevent cramping and stay hydrated.
- Take regular breaks throughout the day to avoid overexertion.
- Consider doing a few practice hikes with your full pack before your trip to build strength and endurance.
Motivation & Fatigue
- Backpacking can be mentally exhausting, especially when plans shift, weather changes, or decisions pile up. Create a daily trail routine—whether it’s a morning coffee or a sunset stretch session—to give your day structure and intention. Keep your routine simple and repeatable to reduce decision-making stress.
- Build in time to pause and reset—don’t rush from one task to the next. Avoid tunnel vision; it’s not all about getting to camp. Rest breaks matter too. Take time to soak in your surroundings—views, wildlife, peaceful moments.
- Journaling, taking deep breaths, or just sitting quietly in nature can help re-center your mindset.
- Remind yourself why you’re out there—it’s okay to slow down, adjust your goals, or take a rest day.
- Bring music, audiobooks, or a journal to keep your spirits up when the miles feel long.
Sleep Struggles
- Test your sleep system ahead of time—even if it’s just in your backyard or living room.
- Make sure your sleeping pad is properly inflated and provides enough insulation for the temps.
- A sleeping bag liner can add warmth and comfort if you’re unsure about overnight lows.
- Earplugs can help block out unfamiliar forest sounds, and a small pillow or stuff sack filled with clothes makes a big difference in comfort.
- Avoid caffeine late in the day and try to wind down at camp with a warm drink or light stretching.
Heavy Pack
- Regularly reassess your gear and remove non-essentials to lighten your load.
- Limit “luxury” items unless they truly improve your experience.
- Prioritize lightweight, multi-use gear that saves space and weight.
- The lighter your pack, the more energy you’ll have to actually enjoy the hike.
Final Thoughts: You’ve Got This
Backpacking might seem intimidating at first, but like any big adventure, it’s all about taking that first step. Once you’ve got your gear dialed, your route mapped, and your mindset set on discovery over perfection, the wild really does open up to you. Whether you start with a guided trip, a solo overnight, or a weekend trek with friends, every experience builds confidence—and before long, you’ll be planning bigger trips with less stress and more stoke.
This guide to Backpacking for Beginners is here to help you make a smooth transition from day hikes to full-on backcountry adventures. From choosing the right pack and layering system to planning meals, crossing rivers, and keeping your feet happy—we’ve covered everything you need to know to get started. Now it’s time to pack up, step out, and see where the trail takes you.